To change your Epson printer ink in seven easy steps, first identify the correct cartridge model by checking your printer or existing cartridges. Power on the printer and open the cartridge area.
Carefully remove old cartridges, then gently shake and insert new ones until they click. Close everything securely and wait as the printer primes ink.
If you use EcoTank, refill tanks up to the fill line and seal caps tightly.
Keep following for helpful tips on troubleshooting and maintenance.
Identify the Correct Epson Ink Cartridge Model
How do you guarantee you pick the right Epson ink cartridge? Start by checking your printer model number. This key detail guides you to compatible ink.
Begin by identifying your printer model number to ensure you select the correct Epson ink cartridge.
For example, if you own a WF-2750, you’ll need Epson 220XL cartridges. Next, consult your printer manual or visit Epson’s official website to find a list of Epson ink cartridges designed specifically for your printer model.
You can also examine the labels on your existing cartridges. The model number is usually printed on the side or top. Look for color-coded or model-specific labels like Epson 252 or 252XL to avoid confusion.
Finally, confirm the ink type, whether pigment or dye-based, to ensure the ink matches your printer’s specifications and printing needs. By following these steps, you’ll confidently select compatible ink that keeps your printer running smoothly without errors or poor print quality.
Power On and Access Your Epson Printer’s Cartridge Area
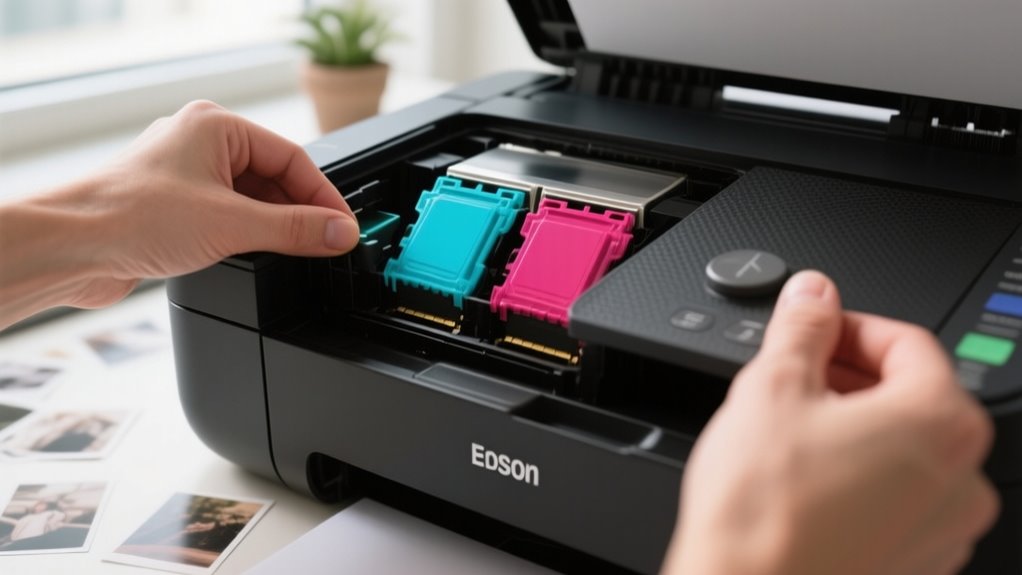
Before you open the cartridge area, make sure your Epson printer is powered on to prevent any damage or errors. Power on your printer and wait for the print head to stop moving or settle in the cartridge replacement position. This step is essential to safely access the cartridge area without causing mechanical issues.
Next, lift the scanner bed or scanner lid, depending on your printer model, to access the internal cartridge compartment. Be gentle when opening the cartridge cover and avoid touching any internal components such as the printhead or contacts.
Confirm that your printer’s LCD screen or indicator lights display a low ink warning or cartridge alert before proceeding. This guarantees you’re replacing ink at the right time. By following these steps, you’ll easily power on and access your Epson printer’s cartridge area, setting yourself up for a smooth ink cartridge replacement.
Safely Remove Old Epson Ink Cartridges
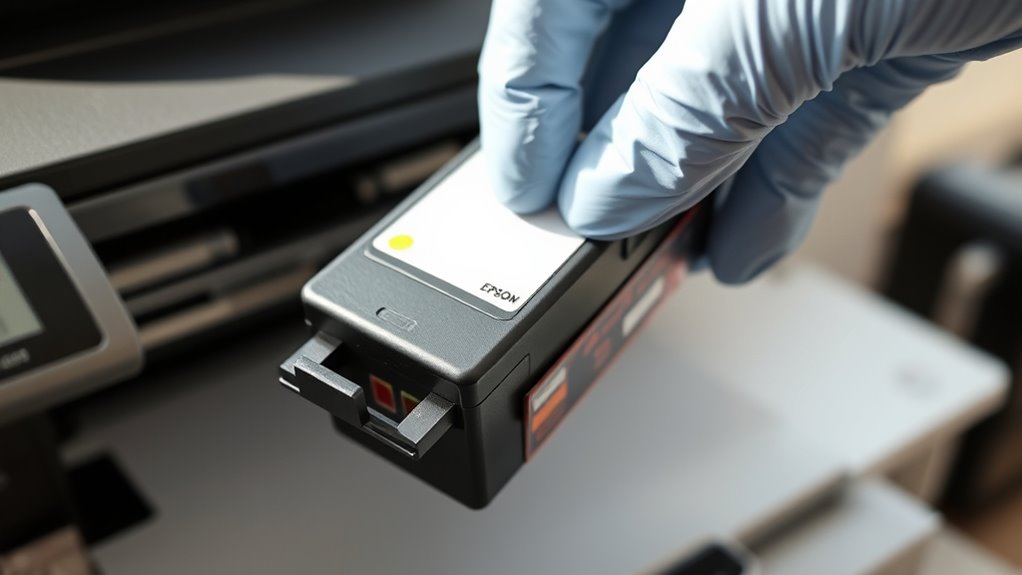
Once your Epson printer is powered on and the print head has stopped moving, you can safely remove the old ink cartridges by squeezing the tab and lifting them straight out. Be sure to avoid touching the ink nozzles or contacts to prevent any damage.
Handle the old cartridges carefully, keeping them upright to avoid ink leaks. If needed, place them on a clean surface or use a lint-free cloth or gloves to protect your hands and surroundings from ink stains.
Before removal, make sure the print head is in the correct position, either by waiting for it to stop moving or manually moving it to the cartridge replacement area. This careful approach helps you remove the old ink cartridges smoothly without causing harm to your printer or making a mess.
Following these steps guarantees your Epson printer is ready for the next phase of changing ink cartridges.
Install New Epson Ink Cartridges Properly
Before you install new Epson ink cartridges, give them a gentle shake to help the ink flow smoothly. It’s a simple step, but it makes a difference.
Next, be sure to remove any protective tape carefully. You don’t want to damage the cartridge or leave any residue behind. Then, insert each cartridge firmly into its matching slot. You’ll usually hear a little click when it’s in place.
Finally, close the cover securely. After that, follow the on-screen prompts on your printer to confirm the setup. That’s it—you’re all set!
Preparing New Ink Cartridges
To get your Epson printer ready for new ink, start by gently shaking the cartridge four to five times to guarantee the ink flows smoothly. When handling new ink cartridges, be careful to remove the protective tape without touching the gold contacts or nozzles, which could cause damage or poor performance.
Properly preparing your cartridges is vital before installing them into the printer. Align each cartridge with its corresponding slot, matching the color or model number to avoid mistakes. Taking these careful steps ensures a smooth installation process and helps your printer recognize the new ink cartridges quickly.
Installing Cartridges Securely
Two key actions guarantee your Epson ink cartridges install securely: positioning the print head correctly and inserting each cartridge firmly until you hear a click. Before installing cartridges, make sure the printer is powered on and the print head is in place.
When installing cartridges, follow these steps:
- Remove protective tape from the new cartridge without touching the gold contacts or nozzles.
- Insert the cartridge firmly into its slot until you hear a click, ensuring a secure fit.
- Close the cartridge cover carefully, confirming the cartridge is fully seated and locked.
Confirming Proper Cartridge Setup
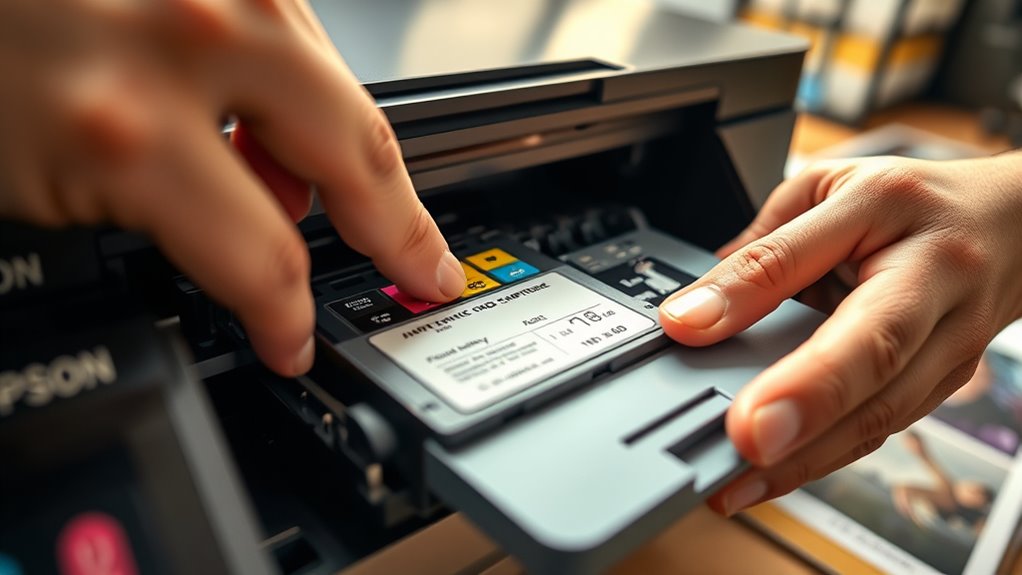
After installing your Epson ink cartridges securely, you’ll want to confirm that everything is set up correctly to guarantee smooth printing. Turn on the printer and wait for it to finish initializing. Check the LCD screen for prompts confirming proper cartridge installation.
Make sure each cartridge matches its color slot and that protective seals were removed without touching contacts. Close the cartridge cover gently, letting the printer recognize the new ink. Finally, verify ink levels on the LCD screen to avoid surprises during printing.
| Step | Action | Result |
|---|---|---|
| 1 | Power on printer | Initialization complete |
| 2 | Insert cartridge correctly | Click sound confirms secure |
| 3 | Remove protective seals | Avoids contact damage |
| 4 | Close cartridge cover | Printer recognizes ink |
| 5 | Check LCD screen | Confirm ink levels |
Prime and Verify Your New Epson Ink Cartridge
Once you install your new Epson ink cartridge, the printer automatically starts priming the ink and moves the print head to the home position. This priming process usually takes a few minutes, preparing the ink for smooth printing.
To guarantee everything’s set up correctly, here’s what you need to do:
- Verify the LCD screen shows confirmation messages like “Check” or “OK” before you close the scanner bed.
- Make sure the cartridge clicks securely into place; a loose cartridge can cause errors.
- Avoid touching the gold contact points on the cartridge, as this can prevent the printer from recognizing the new cartridge properly.
Following these steps helps prime and verify your new cartridge effectively, preventing print errors and ensuring peak performance. Always pay attention to on-screen prompts to confirm your printer recognizes the cartridge before you start printing.
Refill Ink Tanks in Epson EcoTank Printers
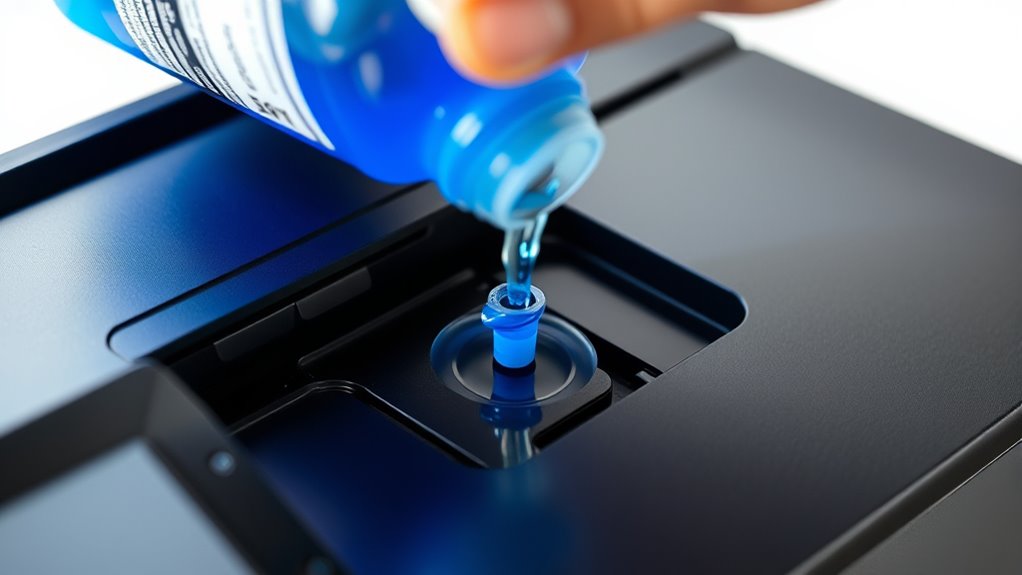
To refill your Epson EcoTank ink tanks, first give the ink bottles a good shake horizontally. This helps make sure the ink flows smoothly when you pour it.
When you’re ready, slowly pour each color into its matching tank. Just be careful not to squeeze the bottle while filling—stop once you reach the marked line.
After that, make sure to close the tank caps securely. It’s also a good idea to check for any leaks before you start printing again. Easy, right?
EcoTank Ink Refill Steps
When you need to refill the ink tanks in your Epson EcoTank printer, start by lifting the scanner bed and opening the ink tank cover to access the tanks. Follow these steps for a smooth ink refill:
- Remove the cap from the ink bottle and carefully pour ink into the matching color tank without squeezing the bottle.
- Fill each ink tank up to the designated fill line, then securely replace the bottle cap to avoid spills.
- Close the ink tank cover and wait for the printer to recognize the new ink levels before printing.
Handling Ink Bottles Safely
Although refilling your Epson EcoTank printer’s ink tanks is straightforward, handling the ink bottles safely is essential to avoid stains and spills. Always wear disposable gloves and use paper towels to protect your hands and surfaces while refilling ink.
When you open the ink bottles, remove the caps carefully without squeezing the bottles to prevent accidental spills. Fill each tank slowly up to the designated fill line to avoid overfilling and leakage.
Keep the ink bottles upright during and after refilling to maintain control and prevent messes. If you have leftover ink, store the bottles tightly sealed in a cool, dark place to preserve ink quality and prevent evaporation.
Securing Ink Tank Caps
Securing the ink tank caps properly is essential after refilling to prevent leaks and maintain ink quality. Once you’ve refilled your Epson EcoTank printer, follow these steps to fasten the ink tank cap:
- Wipe the ink tank cap and surrounding area with a clean, lint-free cloth to ensure a proper seal.
- Press the cap firmly until you hear a click, confirming it’s securely closed and preventing air from entering.
- Avoid over-tightening the cap to prevent damage to the sealing mechanism and avoid spills.
Always close the ink tank cap immediately after refilling. This helps preserve ink quality, avoids contamination, and keeps your printer running smoothly. Taking these steps ensures your refilling process is clean and secure.
Troubleshoot Common Epson Ink Cartridge Issues
If your Epson printer displays errors like “Cartridge Not Recognized” or “Low Ink,” these issues often stem from cartridge installation problems or firmware restrictions. First, check cartridge recognition by removing the ink cartridge and cleaning the gold contact points with a lint-free cloth to remove dirt or ink buildup.
Next, firmly reseat the cartridge until you hear a click, ensuring proper installation. Firmware updates may block third-party or refilled cartridges, causing errors like 0x69 or “Cartridge Cannot Be Recognized.” If you suspect this, check Epson’s website for firmware updates or consider reverting to an earlier version if possible.
Furthermore, printhead cleaning can resolve print quality problems caused by clogged nozzles or ink flow issues. Use your printer’s maintenance menu to perform printhead cleaning, which can improve ink delivery and avoid streaky prints.
Following these steps should help you troubleshoot common Epson ink cartridge issues efficiently.
Frequently Asked Questions
How Often Should I Replace Epson Ink Cartridges?
You should replace Epson ink cartridges roughly every 200 to 300 pages, but ink cartridge longevity varies based on your printing habits. Regularly checking and replacing ink levels before they run too low helps maintain print quality.
Performing printer ink calibration can also optimize ink usage, extending cartridge life. Keep an eye on low ink warnings and replace cartridges promptly to avoid clogs and make certain your prints look sharp and vibrant.
Can I Use Third-Party Ink Cartridges in My Epson Printer?
Using third-party ink cartridges in your Epson printer is like steering a colorful maze. You can save money, but watch the twists. Ink cartridge compatibility varies, so check your model before buying.
Third-party ink quality can be hit or miss, so choose reputable brands. During cartridge installation, handle chips carefully to avoid errors.
Firmware updates might block these cartridges. But with the right tips, you can keep printing smoothly without Epson’s original ink.
What Should I Do if My Printer Doesn’T Recognize the New Cartridge?
If your printer doesn’t recognize the new cartridge, start by performing an ink cartridge reset through the printer’s maintenance menu. Then, run printer calibration to help the device detect the cartridge properly.
You should also check and adjust print quality settings to guarantee everything prints correctly. If recognition issues persist, turn off the printer, unplug it briefly, clean the cartridge contacts, then power it back on to complete the reset process.
How Can I Store Unused Ink Cartridges Properly?
Imagine you bought extra ink cartridges but noticed dried ink after a month. To avoid this, follow ink storage tips like keeping cartridges sealed in their original packaging using proper cartridge sealing methods.
Store them upright in a cool, dark place with ideal storage conditions, between 59°F and 77°F, to maintain ink quality. Label each cartridge with the purchase date to track freshness and guarantee your printer always works smoothly.
Are Epson Ink Cartridges Recyclable or Environmentally Friendly?
Yes, Epson ink cartridges are recyclable and eco-friendly. You can participate in Epson’s ink cartridge recycling programs, which help reduce the environmental impact of ink by ensuring cartridges are properly reused or disposed of.
Epson also uses eco-friendly packaging and recycled plastics in their cartridges, promoting sustainable printing. By recycling your cartridges, you minimize plastic waste and support Epson’s efforts to protect the environment.
Conclusion
Changing your Epson ink cartridge is like giving your printer a fresh splash of color, bringing your pages back to life. By following these simple steps, you’ll breeze through the process, ensuring vibrant prints every time.
Just imagine your printer humming smoothly, ready to create masterpieces without a hiccup. Keep your ink flowing and your creativity glowing. Your Epson printer is now set to paint your ideas brilliantly on every sheet.
Leave a Reply