
UV ink cures instantly when you expose it to UV light, turning from liquid to solid for sharp, durable prints. It contains monomers, oligomers, pigments, and photoinitiators that work together to create a tough surface film.
To use it effectively, clean and prep your surface, apply ink evenly, and guarantee proper UV exposure around 395 nm for full curing.
Following these steps helps you get vibrant colors and strong adhesion. There’s more to learn about optimizing your results.
What Is UV Ink and How Does It Work
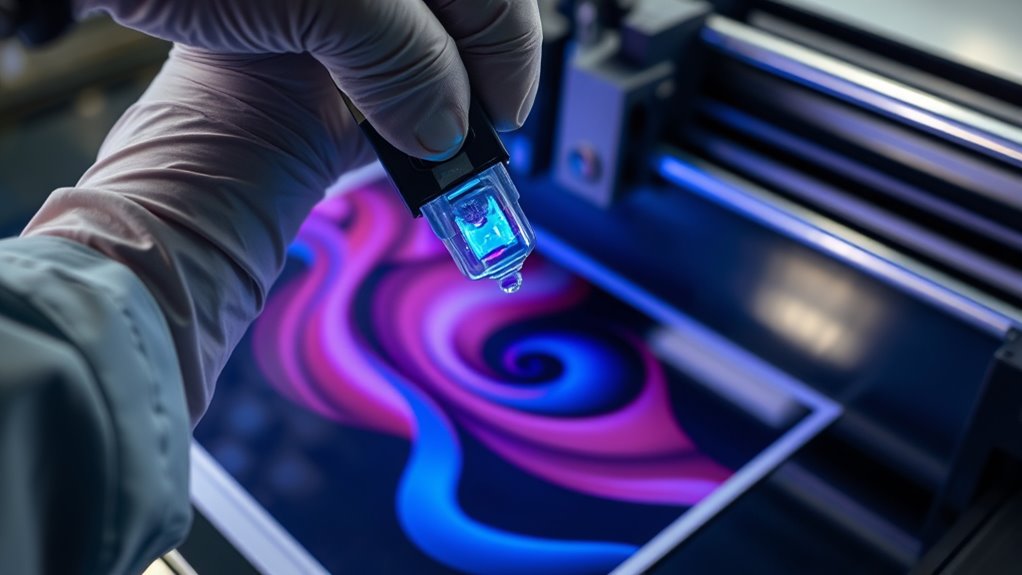
UV ink transforms from liquid to solid instantly when exposed to UV light, thanks to a photochemical reaction you can count on for fast results. When you shine UV light on the ink, photoinitiators absorb the energy and create radicals that trigger polymerization.
This process links monomers and oligomers into a solid polymer network, causing the ink to cure rapidly. Unlike traditional inks that dry by evaporation, UV ink cures to form a durable surface film immediately, resisting smudges and scratches.
To guarantee effective curing, you’ll need a UV light source like LED or mercury lamps emitting around 395 nm. This precise wavelength activates the photoinitiators efficiently, speeding up the curing process. By understanding how UV ink reacts under UV light, you can control drying times and achieve sharp, high-quality prints that withstand handling and environmental wear.
What’s Inside UV Ink? Key Components Explained
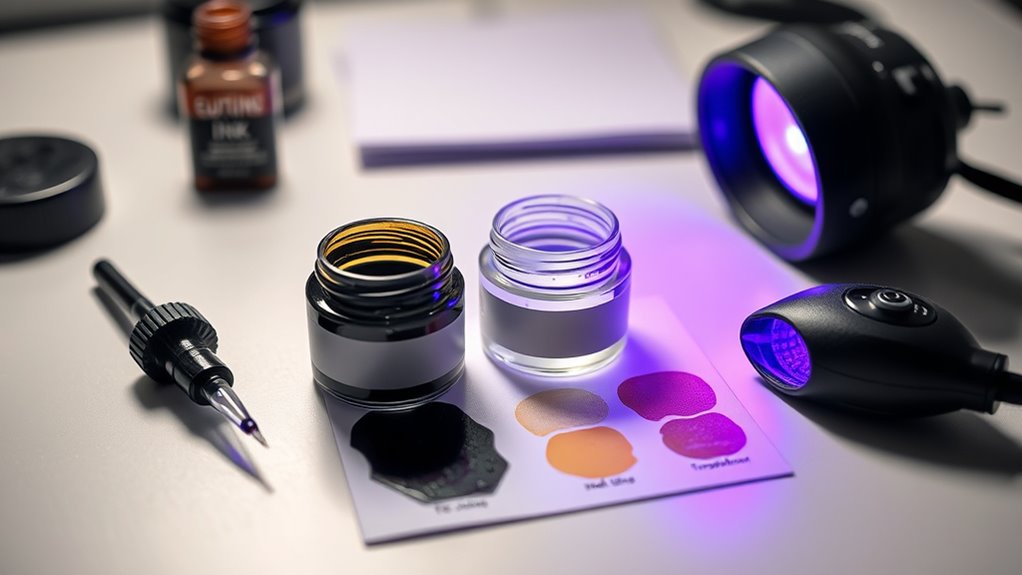
Although the curing process might seem like magic, the secret lies in the carefully balanced ingredients inside the ink. UV ink contains monomers, oligomers, photoinitiators, pigments, and additives, each playing an essential role.
Monomers act as the building blocks, controlling flexibility, hardness, and viscosity. They shape the cured film’s physical properties. Oligomers form the resin matrix, providing strength, adhesion, and durability once the ink cures.
Photoinitiators are key. They absorb UV light and instantly trigger polymerization, converting liquid ink into a solid film. Pigments deliver the color, while additives fine-tune flow, surface finish, and resistance to wear or chemicals.
Understanding these components helps you appreciate why UV ink cures so quickly and sticks so well to various surfaces. When the UV light hits, photoinitiators kickstart curing, linking monomers and oligomers into a tough, durable coating that’s ready almost immediately, letting you work efficiently without long drying times.
Types of UV Ink and Their Best Uses
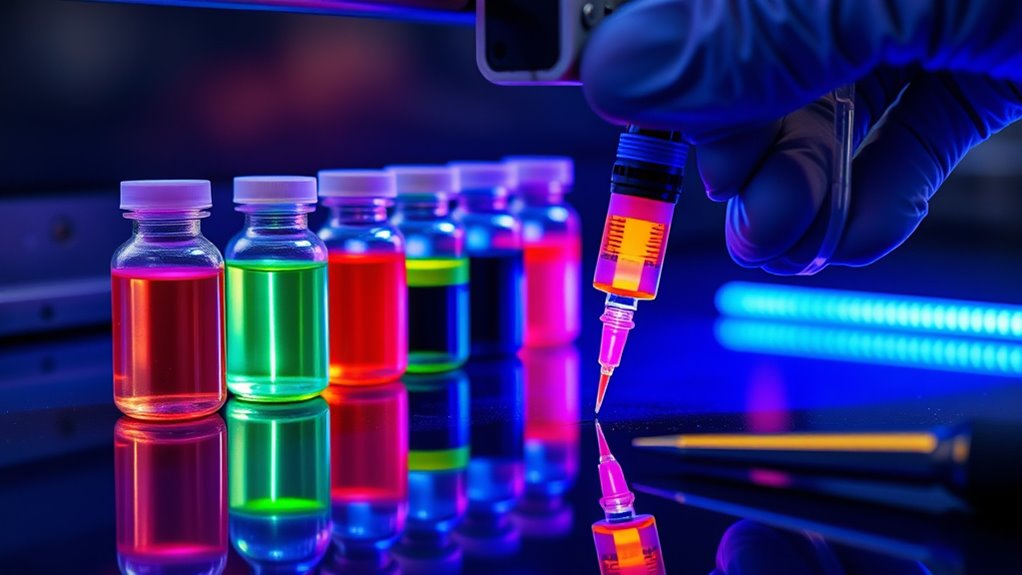
When choosing ink for your project, understanding the different types available can make all the difference in achieving the desired finish and durability. UV inks come in various formulations, each designed for specific applications and surfaces.
Knowing the types of UV ink helps you leverage UV curing technology to guarantee a durable print tailored to your needs.
| Type of UV Ink | Best Use |
|---|---|
| Hard UV Ink | Rigid surfaces like glass and metal |
| Soft UV Ink | Flexible materials such as leather, PVC |
| Clear Coat UV Ink | Protective, glossy or matte finishes |
| Low-Migration UV Ink | Food, medicine, and children’s products |
| Special Effect UV Ink | Decorative finishes like metallic or glow |
Preparing Surfaces for UV Ink Printing
Before printing, make sure you clean and dry the surface thoroughly to remove any dust, oils, or grease that could prevent the ink from sticking properly. Effective surface preparation is key to achieving strong adhesion with UV ink.
For smooth, non-porous surfaces like glass or metal, a simple cleaning with alcohol or solvent usually suffices. However, if you’re working with porous materials, you’ll want to apply a primer or sealant to reduce porosity and improve ink bonding.
Rough or textured surfaces may require additional treatment or coatings to guarantee even ink coverage and consistent results. Always test a small area first to check compatibility and adhesion before committing to full-scale printing.
Proper cleaning and preparation not only enhance the quality of your UV ink print but also extend its durability. Taking these steps will help you get the most out of your UV printing projects.
How to Choose the Right UV Ink
Choosing the right UV ink is essential to achieving vibrant, durable prints that adhere well to your chosen surface. First, make sure the UV ink matches your substrate type, whether hard, soft, or neutral, to ensure optimal adhesion and flexibility.
Next, check that the UV curing wavelength (around 395 nm ± 5 nm) and power suit your printer’s UV light source for proper curing. Consider the finish you want, like gloss or matte, and opt for high-quality, OEM UV inks to maintain color accuracy and protect your printer.
Finally, confirm the ink’s chemical makeup is compatible with your substrate and environment.
| Factor | Consideration | Why It Matters |
|---|---|---|
| Substrate Type | Hard, Soft, Neutral | Ensures adhesion & flexibility |
| Curing Wavelength | ~395 nm ± 5 nm | Proper UV curing |
| Finish | Gloss, Matte, Special Effects | Desired appearance |
| Ink Quality | OEM vs Generic | Color accuracy & printer warranty |
| Chemical Compatibility | Ink additives vs substrate material | Durability & performance |
Applying and Curing UV Ink: Step-by-Step
You’ll start by applying the UV ink evenly using the right printing equipment. This helps ensure the ink flows properly and has the right thickness. Then, you’ll cure the ink by exposing it to UV light at the correct wavelength and energy level. This step is key for the ink to fully polymerize. Once that’s done, it’s important to handle the printed items right after curing. Doing so keeps them smudge- and scratch-resistant.
Ink Application Techniques
When applying UV ink, ensure you spread it evenly across the substrate using the right printing method to achieve consistent coverage. Proper ink application techniques ensure smooth ink flow and prevent defects.
Immediately after printing, expose the inked area to UV light with a wavelength near 395 nm and a power of at least 4 W/cm² to start curing. Maintain curing energy of 240 mJ/cm² per layer to secure full hardening and strong adhesion.
Keep environmental conditions stable, with temperatures between 15–35 °C and humidity from 40–60%, to support uniform curing. Regularly perform test prints and monitor the process to avoid incomplete curing or tacky surfaces.
UV Curing Process
How do you guarantee your UV ink cures perfectly every time? Start by applying UV ink evenly with a compatible printer to ensure a uniform layer. This consistency is vital for effective UV curing.
Next, expose the printed surface to UV light, using an LED or mercury vapor lamp at the recommended wavelength around 395 nm and an intensity of at least 4 W/cm². Each layer needs sufficient UV energy, typically at least 240 mJ/cm², to fully cure the ink.
Make certain your curing system provides consistent, complete exposure to avoid smudging or peeling. Finally, verify the curing process by checking the ink’s hardness, appearance, and adhesion. It should be dry, scratch-resistant, and fully polymerized before handling or further processing.
Troubleshooting Common UV Ink Problems
Although UV ink offers vibrant and durable results, troubleshooting common problems like clogged printheads, poor adhesion, and curing inconsistencies is essential to keep your prints flawless. Clogged printheads often occur because white UV ink pigments settle, so you need a circulation system to keep them suspended.
Adhesion issues and curing problems usually stem from improper storage. Avoid sunlight exposure and temperature swings to maintain ink quality. Insufficient curing energy or the wrong wavelength, ideally around 395 nm, can leave surfaces tacky or incompletely cured.
Using incompatible or low-quality inks may cause color shifts, poor adhesion, and increase nozzle clogging over time. To prevent these issues, perform regular maintenance with nozzle checks and light cleanings. This keeps your printheads in peak condition and ensures consistent curing and adhesion.
Benefits of UV Ink for Commercial Printing
When you use UV ink, you’ll notice it dries almost instantly. This speeds up your production and cuts down wait times, which is a huge plus. Plus, its eco-friendly formula means you’re reducing harmful emissions while still keeping top-quality prints. So, all in all, these benefits make UV ink a smart choice for efficient and sustainable commercial printing.
Instant Drying Advantages
Why wait for ink to dry when UV ink cures instantly under UV light? With UV ink, the instant drying process means you can handle prints immediately, speeding up your production time.
As the UV light cures the ink on contact, you avoid common printing issues like smudging, ghosting, or ink transfer, ensuring crisp, vibrant results every time. This instant drying advantage lets you run high-speed printing workflows, boosting efficiency and throughput.
Plus, since UV ink cures without the need for lengthy drying or curing ovens, you save on energy and operational costs. Ultimately, using UV ink not only enhances your print quality but also streamlines your commercial printing process, making it faster and more reliable.
Environmental Impact Benefits
How much does the ink you use impact the environment? Choosing UV ink makes a big difference because it’s incredibly environmentally friendly. With up to 99.5% lower VOC emissions, UV ink reduces harmful fumes, keeping the air cleaner for everyone.
The instant curing process consumes less energy than traditional drying methods, cutting down your carbon footprint. Since UV inks don’t contain solvents, they’re safer for operators and the environment alike.
Plus, the quick curing time means less waste and fewer reprints, boosting your sustainability efforts. The durability of UV-printed products also means they last longer, reducing the need for frequent replacements.
Proper Handling, Storage, and Maintenance of UV Ink
Although UV ink offers vibrant and durable results, you’ll need to handle and store it carefully to preserve its quality. Store UV ink in a cool, dry place between 15-35°C, away from direct sunlight to prevent degradation. Always shake new cartridges for about two minutes before installation to keep the pigment suspended and avoid nozzle clogs.
After use, keep ink containers sealed tightly to stop contamination and evaporation that can affect ink performance.
For proper maintenance, regularly run test prints and nozzle checks to guarantee your printhead stays clear. Light cleaning routines help prevent blockages and maintain consistent curing during printing.
Using a compatible UV printer and following the manufacturer’s maintenance guidelines will also contribute to the best print quality. By paying attention to these storage and maintenance tips, you’ll extend your UV ink’s life and enjoy sharp, reliable prints every time.
Maximizing UV Ink Durability and Color
To get the most out of your UV ink’s durability and color, start by focusing on improving adhesion and keeping fading at bay. It really makes a difference. You’ll also want to use the right curing techniques—think about the ideal UV light intensity and how long you expose the ink. When you nail these steps, your colors stay bright and your prints last longer.
Enhancing Ink Adhesion
When you want UV ink to last and look vibrant, preparing the surface properly is essential. Start by thoroughly cleaning and applying primers to improve adhesion and durability. Selecting the right UV ink formulation for your substrate, whether hard or soft, is key to achieving strong bonding.
Don’t overlook curing parameters. Maintaining a UV light wavelength near 395 nm and energy levels of at least 240 mJ/cm² ensures complete polymerization, locking the ink firmly in place. Proper storage of inks between 15–35°C prevents pigment settling, preserving consistent adhesion qualities.
You can also boost durability and visual impact by applying multiple ink layers or adding surface treatments like gloss or matte varnishes. With these steps, you’ll maximize UV ink adhesion and keep your prints looking sharp longer.
Preventing Color Fading
Building on strong adhesion techniques, safeguarding your UV ink from color fading guarantees your prints stay vibrant longer. To maximize color longevity, use UV ink formulated with high-quality, lightfast pigments that resist degradation over time.
Applying a clear UV protective coating or varnish further shields colors from harmful UV exposure. Proper UV curing is essential. Make sure each layer receives enough UV light energy to create a fully cross-linked surface that withstands environmental wear.
You should also store printed items in cool, low-light, and dry conditions to prevent premature fading caused by heat, humidity, and sunlight. Ultimately, maintain your UV printer regularly by using compatible inks and cleaning it properly. This helps preserve color consistency and avoid fading issues during repeated print cycles.
Optimal Curing Techniques
Although selecting high-quality UV ink is essential, you won’t achieve maximum durability and color vibrancy without proper curing techniques. To guarantee effective curing, use a UV light source emitting wavelengths around 395 nm ± 5 nm with at least 4 W/cm² power.
Maintain UV energy levels of 240 mJ/cm² per layer to ensure full polymerization. A curing station with uniform light distribution prevents shadowed areas, especially on complex or large prints.
Keep environmental conditions stable, with temperatures between 15–35 °C and humidity at 40–60%, to enhance consistency. Don’t forget to regularly calibrate and maintain your UV light equipment; consistent output is critical to avoid performance drops.
Following these steps will maximize your UV ink’s durability and vibrant color, guaranteeing excellent results every time.
Frequently Asked Questions
Can UV Ink Be Safely Used for Food Packaging Applications?
You can safely use UV ink for food packaging, but only if it meets strict food safety standards. You’ll need to verify thorough migration testing to confirm no harmful substances transfer to the food.
Furthermore, using edible coatings can provide an extra barrier, improving safety. So, make sure your UV ink is specifically formulated and tested for food-contact applications before using it.
How Does UV Ink Impact Environmental Sustainability Compared to Traditional Inks?
UV ink impacts environmental sustainability by offering eco-friendly alternatives to traditional inks, as it uses less solvent and emits fewer volatile organic compounds. However, you’ll face recycling challenges since UV inks can hinder paper recyclability.
While some biodegradable ink options exist, UV inks aren’t typically biodegradable. You should also consider environmental regulations that govern ink disposal and emissions to guarantee your use aligns with sustainability goals and legal requirements.
What Safety Precautions Should Operators Take When Working With UV Curing Lights?
Think of UV curing lights as tiny suns beaming intense rays. You’ve got to shield yourself with proper protective gear like goggles and gloves to avoid burns or eye damage.
Make sure there is good ventilation to keep harmful fumes at bay. Stick to recommended exposure limits to prevent overexposure.
Always know emergency procedures in case of accidents. Staying cautious lets you work safely while harnessing UV light’s power effectively.
Can UV Ink Be Removed or Recycled After Printing?
You can remove UV ink using specific UV ink removal methods like chemical solvents or abrasive cleaning techniques. But recycling UV ink is challenging because it’s cured and solid.
When you want to clean surfaces, UV ink cleaning often involves specialized cleaners designed for cured inks. For disposal, you should follow UV ink disposal options that comply with environmental regulations. This way, you handle leftover ink responsibly without harming the environment.
Are There Substrate Materials That UV Ink Cannot Adhere to at All?
Back in the days of quills and parchment, adhesion challenges still plagued scribes, just like today, some substrates resist UV ink. You’ll find UV ink struggles on extremely smooth or oily surfaces where substrate compatibility is low.
To overcome this, you’ll need proper surface preparation and sometimes tweak the ink formulation. Without prepping or adjusting, certain plastics or glass might reject UV ink altogether, making your print job a real headache.
Conclusion
When working with UV ink, remember that “practice makes perfect.” By understanding its components, choosing the right type, and preparing your surfaces properly, you’ll get vibrant, long-lasting results every time.
Handle and store your ink with care to avoid common issues, and don’t forget to troubleshoot promptly when needed. With these tips, you’ll maximize durability and color, making your prints stand out and ensuring your projects shine bright.
Keep experimenting and refining your technique!
Leave a Reply