To use Infusible Ink with Cricut in 10 easy steps, first pick a compatible blank like a polyester T-shirt. Then create and mirror your design in Cricut Design Space.
Next, cut the design on Infusible Ink transfer sheets, weed carefully, and clean plus preheat your blank.
Position and tape your design on the blank, apply heat with an EasyPress or heat press, then let it cool before peeling off the transfer.
Keep going to uncover tips that’ll make your project flawless.
What Is Infusible Ink and Why Use It?
What makes Infusible Ink stand out from other crafting materials? When you use Infusible Ink, you’re creating vibrant, seamless designs that become part of the surface fibers of your project. Unlike traditional heat transfer vinyl, Infusible Ink uses heat pressing to permanently infuse colors, resulting in a peel-proof, flake-proof, and wash-proof finish.
This means your design won’t crack, peel, or fade over time, giving you a durable design that lasts. You apply your artwork using transfer sheets or specially formulated pens and markers, then use heat pressing to embed the colors directly into compatible blanks, like polyester blends or specially coated surfaces.
This professional-looking finish feels smooth and integrated, not layered on top. If you want your Cricut projects to have a high-quality, long-lasting look with no worry about wear and tear, Infusible Ink is the perfect choice for you.
Choose the Right Blank for Infusible Ink Projects
Since Infusible Ink bonds directly with certain materials, you’ll need to select blanks that are specifically designed for this process. Focus on infusible ink blanks with high polyester content or special coatings, as these allow the ink to infuse properly. Avoid 100% cotton fabrics because they won’t work with this technique.
Instead, pick compatible Cricut surfaces like T-shirts, tote bags, or coasters engineered for Infusible Ink.
Before transferring your design, make sure to clean the blank’s surface to remove debris or fibers. This preparation ensures a smooth and even ink transfer. Here’s a quick guide to help:
| Blank Type | Polyester Content | Compatibility |
|---|---|---|
| T-shirts | 95% or higher | Compatible Cricut surface |
| Tote Bags | Coated polyester | Infusible ink blanks |
| Coasters | Special coating | Infusible ink blanks |
Choosing the right blank guarantees vibrant, lasting results with your Infusible Ink projects.
Design and Mirror Your Artwork in Cricut Design Space
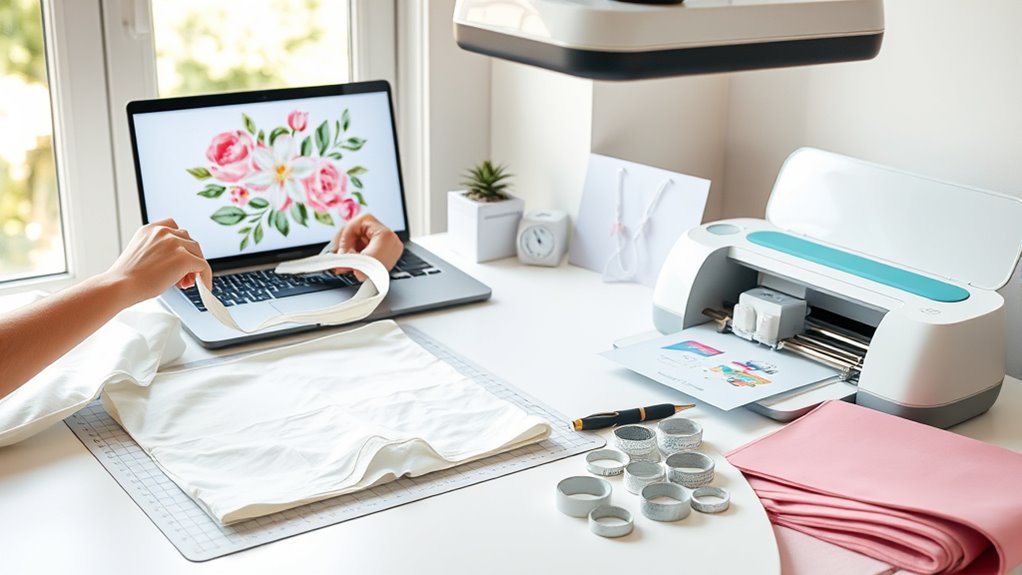
After choosing the right blank for your Infusible Ink project, the next step is to design and mirror your artwork in Cricut Design Space. Start by creating or uploading your design, then resize it to fit your blank’s dimensions, using the Cricut Heat Guide as a reference for size limits.
Before you move on to cutting, don’t forget to mirror your design. This step is essential to ensure the artwork transfers correctly onto your blank. On the Make It screen, toggle the “Mirror” option to flip your design horizontally.
Once mirrored, select the “Cut” option and set your material to Infusible Ink Transfer Sheet. This prepares your design for precise cutting with your Cricut machine. Finally, save your mirrored design in Design Space so you can easily access or adjust it later.
Mirroring your design before cutting guarantees a flawless transfer and professional-looking results every time.
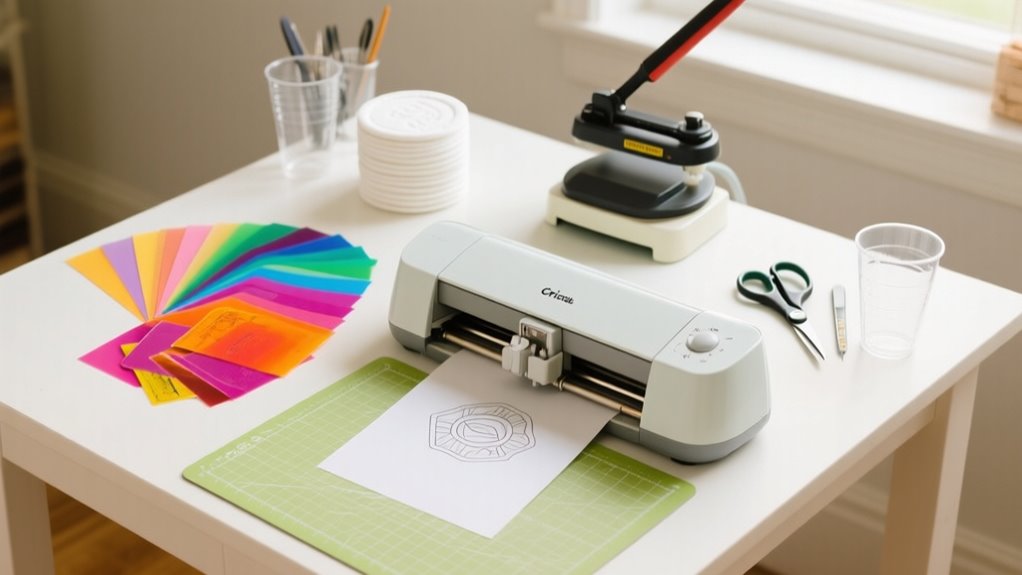
Prepare Your Cricut Machine for Infusible Ink Cutting or Drawing
Before you start cutting or drawing with Infusible Ink, make certain your Cricut machine is compatible and properly set up to handle the material. Compatible Cricut models include the Cricut Maker, Explore Air 2, and Explore Air. To prepare your machine, follow these essential steps:
Select the correct Infusible Ink material in Design Space and mirror your design. Load the Infusible Ink transfer sheet or pen into the designated clamp following the manufacturer’s guidelines. Set your Cricut machine to the Infusible Ink Transfer Sheet material setting for precise cutting or drawing.
Use a StandardGrip mat to secure your transfer sheet firmly. Verify your blade is sharp and properly installed for accurate cuts.
Taking these steps ensures your Cricut machine is perfectly ready to work with Infusible Ink, making your crafting experience smooth and successful.
Cut Your Design on Infusible Ink Transfer Sheets
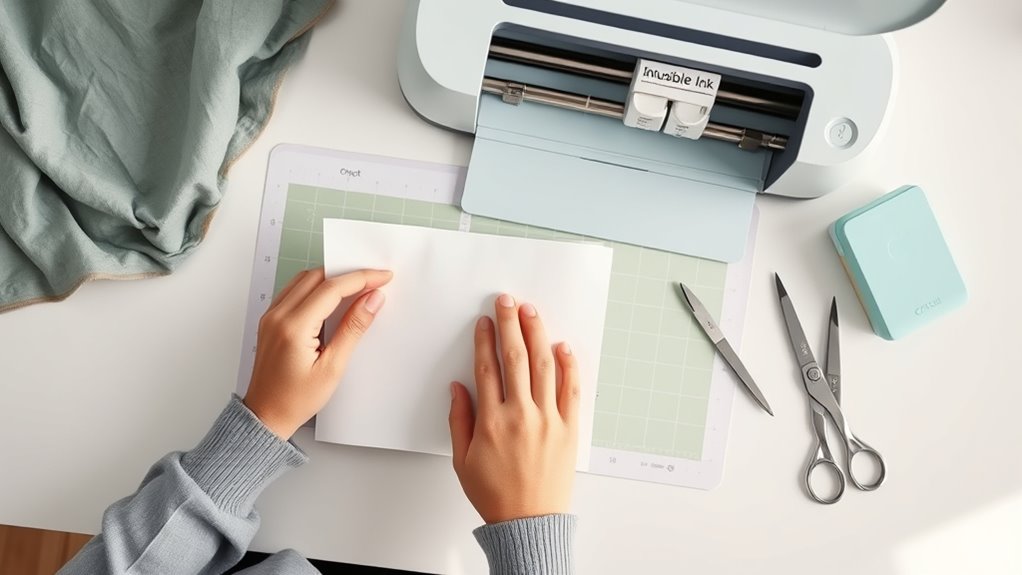
Start by placing your Infusible Ink Transfer Sheet liner side down on a Standard Grip Mat. Then, select the correct material setting in Cricut Design Space. Don’t forget to mirror your design before cutting—that way, it’ll have the right orientation.
Once you’ve cut your design, take your time weeding it. Trim away any excess material and gently crack the cut lines to make removing the pieces easier.
Preparing Transfer Sheets
When you’re ready to cut your design on Infusible Ink Transfer Sheets, place the sheet liner side down on a Standard Grip Mat to guarantee a clean cut. Use Design Space to create your design and make sure to mirror it before cutting. This ensures your final image appears correctly on your project.
Select “Infusible Ink Transfer Sheet” as your material setting or customize settings if you’re using an older Cricut model. After cutting, follow these steps to prepare your transfer sheets:
- Carefully remove the cut design from the mat
- Crack the cut lines gently to make weeding easier
- Trim any excess transfer sheet around your design
- Mirror your design before cutting for accurate transfer
- Keep your transfer sheets clean and free of dust for the best results
Cutting And Weeding
Although cutting Infusible Ink Transfer Sheets requires careful attention, using the right settings and tools guarantees clean, precise results. First, place your Infusible Ink Transfer Sheet liner side down on the Standard Grip Mat.
In Cricut Design Space, be sure to mirror your design to ensure correct orientation during transfer. Select the Infusible Ink Transfer Sheet material setting for ideal cut quality. Use a fine-point blade and apply even pressure to cut Infusible Ink with precision.
After cutting, crack the cut lines gently with a sharp tool or your fingers. This step improves weedability by easing the removal of excess material without damaging your design. Following these steps guarantees your design is perfectly cut and ready for a flawless transfer.
Weed Excess Material Carefully From Your Design
When you’re weeding your design, it’s best to use a weeding tool. Gently lift the cut lines without damaging the ink. Also, be careful with the edges of the transfer sheet. Trim any excess so it fits your heat press perfectly. Taking your time with these steps really helps ensure a clean, precise design that’s ready for transfer.
Precise Weeding Techniques
To achieve clean, professional results, you’ll want to gently crack and peel the cut lines before weeding your Infusible Ink design. This makes weeding more manageable and prevents tearing the transfer sheet.
Use fine-tipped tweezers to carefully lift small, intricate pieces without disturbing the main design. Keep a steady hand and work slowly to avoid pulling up parts of the design or damaging edges.
Trim the liner to match the design size, ensuring no excess material overlaps the heat press area. Finally, remove negative bits around the design last to maintain its integrity.
- Gently crack and peel cut lines
- Use fine-tipped tweezers for small pieces
- Work slowly with a steady hand
- Trim liner to fit design size
- Remove negative bits last for clean weeding
Handling Transfer Sheet Edges
Handling the edges of your Infusible Ink transfer sheet requires careful trimming and peeling to guarantee only your design transfers cleanly. Start by using sharp scissors or a craft knife to trim edges close to your design, removing any excess transfer sheet without cutting into the design itself.
This prevents unwanted transfer or lifting during pressing. Next, gently peel away excess liner and transfer sheet pieces with your fingers or tweezers. For small or intricate sections, crack cut lines with a craft tool or fingernail first to make removal easier.
Be careful not to pull or tear the transfer sheet abruptly, as this can damage your design’s edges. By trimming and weeding precisely, you’ll ensure a clean, professional-looking transfer every time.
Prepare Your Infusible Ink Blank by Cleaning and Preheating
Before applying your Infusible Ink design, you’ll want to thoroughly clean and preheat your blank to guarantee the best transfer results. Cleaning removes dust and fibers that could interfere with the ink transfer, while preheating smooths the surface and eliminates moisture. Follow these simple steps to prepare your blank:
Use a lint-free cloth to clean the blank’s surface, removing dust and debris. Then, roll a lint roller over the blank to pick up any remaining fibers or particles.
Preheat your blank with a Cricut EasyPress or heat press for 10-15 seconds. For fabric blanks, this preheating also removes static and helps the ink absorb better.
Allow the blank to cool completely before applying your Infusible Ink design to avoid smudging or uneven transfer.
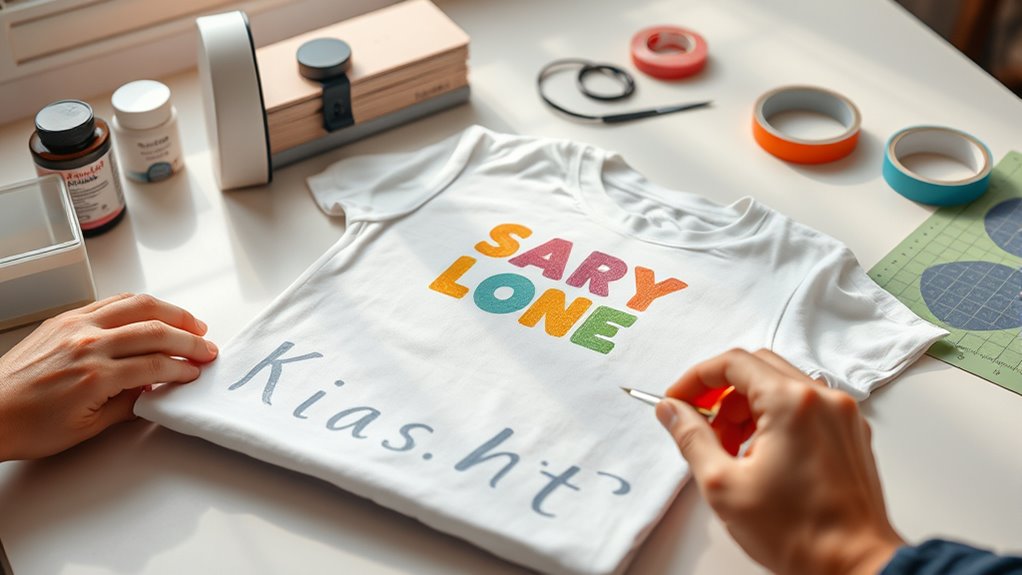
Position and Secure Your Infusible Ink Design on the Blank
Place your cut design face down on the blank. Make sure the liner side is up and that it’s aligned away from any seams or edges. Use heat-resistant tape to secure it firmly so it won’t shift while you’re pressing.
Before you cover it with butcher paper, double-check that the design is flat and properly positioned. This way, you’ll get the best results every time.
Design Placement Tips
When you position your Infusible Ink design face down on the blank, make sure it’s perfectly centered and aligned to avoid any misplacement during pressing. Proper design placement is key for a flawless transfer and even heat application. Keep these tips in mind:
Avoid seams and edges to guarantee consistent heat application and prevent uneven results. Check that the design lays flat without wrinkles or air bubbles for ideal infusion.
Confirm alignment matches your intended area and size; use light guidelines if needed. Position your design precisely to avoid shifting during pressing.
Securing With Heat Tape
Although you’ve carefully aligned your Infusible Ink design, securing it with heat-resistant tape is essential to prevent any shifting during pressing. Use small pieces of heat-resistant tape around the edges to keep your design flat and properly aligned on the blank.
Make certain the tape doesn’t cover the ink design to avoid interfering with the transfer. Apply the tape firmly to eliminate bubbles or gaps that could cause uneven pressing.
| Heat-Resistant Tape Tips | Purpose |
|---|---|
| Place on edges only | Secure design flat |
| Apply firmly | Prevent bubbles/gaps |
| Avoid covering design | Ensure even heat transfer |
After pressing and cooling, carefully remove the tape to protect your finished project.
Avoiding Seams And Edges
Since seams and edges can interfere with heat transfer, you’ll want to position your Infusible Ink design away from them to guarantee an even, crisp result. Careful placement is key to avoiding uneven transfer or misalignment.
To assure perfect placement, follow these tips:
- Use a ruler or grid to center your design and keep it clear of edges.
- Avoid seams, zippers, or thick areas that disrupt heat distribution.
- Secure your design with Heat Resistant Tape to prevent shifting.
- Double-check that the design lies flat and smooth before pressing.
- Keep the design fully within the printable area, away from any folds or creases.
Apply Heat With Cricut Easypress or Heat Press
Before applying heat with your Cricut EasyPress or heat press, make sure to preheat it to the exact temperature recommended in the Cricut Heat Guide. Once heated, place your blank item on the EasyPress mat or heat press.
Preheat your Cricut EasyPress to the recommended temperature before placing your blank on the mat or heat press.
If your project allows, insert a piece of cardstock inside the blank to guarantee even heat distribution and avoid any impressions showing through. Next, position your weeded infusible ink design face down on the blank. Then cover it with butcher paper or a heat-resistant transfer sheet to protect the design.
Now, apply heat by pressing down with consistent pressure using the EasyPress or heat press for the recommended time. Avoid sliding or shifting the press during this step to prevent blurring or misalignment.
Once the timer goes off, carefully lift the EasyPress or heat press straight up. This precise application of heat is essential to achieve vibrant, permanent transfers with your infusible ink project.
Cool Your Project Before Removing Transfer and Follow Aftercare Tips
When you finish applying heat, let your project cool completely before removing the transfer sheet or butcher paper. Cooling is essential because it allows the ink to set fully into your material, which makes your design durable and wash-proof. If you remove the transfer sheet too soon, you risk smudging or ruining the smooth finish of your design.
Keep these tips in mind for proper cooling and transfer sheet removal:
- Wait until the project feels cool to the touch before peeling off the transfer sheet.
- Avoid handling the project while it’s still warm to prevent smudges.
- Use tweezers for careful removal of any leftover transfer bits.
- Keep your work area clean to avoid sticking or damage during removal.
- Follow aftercare instructions to maintain vibrant colors and design longevity.
Frequently Asked Questions
Can I Wash Infusible Ink Projects in a Dishwasher?
Yes, you can wash Infusible Ink projects in a dishwasher without worrying about dishwasher durability. Just make sure your fabric is compatible with Infusible Ink to maintain color retention.
Use cold water and mild detergent to keep the design vibrant. Avoid bleach or fabric softeners, and let your project cool completely before washing.
Following these steps helps preserve the ink’s brilliance and prevents any damage, ensuring your design stays flawless through multiple dishwasher cycles.
What Types of Pens Work With Infusible Ink Transfer Sheets?
Did you know Cricut’s Infusible Ink pens come in over 20 compatible ink colors? For pen compatibility with Infusible Ink transfer sheets, you need to use only Cricut Infusible Ink Pens or markers designed for this purpose.
These pens contain special dye-based ink that infuses perfectly into the transfer sheet options. Regular markers won’t work since their ink doesn’t bond correctly. Stick to Cricut’s compatible ink colors for vibrant, lasting designs.
How Long Does Infusible Ink Last Without Fading?
You can expect infusible ink to last over 50 washes without fading, thanks to its excellent ink longevity and fading resistance. The colors embed into the fabric fibers, preventing cracking or peeling.
To maintain this, store your projects away from direct sunlight and harsh chemicals. Following proper storage tips and gentle care guarantees your designs stay vibrant and durable for years, letting you enjoy your creations without worrying about fading anytime soon.
Can I Layer Different Colors of Infusible Ink?
You can’t layer different colors of Infusible Ink directly because layering techniques cause color blending that leads to bleeding. To handle design complexity, create each color on separate transfer sheets and press them one at a time, carefully aligning each layer.
This way, you avoid unpredictable mixing and achieve crisp, multi-colored designs. Always follow Cricut’s guidelines to make certain your project looks professional and vibrant without transfer failure.
Is Infusible Ink Safe for Kids to Use?
Think of Infusible Ink like a trusty quill, safe but needing care. Yes, it’s safe for kids because it uses non-toxic materials, but children’s safety depends on supervised use.
You should keep little ones away from the heat press since it gets very hot. Kids can help design and weed under your watchful eye, but always follow safety rules and keep tools out of reach to prevent accidents.
Conclusion
Now that you’ve mastered using Infusible Ink with your Cricut, you’re ready to bring your creative ideas to life with vibrant, lasting designs. Just remember, practice makes perfect. Don’t be afraid to experiment and learn from each project.
With the right steps and a little patience, you’ll be turning plain blanks into personalized masterpieces in no time. Keep your eye on the prize and watch your crafting skills soar!
Leave a Reply