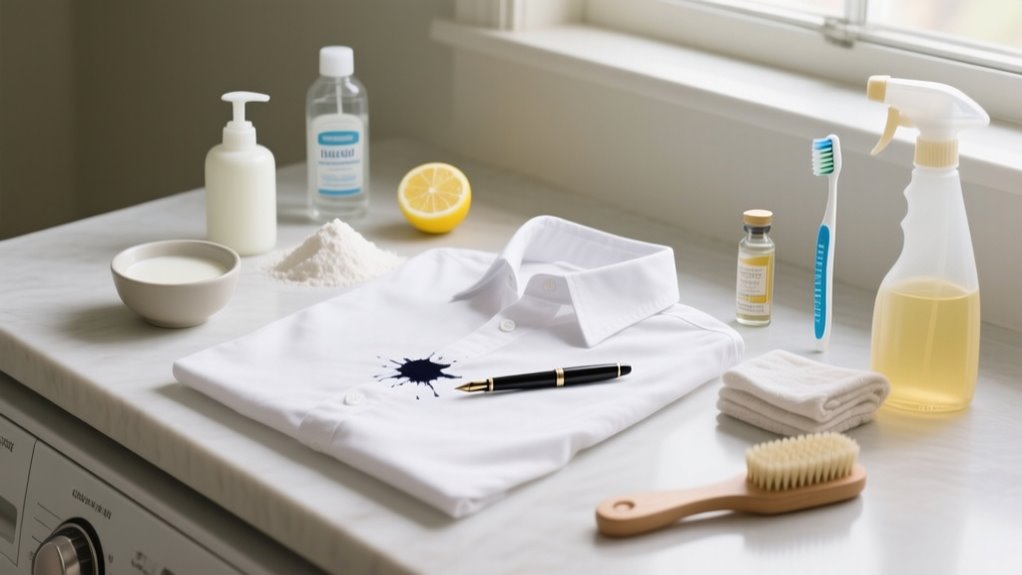
Yes, you can remove ink from clothes in 10 easy steps.
First, identify the ink and fabric type, then gently blot fresh stains without rubbing.
Test cleaning solutions on a hidden spot to avoid damage.
Use dish soap and water or pre-treat with alcohol-based products.
For stubborn marks, try acetone-based remover carefully.
Wash following care labels and air dry to check results.
You can repeat treatments if needed, and these steps will help you master the process effectively.
Identify the Type of Ink and Fabric First
Before you plunge into removing ink stains, you should first identify the type of ink and fabric you’re dealing with. Knowing the type of ink, whether water-based, oil-based, or permanent, helps you choose the most effective stain removal method. Permanent inks, like those in markers, resist removal more than water-based inks.
Next, check the fabric type since delicate fabrics such as silk or wool need gentler treatments to avoid damage. Always consult the care label on your garment to confirm the stain removal method you plan to use won’t harm the fabric.
Before applying any solution, test it on a hidden area of the fabric to see if it causes discoloration or damage. This quick test protects your clothing from worsening the stain or fabric harm.
Identifying the correct ink and fabric type upfront sets you up for successful ink stain removal without risking your clothes.
Blot Fresh Ink Stains Gently Without Rubbing
When you catch an ink stain fresh, gently blotting it can prevent the ink from spreading or settling deeper into the fabric. Use a clean, absorbent cloth or paper towel to press lightly on the stain, allowing it to absorb excess ink without rubbing.
Avoid any scrubbing or rubbing, as this only pushes the ink further into the fabric fibers or risks damaging delicate materials. For best results, start blotting from the outside edges of the stain and work your way inward to stop the ink from spreading.
Be patient and repeat this gentle blotting process several times. Gradual absorption is more effective and safer for your fabric than aggressive attempts. By carefully blotting fresh ink stains, you give yourself a better chance of removing the stain completely later without causing lasting damage to your clothes.
Test Cleaning Solutions on a Hidden Fabric Spot
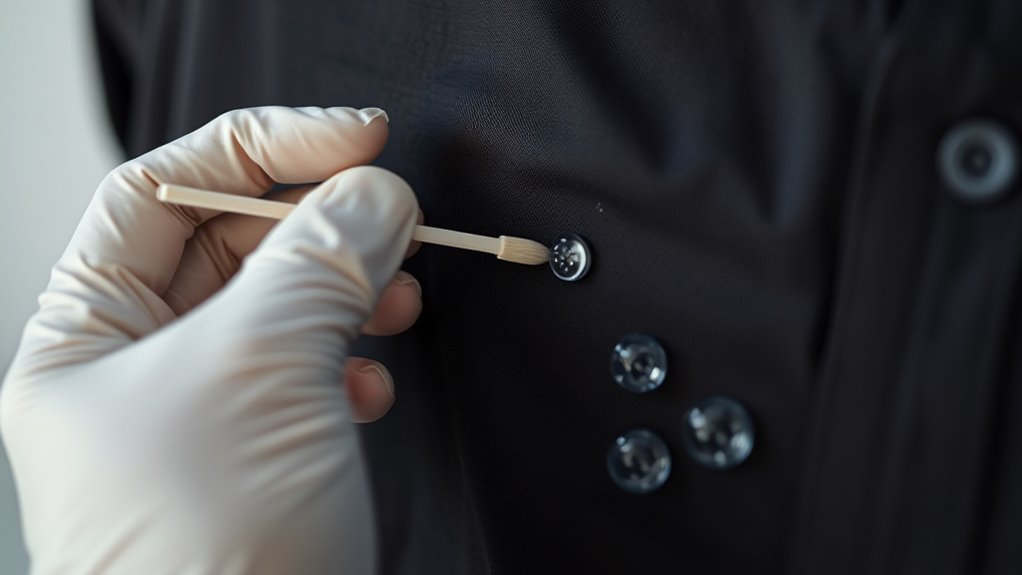
Before you apply any cleaning solution, it’s a good idea to test it on a hidden spot of the fabric first. This helps you check if the color will stay put or if it might fade.
Pick a safe solvent like rubbing alcohol or vinegar and dab a small amount on that hidden area. Then, just wait a few minutes. After that, rinse it off and take a close look to see if there’s any damage before you go ahead and treat the stain.
Identify Fabric Colorfastness
Although it might be tempting to apply ink removal solutions directly, you should always test them on a hidden area of your fabric first. This patch test helps you identify the fabric’s colorfastness and prevents unexpected damage.
Use a clean, white cloth or cotton swab to apply a small amount of your chosen solution to an inconspicuous spot. Wait at least five minutes to observe any changes.
Look for signs of color fading, bleeding, or fabric damage. If the fabric shows no adverse reaction, you can proceed confidently, knowing the solution is safe for the entire garment.
Skipping this step risks ruining your clothing, so always prioritize this simple test before tackling visible ink stains.
Choose Safe Cleaning Solvent
After confirming your fabric’s colorfastness, the next step is to select a cleaning solvent that won’t harm your garment. Always test any cleaning solution on a hidden fabric spot first.
Use a white cloth or cotton swab to apply a small amount of the cleaning solvent and watch closely for any discoloration or color transfer. Wait at least five minutes to ensure the fabric reacts well before proceeding with stain removal.
For delicate fabrics like silk or wool, exercise extra caution, as even initial testing can cause damage. Record your test results and follow the manufacturer’s care guidelines to guarantee solvent safety.
Perform Small Area Test
When you test cleaning solutions, always choose a small, hidden area of the fabric to avoid visible damage. Apply a small amount of the cleaning solution using a cotton swab or soft cloth, dabbing gently to prevent spreading.
Wait 5-10 minutes and observe the fabric for any reaction or discoloration. Make sure the fabric is completely dry before evaluating the results, as moisture can mask potential damage.
This small area test helps you confirm that the cleaning solution won’t harm or fade your fabric before treating the visible ink stain. Document any reactions you notice during the test.
Use Dish Soap and Water on Ink Stains
You’ll want to start by dampening the ink stain with some water—this helps the dish soap soak into the fabric better. Next, go ahead and apply the dish soap, then gently rub the area to break down the oils and pigments in the ink. It’s a pretty simple and convenient method, but keep in mind, you might need to try it a few times before you see noticeable results.
Dish Soap Application
Although dish soap won’t always remove ink stains completely, applying it with water can help loosen ink particles from fabric fibers. This method works as an easy pre-treatment step, especially for water-based ink.
To use dish soap effectively on fabric, follow these steps:
- Dampen the ink stains with water to soften the fabric.
- Gently rub a small amount of dish soap into the stain using a clean cloth or sponge.
- Rinse the area thoroughly with water and repeat if needed.
Dish soap’s surfactants help break down oil-based inks too, making it a versatile option for stain removal. While it may require multiple applications for deeper stains, this approach is simple and safe for most fabrics, boosting your chances of removing ink stains before washing.
Effectiveness On Ink
Since dish soap and water can only partially break down ink components, they usually achieve a moderate 3 out of 5 effectiveness in fading ink stains. This method loosens ink particles, reducing discoloration but rarely fully removes stains.
Its efficacy depends on the fabric type and ink composition, making repeated applications necessary. While dish soap is user-friendly, it’s less potent than an alcohol-based solvent for ink removal. Here’s a quick overview:
| Factor | Rating (out of 5) | Notes |
|---|---|---|
| Ink Removal | 3 | Partial fading, not complete |
| Ease of Use | 4 | Simple to apply |
| Fabric Safety | 4 | Generally safe for most fabrics |
| Stain Discoloration | 3 | Moderately effective |
| Compared to Solvent | 2 | Less effective than alcohol-based |
Pre-Treat Ink Stains With Alcohol or Hand Sanitizer
One effective way to tackle ink stains is by using alcohol-based products like hand sanitizer. Because hand sanitizer contains ethyl or isopropyl alcohol, it helps break down ink on fabric, making ink stain removal easier. Here’s how to pretreat your garment:
Using hand sanitizer’s alcohol content effectively breaks down ink stains, simplifying removal from fabric.
- Test the hand sanitizer on a hidden spot of the fabric to avoid discoloration.
- Apply a generous amount of hand sanitizer directly to the ink stain and let it sit for a few minutes. This loosens ink particles.
- Blot the area gently with a clean cloth to lift the ink off the fabric.
You might need to repeat these steps for tougher stains. Once done, wash the fabric in the hottest water safe for it. Using hand sanitizer as a pretreat is a simple and effective way to reduce ink stains before laundering.
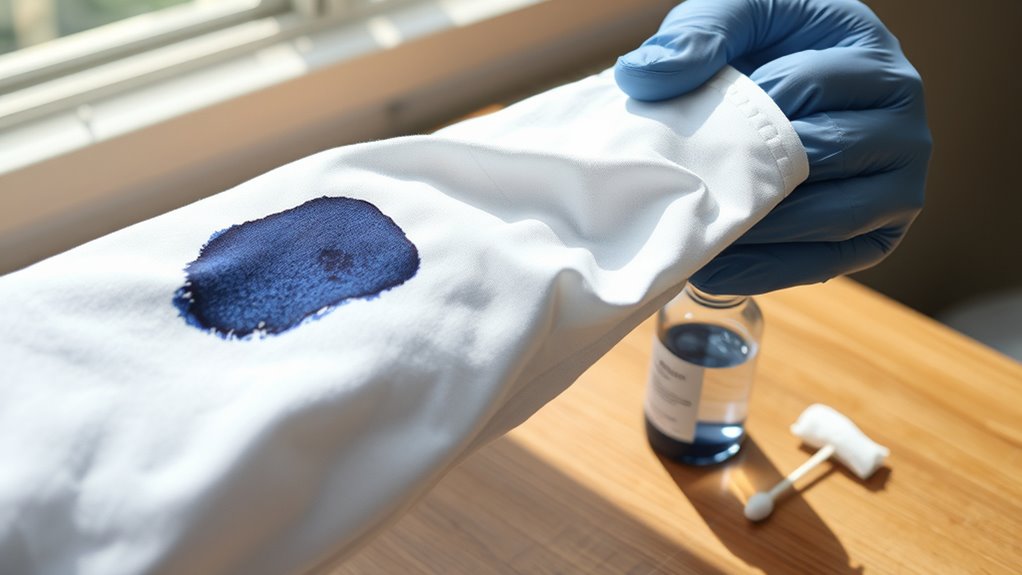
Use Isopropyl Alcohol for Stubborn Ink Marks
When ink stains refuse to budge, you can rely on isopropyl alcohol to break them down effectively. This powerful stain remover dissolves ink quickly, making it ideal for stubborn ink marks on fabric.
Start by testing isopropyl alcohol on a hidden area of the fabric to avoid discoloration. Then, apply it directly onto the ink stains using a cotton pad or cloth. Let it sit for a few minutes to penetrate the ink, loosening the stain.
Afterward, gently blot the area to lift the ink without spreading it further. Avoid rubbing, which can damage the fabric or spread the stain. Once the ink starts to fade, rinse the treated spot with cold water to remove any leftover alcohol and ink residue.
This step helps prevent the stain from setting permanently. Using isopropyl alcohol is a straightforward way to remove ink from clothes, especially when other stain removers fall short.
Try Acetone-Based Nail Polish Remover Carefully
If your ink stain resists other treatments, you can try acetone-based nail polish remover to break it down. This solvent works well on oil-based and permanent ink stains, but you need to be cautious to avoid fabric damage. Here’s how to use it safely:
- Test area first: Apply a small amount of acetone-based nail polish remover on an inconspicuous spot of the fabric to check for discoloration or damage.
- Apply gently: Dab the ink stains carefully with a cotton pad soaked in the remover. Avoid rubbing or spreading the stain.
- Rinse thoroughly: After treatment, rinse the fabric thoroughly with cold water to remove any leftover acetone and prevent further damage.
Wash Clothes Following Care Label Instructions
Before washing, make sure to check your garment’s care label. This helps you choose the right water temperature and cycle. Following these recommended settings not only protects your fabric but also makes it easier to get rid of ink stains. So, stick to these guidelines to keep your clothes looking their best.
Follow Fabric Care
Although tackling an ink stain feels urgent, you should always check your garment’s care label first. This helps you follow the recommended washing temperature and methods.
Proper fabric care is essential for effective stain removal without damaging your clothes. Here’s what to keep in mind:
- Identify the fabric type and follow the care label’s washing temperature and detergent guidelines to avoid setting ink stains.
- Choose a treatment method compatible with the fabric. Avoid bleach or harsh chemicals unless the label permits them.
- After treating the stain, wash as directed and air dry to prevent heat from fixing any remaining ink.
Following these steps guarantees you respect your fabric’s needs while maximizing ink stain removal success.
Choose Correct Water Temperature
After you’ve checked the fabric care label and chosen a treatment method, the next step is selecting the right water temperature for washing. Always follow the care label’s guidance to protect your clothes and optimize stain removal.
Hot water works best on durable fabrics because it helps break down ink stains more effectively during the wash cycle. However, if you’re dealing with delicate fabrics, cold water is safer to prevent damage, even though it might be less effective on stubborn ink stains.
For many fabrics, warm water strikes a balance, loosening ink without risking harm, as long as the care label permits it. Choosing the correct water temperature guarantees your garment stays intact while maximizing your chances of removing those pesky ink stains.
Air Dry Clothes to Check Ink Stain Removal
When you air dry your clothes after treating an ink stain, you give yourself a clear view of whether the stain is completely gone. Air drying is essential because applying heat too soon can set any leftover ink, making removal nearly impossible. By skipping the dryer, you protect your clothes and ensure your ink stain removal efforts worked.
Here’s why you should air dry and check your clothes:
- Visual Inspection You can clearly see if the ink stain is fully removed before heat locks it in.
- Prevent Setting Heat from dryers can permanently embed residual ink in fabric.
- Safe Re-treatment If the stain remains, air drying lets you apply more removal treatments without damaging the clothes.
Always air dry your clothes after ink stain treatment to check your progress and avoid heat that could ruin your stain removal results.
Repeat Ink Stain Treatments If Needed
If the ink stain doesn’t disappear after your first attempt, don’t worry. You can repeat the treatment to improve your chances of removal. Sometimes stubborn ink stains need multiple applications of a solvent like rubbing alcohol or hand sanitizer to break down the ink molecules fully.
After applying the treatment, make sure to wash the fabric thoroughly and air dry it before checking the stain. This drying step helps you see if the ink has been removed or if you need another round. Allow the fabric to dry completely between treatments to avoid setting the stain further.
Frequently Asked Questions
Can Ink Stains Cause Permanent Damage to Certain Fabrics?
Yes, ink stains can cause permanent damage depending on fabric type and stain severity. If the ink composition is permanent or oil-based, it sets quickly, especially if you delay cleaning.
Drying time affects how deeply the ink penetrates fibers, reducing colorfastness. Using harsh cleaning tools or chemicals on delicate fabrics risks weakening or discoloring them.
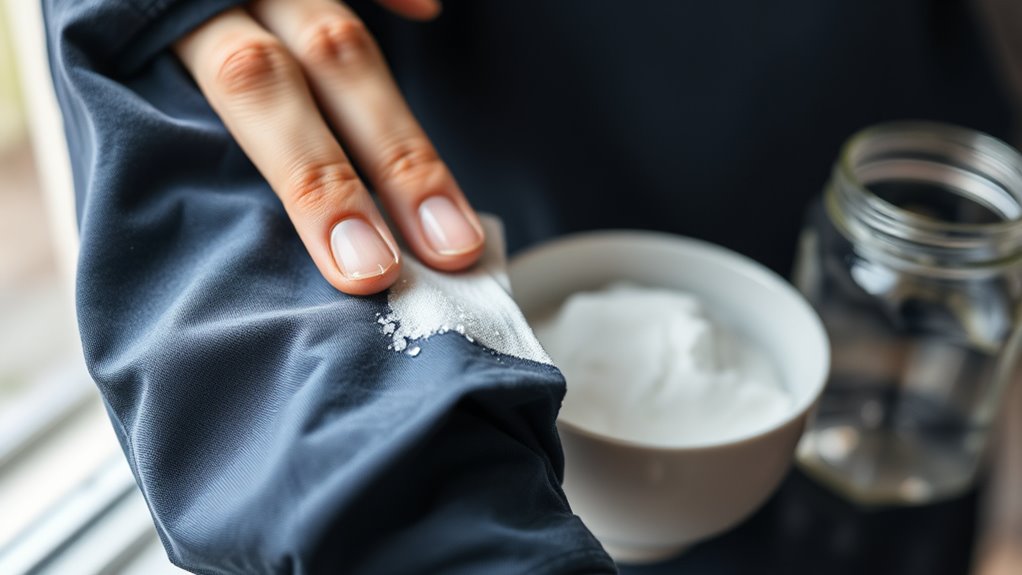
Are There Any Natural or Homemade Remedies for Ink Removal?
Before smartphones, you’d try natural remedies like lemon juice or baking soda to tackle ink stains. You can whip up homemade solutions using plant-based cleaners like vinegar and cornstarch, offering eco-friendly methods that are gentle on your clothes.
Non-toxic treatments like soaking fabric in milk or applying hydrogen peroxide work well, too. Always test these organic stain removal tricks on a small spot first to avoid any surprises.
How Long Should I Wait Before Treating an Ink Stain?
You shouldn’t wait long before starting stain removal. Treat the ink stain within minutes to prevent it from setting. Treatment timing is essential because different ink types bond quickly with fabric fibers.
Consider fabric sensitivity when choosing cleaning solutions to avoid damage. Quick action improves stain prevention and makes removal easier. If immediate treatment isn’t possible, soak the fabric soon after to loosen the ink before it dries completely.
Is It Safe to Use Bleach on Ink Stains?
You might worry bleach risks will ruin your favorite clothes, and that’s valid. Using bleach on ink stains isn’t always safe because chemical reactions can cause color fading and dye damage, especially on colored or delicate fabrics.
To protect fabric safety, test bleach on a hidden spot first and dilute it properly. Otherwise, stain persistence might tempt you to overuse bleach, which weakens fibers and worsens damage.
Can Ink Stains Be Removed From Delicate Fabrics Like Silk?
Yes, you can remove ink stains from delicate fabrics like silk, but you need to prioritize silk preservation. Use gentle cleaning methods that consider fabric compatibility, avoiding harsh solvents that harm dye stability.
Blot the stain carefully with minimal solvent to protect textile care standards. Acting quickly helps with stain prevention, and testing on a hidden area guarantees your approach won’t damage the fabric.
When unsure, rely on professional cleaning for best results.
Conclusion
Don’t let ink stains paint a permanent picture on your favorite clothes. With patience and these simple steps, you can wipe away those stubborn marks like a magician erasing a spell.
Remember, every stain is just a challenge waiting for your clever touch. So roll up your sleeves, follow the steps, and watch your clothes transform back to their spotless selves, ready to shine, stain-free, and as good as new.
Leave a Reply