
To remove ink from wood, first identify your ink type and wood finish, then test cleaning solutions on a hidden spot.
For light stains, gently apply a baking soda paste or rubbing alcohol.
Use a Magic Eraser for slightly tougher marks, and acetone-based nail polish remover for stubborn ink, but be careful to avoid damage.
If ink penetrates deeply, sand and refinish the area.
Finally, restore moisture and protect the surface to keep your wood looking great.
You can explore more detailed steps to guarantee success.
How to Identify Ink Types and Wood Finishes
Before you can remove ink from wood, you need to identify the type of ink and the wood finish you’re dealing with. Ink types like water-based ink are easier to remove since they sit mostly on the wood surface. Alcohol-based ink penetrates deeper and may need stronger solvents.
Next, check the wood finish, whether it’s lacquer, polyurethane, varnish, or wax. Some cleaning methods can damage certain finishes. Look for glossy, matte, or satin appearances to help identify the finish.
If you’re unsure about the wood treatment or finish, always test a small area before applying any cleaning solution. Knowing whether the wood is sealed, unfinished, or treated guides you toward the safest and most effective ink removal process. Taking these steps guarantees you protect your wood while tackling the ink stain efficiently.
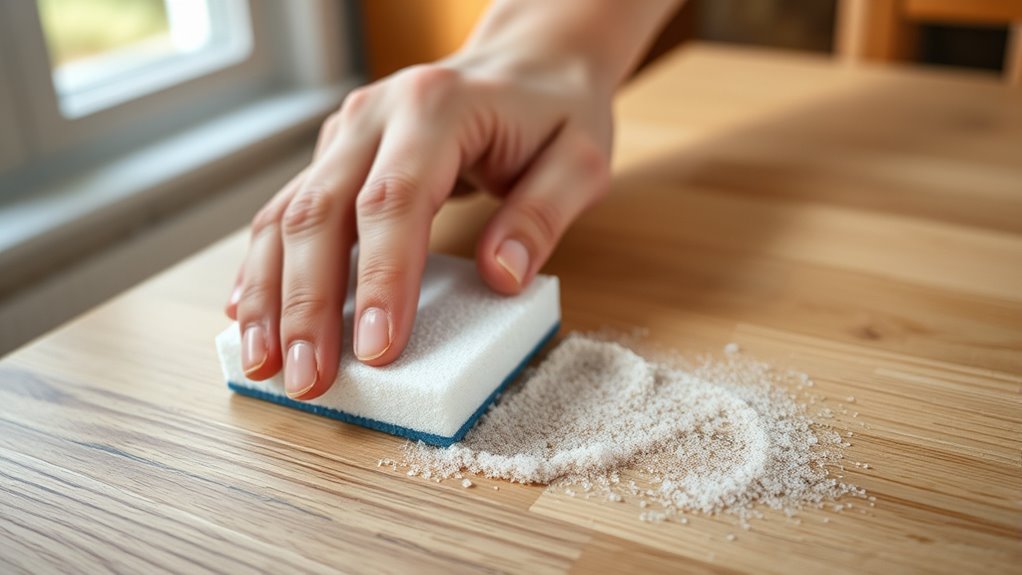
Use Baking Soda Paste for Light or Fresh Ink Stains
Start by mixing 2-3 tablespoons of baking soda with just enough water to make a thick paste. It’s a good idea to test the paste on a hidden spot first, just to be safe. Then, gently rub the paste onto the fresh ink stain using small circular motions.
After you’ve done that, let it sit for a few minutes. When the time’s up, wipe it off with a damp cloth and make sure to dry the area thoroughly. Easy and effective!
Preparing Baking Soda Paste
Mix 2 to 3 tablespoons of baking soda with just enough water to create a thick, spreadable paste. Use a clean spoon or spatula to mix the baking soda and water thoroughly, guaranteeing the paste is smooth and free of lumps. Adjust the water amount gradually to reach the ideal consistency, not too runny so it sticks well to the wood surface.
Before applying the paste to the ink stain, always test it on a small, inconspicuous area of the wood. This helps you avoid any potential damage or discoloration. Preparing the paste carefully ensures it will be effective in lifting light or fresh ink stains without harming your wood’s finish.
Applying and Cleaning
Although it may seem simple, applying the baking soda paste correctly makes all the difference when tackling light or fresh ink stains on wood. First, test the paste on a hidden wood surface to avoid damage.
Then, use a clean cloth to gently apply the baking soda paste onto the ink stain, rubbing in small circular motions following the wood grain. Let the paste sit for 2-3 minutes to lift the ink, or up to 5 minutes for tougher stains.
Afterward, wipe the area clean with a damp cloth, removing any residue. If the stain remains, just repeat the process until the ink stain is fully removed, ensuring your wood surface stays intact and clean.
Use Rubbing Alcohol and Hand Sanitizer for Moderate Ink Stains
When you’re tackling moderate ink stains, rubbing alcohol and hand sanitizer can really do the trick. Just be sure to apply them carefully.
It’s a good idea to test a small hidden spot first, so you don’t accidentally harm your wood’s finish. Then, use gentle, circular motions to lift the stain without causing any damage.
Alcohol-Based Ink Removal
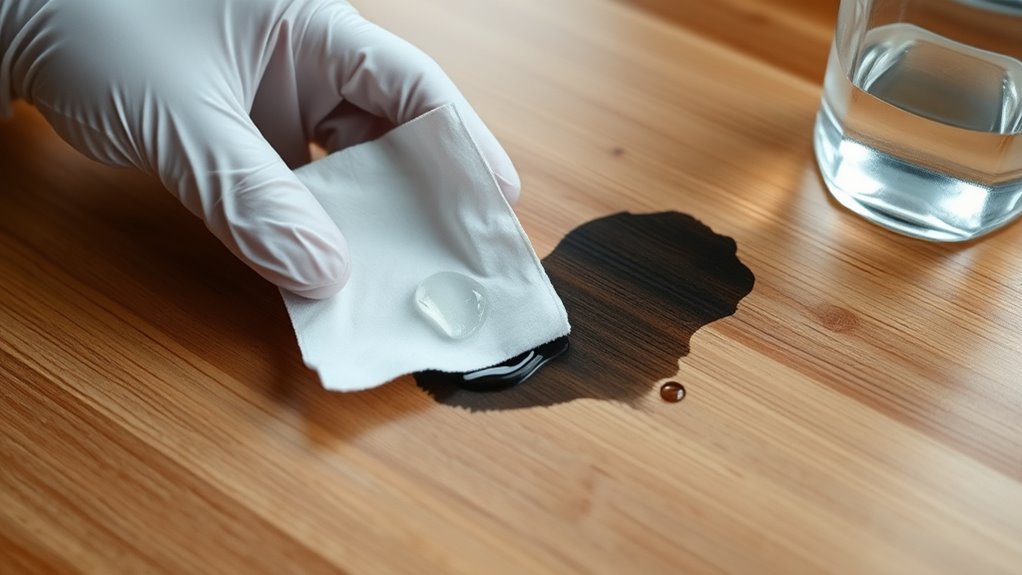
If you want to tackle moderate ink stains on wood, rubbing alcohol and hand sanitizer are effective tools you can use. Start by dampening a cotton ball or swab with rubbing alcohol and gently dab the ink stain on the wood surface. Avoid rubbing too hard to protect the finish.
Always test any alcohol-based product on a hidden spot first to ensure it won’t damage the wood or its oils. After applying rubbing alcohol, wipe the area with a clean, damp cloth to lift the ink and any leftover residue, then dry thoroughly.
If the stain remains, repeat the process with gentle application. This careful method helps remove ink stains while preserving your wood’s integrity and appearance.
Hand Sanitizer Application
Because hand sanitizer contains 60-70% alcohol, you can use it to effectively break down moderate ink stains on wood. This alcohol-based sanitizer targets the ink pigments, making removal easier without harming the wood surface.
To remove ink using hand sanitizer, follow these steps:
- Apply a small amount of hand sanitizer directly onto the ink stain.
- Let it sit for 30-60 seconds to break down the ink.
- Gently rub the stain with a soft cloth to lift the ink without damaging the finish of the wood.
- Wipe the area with a damp cloth to remove sanitizer and ink residue.
- Dry thoroughly to preserve the wood’s finish.
Using hand sanitizer offers a simple, effective way to tackle moderate ink stains while protecting the wood surface.
Safety And Testing
Using rubbing alcohol or hand sanitizer can effectively lift moderate ink stains from wood, but you need to take precautions to protect the finish. Always start with a spot test on a hidden area to check for any surface damage, especially if the wood has a delicate finish.
Apply a small amount of rubbing alcohol to a soft cloth or cotton swab, then use gentle application to avoid abrasion. Let the alcohol sit on the stain for 10-15 seconds before gently blotting, never rub, to lift the ink.
Afterward, wipe the area with a damp cloth to remove any residual alcohol. This careful method helps prevent damage and keeps your wood looking its best while safely removing ink stains.
Use Magic Eraser to Remove Light Ink Stains Safely
Wondering how to safely remove light ink stains from wood without damaging the finish? Using a Magic Eraser is an effective method to tackle those minor blemishes on your wood surface. First, wet the Magic Eraser slightly and test it on a hidden test area to ensure the finish stays safe.
Wondering how to safely remove light ink stains from wood? A damp Magic Eraser tested on a hidden spot works effectively.
Then, gently rub the ink stain with the eraser in small circular motions, applying light pressure. Keep rubbing for 5 to 10 seconds while frequently checking the surface to prevent dulling or damage. After the ink is removed, wipe the area with a damp cloth to clear any residue and dry it thoroughly. Avoid using excessive force to maintain the wood’s finish.
- Wet Magic Eraser before use
- Test on a hidden area first
- Gently rub ink stain in circles
- Frequently check to protect finish
- Wipe residue and dry surface
This careful approach helps you remove ink without harming your wood surface.
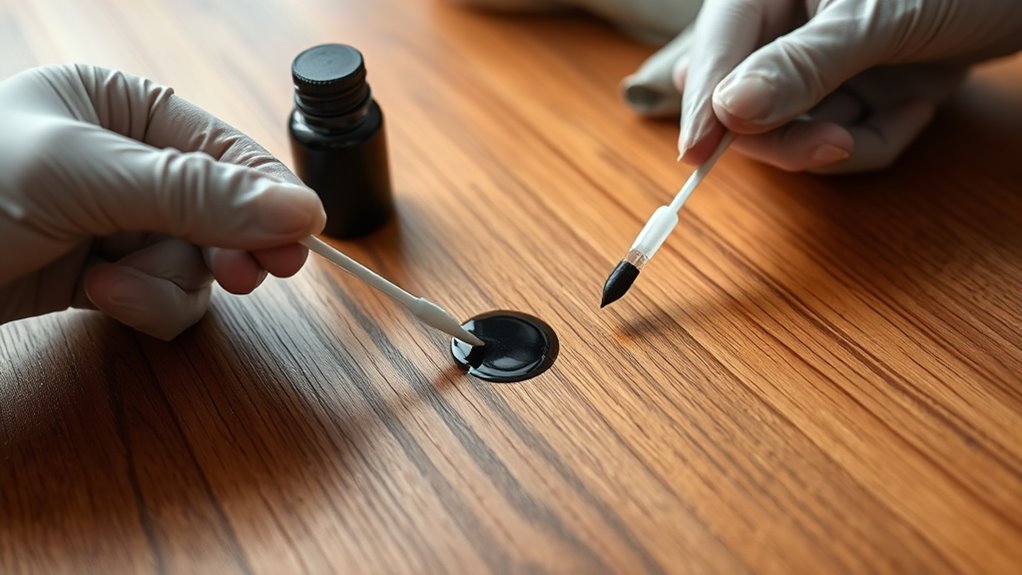
Remove Stubborn Ink With Acetone-Based Nail Polish Remover
If light methods haven’t worked, acetone-based nail polish remover can tackle stubborn ink stains on wood effectively. Start by testing the remover on a hidden wood spot to guarantee it won’t damage the finish.
Dip a cotton swab in the acetone-based nail polish remover and gently apply it to the ink stain, working from the outer edge inward. This prevents the pen ink from spreading further.
After 5 to 10 seconds, immediately wipe the area with a clean, damp cloth to remove any leftover acetone and dissolved ink. Use the remover sparingly and avoid letting it sit too long, as prolonged contact can strip or damage the wood’s finish.
This method provides a precise stain removal solution for tough pen ink on wood, helping you clean the surface without causing further harm. Always prioritize caution when using acetone to keep your wood looking its best.
Sand and Refinish Deep Ink Stains on Unfinished Wood
When acetone-based nail polish remover can’t fully lift deep ink stains from unfinished wood, sanding and refinishing offers a reliable solution. To effectively remove the ink stain, you’ll need to sand the affected wood surface carefully and then refinish it to restore its natural look.
Here’s how to approach this stain removal method:
- Sand the stained area thoroughly with 220-grit sandpaper, always following the wood grain.
- Frequently inspect the wood surface to ensure the ink stain is gone without over-sanding.
- Use a tack cloth or damp rag to clear away all dust before refinishing.
- Apply a matching stain or sealant to refinish the sanded area.
- Apply 2-3 coats for a consistent and uniform finish.
Reserve sanding and refinishing for deep, stubborn ink stains on unfinished wood when other methods fail. This approach restores the wood surface while eliminating tough ink marks effectively.
Protect and Restore Wood After Ink Removal
Although removing ink stains can restore your wood’s appearance, you’ll want to safeguard and replenish the surface to keep it looking its best. Start by applying a wood conditioner or a light oil like lemon or tung oil to restore moisture and bring back the wood’s natural shine.
If the cleaning process has dulled or stripped the finish, reapply a matching layer of polyurethane or varnish to seal and protect the area. Before restoring, make sure the surface is completely dry and free of any cleaning residue to achieve a smooth, uniform finish.
To prevent future surface damage, use desk pads, felt pads, or placemats in high-use areas. Regular maintenance with appropriate oils or finishes will help you defend the wood over time, prolonging its beauty and creating a durable barrier against stains and wear.
Taking these steps ensures your wood stays restored and protected for years to come.
Frequently Asked Questions
Can Ink Stains Reappear After Removal on Wood Surfaces?
Yes, ink stains can reappear on wood surfaces after removal. You need to think about ink absorption and surface porosity because wood grain can soak up ink deeply.
Stain reappearance often happens due to color bleeding from residual ink trapped beneath the surface. The pen type and age of the stain also matter. Older stains or certain inks might be harder to fully eliminate, which increases the chance the stain will come back when exposed to moisture or heat.
Is It Safe to Use Bleach on Wood Ink Stains?
Think of bleach as fire. It can burn away the stain but also scar the wood’s soul. You shouldn’t use bleach on wood ink stains because it harms protective coatings and causes uneven fading.
Instead, choose chemical alternatives or natural remedies like rubbing alcohol or baking soda. Focus on surface prep, careful residue removal, and proper drying times to avoid stain penetration.
Always protect the wood’s finish to keep it looking its best.
How Long Should I Wait Before Applying Wood Finish After Ink Removal?
You should wait at least 24 to 48 hours before applying a wood finish after ink removal. Drying time depends on your stain color, removal techniques, and cleaning solutions used.
Make sure the wood grain is completely dry and free of residues to avoid finish issues. Proper surface prep is key. Test a small area first.
Following these finishing tips ensures your wood looks flawless and the finish adheres perfectly.
Can Pet Urine Affect Ink Stain Removal on Wood?
Pet accidents pose pesky problems, especially for ink stain removal on wood. Yes, pet urine affects your efforts by causing urine damage that can alter the wood’s surface, making stain prevention tougher.
You’ll need pet-safe solutions and cleaning techniques focused on odor removal and thorough wood treatment. If you skip this, residual urine blocks cleaning agents, trapping ink and worsening stains.
Are Commercial Ink Removers Safe for Antique Wood Furniture?
Commercial ink removers aren’t always safe for antique wood furniture due to chemical reactions that can damage finishes and affect antique preservation. You should follow manufacturer guidelines carefully and opt for non-toxic options to minimize environmental impact.
When dealing with valuable pieces, professional consultation is your best bet to guarantee safety and preserve the wood’s integrity. Don’t risk your antiques by using harsh products without expert advice.
Conclusion
Now that you’ve tackled those pesky ink stains, your wood can shine like a diamond in the rough. Remember, gentle methods work wonders before you reach for harsher solutions.
Treat your wood with care, protect it well, and it’ll thank you by staying beautiful for years to come. With patience and the right steps, even the toughest ink marks don’t stand a chance. Your wood’s charm will always be the star of the show.
Leave a Reply