
Start by laying your white shirt flat and rinsing the ink stain immediately with cold water to prevent setting.
Dab the stain gently using rubbing alcohol and cotton pads, switching pads to avoid spreading ink.
Pretreat with dish soap, then rinse again with cold water.
Wash the shirt in cold water using a good detergent, and air dry it before checking for any leftover stain.
Keep following these steps closely, and you’ll discover how to restore your shirt effectively.
Prepare Your Shirt and Gather Supplies

Before you begin, lay your white shirt flat on a clean, smooth surface to prevent the ink from spreading. This step is essential to prepare the stain for effective treatment.
Next, place white paper towels underneath and inside the shirt. These will absorb excess ink and protect other areas from getting stained.
Now, gather your supplies: rubbing alcohol (90%), cotton pads or swabs, and a clean cloth for blotting. Make sure you have everything ready before you start.
Check that the stained area is easily accessible. This way, you can target the ink precisely without spreading it further.
Also, confirm that your shirt is made of cotton or a fabric compatible with alcohol-based stain removal methods. Otherwise, you risk damaging the material.
Preparing your shirt and supplies carefully sets you up for success in removing the ink stain efficiently and safely.
Use Rubbing Alcohol to Remove the Ink Stain
First, grab a cotton pad or a paper towel and place it right on the ink stain. Then, pour some rubbing alcohol directly onto the pad. Next, gently blot the stained area—make sure to switch to a fresh pad as it absorbs the ink. Keep doing this until you notice the stain isn’t coming off onto the pad anymore.
Preparing The Stain
Three simple materials, rubbing alcohol, cotton pads, and paper towels, can help you tackle ink stains effectively. Start by laying your ink-stained white shirt flat on a clean surface. Place white paper towels underneath and inside the garment to catch any excess ink and rubbing alcohol.
Next, dampen a cotton pad with 90% rubbing alcohol, making sure it’s saturated but not dripping. Gently blot the ink stain using the alcohol-soaked pad, applying light pressure to lift the ink without spreading it further. Keep blotting until the ink transfers to the cotton pad, swapping it out as it becomes soaked.
Finally, rinse the treated area immediately with cold water to remove leftover alcohol and loosened ink particles. This prepares the stain for the next removal step.
Applying Rubbing Alcohol
Once you’ve prepared the stain by laying the shirt flat and positioning paper towels to catch excess liquid, you can begin applying rubbing alcohol directly to the ink spot. Dampen a cotton pad or cloth with 90% rubbing alcohol and gently dab it onto the ink stain.
Use steady, gentle pressure while blotting to lift the ink without spreading it further. Be sure to replace the cotton pad frequently once it becomes saturated with ink, maintaining the effectiveness of your ink stain removal. This method helps transfer the ink from the fabric onto the alcohol-soaked pad.
After you finish applying rubbing alcohol, rinse the treated area immediately with cold water to remove any residual alcohol and ink. This step is essential for successful ink stain removal.
Blotting And Lifting
Although it might seem tempting to rub the stain, you’ll want to blot it gently with rubbing alcohol instead. Apply the alcohol onto the ink stain with a cotton pad or clean cloth, then start blotting. This method lifts the ink from the fabric onto the alcohol-soaked material without spreading it.
Replace the cotton pad as it gets saturated to keep blotting effective. Use light, steady pressure to avoid pushing the stain further into the fabric. Once the ink has lifted, rinse the area with cold water to remove any leftover alcohol and ink residue.
Here’s a quick overview:
| Step | Action |
|---|---|
| Apply alcohol | Use cotton pad or clean cloth |
| Blot gently | Lift ink without rubbing |
| Replace pad | Prevent saturation |
| Rinse | Use cold water after blotting |
Blot the Ink Stain Gently Without Spreading
You’ll want to blot the ink stain gently instead of rubbing it, so you don’t end up spreading the ink even more. Grab a clean cotton pad or cloth and press it lightly—think of lifting the ink up rather than pushing it deeper into the fabric. Oh, and don’t forget to switch out the blotting material often. That way, you keep the surface clean and make sure you’re actually removing the ink.
Blot Don’t Rub
If you want to prevent the ink from spreading, gently blot the stain with a clean cloth or paper towel instead of rubbing it. Rubbing pushes the ink deeper into the fabric, making stain removal harder.
Use a light, dabbing motion to lift the ink without smudging or enlarging the stain. Place a paper towel or clean cloth underneath the fabric to catch any ink that seeps through, protecting other parts of your shirt.
Keep blotting carefully until no more ink transfers to your cloth. This technique helps you remove the stain effectively while minimizing damage to the fabric.
Use Clean Cotton
Building on the importance of blotting rather than rubbing, using clean cotton pads can make a big difference when tackling ink stains. You should gently blot the stain with a clean, absorbent cotton pad to lift the ink without spreading it.
Press lightly to absorb as much ink as possible before applying any cleaning solution. Avoid rubbing, as it pushes ink deeper into the fabric. Keep the cotton pad clean to maximize ink removal efficiency.
| Step | Action | Purpose |
|---|---|---|
| 1 | Use clean cotton pad | Avoid spreading the stain |
| 2 | Gently blot | Lift ink without rubbing |
| 3 | Press lightly | Absorb ink effectively |
| 4 | Maintain pad cleanliness | Maximize removal efficiency |
Replace Pads Frequently
While blotting the ink stain, replace your cotton pads frequently to prevent spreading ink back onto the fabric. Using fresh pads guarantees you don’t reapply ink to the white cloth, which can make the stain worse.
Always blot the stain gently, dabbing rather than rubbing, so the ink doesn’t embed deeper into the fibers. When you replace pads frequently, you keep removing fresh ink residues instead of recycling contaminated material.
This simple step improves your chances of lifting the stain more thoroughly before washing. Remember, consistent pad replacement keeps the blotting process effective, helping you restore your white shirt to its clean, ink-free state without spreading the stain further.
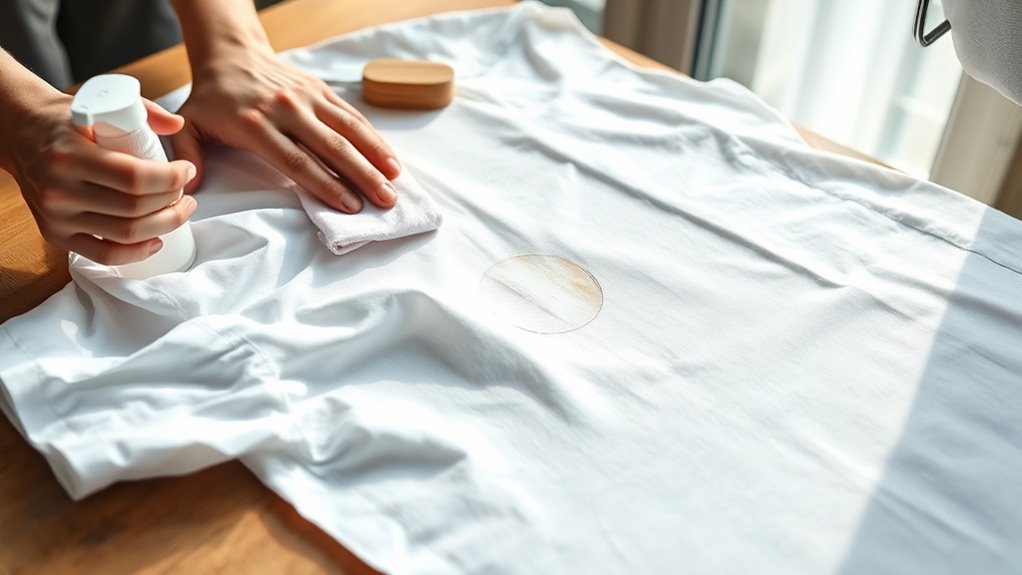
Pretreat the Ink Stain With Dish Soap
Since dampening the stained area helps loosen the ink, start by wetting the fabric with a little water before applying dish soap. Next, put a small amount of dish soap directly onto the ink stain. Use a damp cloth to gently rub the soap into the fabric, breaking down the ink pigments.
This method works well for stain removal because dish soap is designed to cut through oils and residues, which helps lift the ink from the fibers. Let the dish soap sit on the stain for a few minutes to allow it to penetrate deeply.
If the stain is stubborn, don’t hesitate to repeat the process, applying more dish soap and rubbing again with the damp cloth. This pretreatment is essential for loosening the ink before you move on to rinsing.
Taking these steps carefully will improve your chances of fully removing the ink from your white shirt.
Rinse the Area Immediately With Cold Water
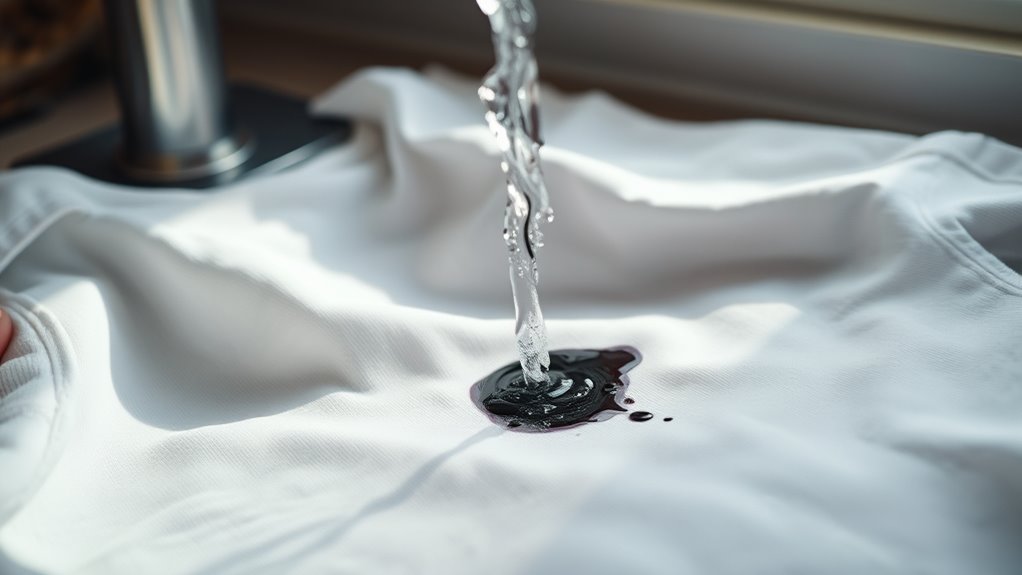
After applying dish soap, rinse the stained area immediately with cold water to prevent the ink from setting further into the fabric. Acting quickly is essential because cold water helps dilute the stain and stops it from bonding permanently with the fibers.
Rinse ink stains immediately with cold water to prevent permanent setting and effectively dilute the stain.
Make sure to use cold running water directly on the ink stain for at least 5 minutes to flush out as much ink as possible.
Keep these tips in mind when you rinse:
- Use cold water, never warm or hot, to avoid coagulating the ink.
- Hold the stained area under running water to push ink out.
- Rinse as soon as possible for the best results.
- Avoid scrubbing, which can spread the stain.
- Early rinsing reduces the need for harsh chemicals later.
Following these steps increases your chances of removing the ink stain effectively and keeps your white shirt looking clean.
Wash the Shirt in Cold Water Using Suitable Detergent
Once you’ve rinsed the ink stain thoroughly with cold water, it’s time to wash the shirt using a suitable detergent that targets stains effectively. Choose a high-quality detergent designed for stain removal, like Tide Ultra Stain Release, to boost your chances of success.
Always use cold water for the wash cycle to prevent the ink from setting deeper into the fabric. Set your washing machine to a gentle or normal cycle at the manufacturer-recommended cold water temperature. This careful approach helps lift the ink without damaging the shirt.
Rinsing beforehand dilutes any lingering ink, making the detergent’s job easier during the wash. After the cycle finishes, check the stained area before moving on to drying. This ensures you catch any remaining ink.
Air Dry and Check Before Retreatment
How do you guarantee the ink stain is truly gone before moving on? After treating the stain, always air dry the shirt to avoid heat setting any remaining ink. Once dry, you need to carefully check the area to confirm effective stain removal. Here’s what you should do:
Air dry the shirt completely before inspection. Check the stained area under natural light for clear visibility. Avoid using a dryer until you’re sure the stain is gone.
Gently inspect the fabric for any discoloration or residue. Only proceed with further treatment if you spot remaining ink.
Frequently Asked Questions
Can I Use Other Alcohol Types Besides Rubbing Alcohol?
Yes, you can use alcohol alternatives like denatured alcohol, methylated spirits, or ethanol-based hand sanitizers for stain removal. Just remember to prioritize fabric safety by testing these products on a small, hidden area first.
Some alternatives may be less effective or cause discoloration, so a patch test helps you avoid damage. Using alcohol with a higher concentration usually improves ink removal, but always proceed cautiously to protect your shirt’s fabric.
Will This Method Work on Colored Shirts Too?
About 30% of colored fabrics experience color removal issues when treated improperly. So, this method can work on colored shirts, but you must prioritize dye compatibility and fabric safety.
Always test the solvent on a hidden spot first to avoid unwanted fading or bleeding. Use gentle, color-safe products and cold water to protect the fabric’s hue.
Following these steps helps you remove ink without ruining your favorite colored shirts.
How Long Should I Wait Before Rewashing the Shirt?
You should wait at least 15 to 30 minutes before rewashing your shirt to allow the stain removal solution to fully penetrate the fabric. For tougher ink stains, waiting up to an hour can improve results. This pause helps break down the ink effectively, ensuring better fabric care.
Is It Safe to Use Bleach on Ink Stains?
You shouldn’t use bleach on ink stains because bleach safety concerns arise from its potential to damage fabric and worsen the stain. Instead, follow stain removal tips that involve alcohol-based solvents or specialized stain removers.
Always prioritize fabric care by testing any product on a hidden area first. Bleach may cause discoloration or permanent marks, so it’s best to avoid it for ink stains to keep your shirt looking its best.
What if the Ink Stain Is Old and Set In?
If the ink stain is old and set in, you’ll need to think carefully about the fabric type and stain color. Older ink stains usually require repeated treatments with alcohol-based solvents or commercial stain removers.
Since ink age affects how deeply it’s embedded, pre-soaking your shirt in warm water with detergent can help. Be patient and avoid bleach on delicate fabrics or colored inks, as it might damage the fabric or change the stain color.
Conclusion
Now that you’ve tackled the ink stain step by step, your white shirt is ready to shine like new again. Remember, treating stains quickly is your secret weapon. Think of it as a race against time where you’re the champion.
So don’t wait! Follow these simple steps, and you’ll turn those pesky ink marks into nothing more than a distant memory. Your shirt and your confidence will thank you!
Leave a Reply