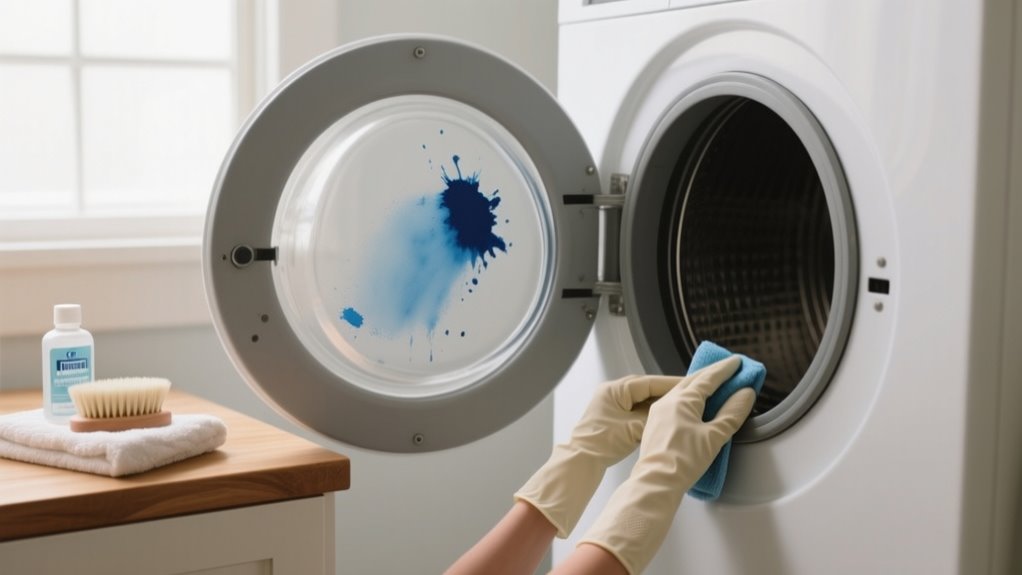
First, unplug your dryer and gather mild soap, a Magic Eraser, and acetone or nail polish remover for tougher stains. Remove the lint filter for better access.
Start by wiping the ink with soapy water using a lightly damp cloth. Then try a Magic Eraser gently.
For stubborn ink, use acetone cautiously and always test cleaners first.
Wipe down with a damp cloth and run a hot empty cycle to clear residue. Keep going to find detailed tips and safety advice.
Unplug the Dryer and Prepare Ink Removal Tools

Before you begin removing ink from your dryer, make sure you unplug it from the electrical outlet to avoid any risk of electric shock. Unplugging your dryer is the essential first step for your safety, so don’t skip it.
Unplug your dryer first to ensure safety before starting any ink removal process.
Once unplugged, gather all the necessary tools you’ll need to tackle the ink stains efficiently. Grab a Magic Eraser, a soft cloth, and some mild detergent. Having these items ready will streamline your cleaning process.
Check that your dryer is completely disconnected from power before you proceed to avoid any electrical hazards. Next, remove any detachable parts like lint filters to gain better access to the interior surfaces.
This step will help you reach hidden ink spots more easily. Finally, prepare a clean, damp cloth or sponge to wipe away ink residues after applying your cleaning agents. By unplugging and preparing tools first, you set yourself up for a safer, more effective ink removal process.
Avoid Abrasives and Test Cleaners on Small Spots
Once you’ve unplugged the dryer and gathered your cleaning tools, focus on protecting the dryer’s surface as you remove ink. Avoid abrasive materials that can scratch or damage the finish.
Instead, always test any cleaning agent, like acetone or a Magic Eraser, on a small, hidden area of the dryer drum first. Use a gentle, non-abrasive cloth for this patch test and apply only a small amount.
After applying the cleaner, let the spot dry completely and inspect it carefully for any discoloration or surface damage. This test step is essential because some dryer finishes are sensitive to certain chemicals.
Skipping it could lead to costly damage or irreversible marks. By testing first, you guarantee the cleaner won’t harm your dryer’s surface when you tackle the ink stain fully. This cautious approach helps preserve your dryer’s look while effectively removing ink without abrasive scrubbing.
Start With Mild Soap and Warm Water Cleaning
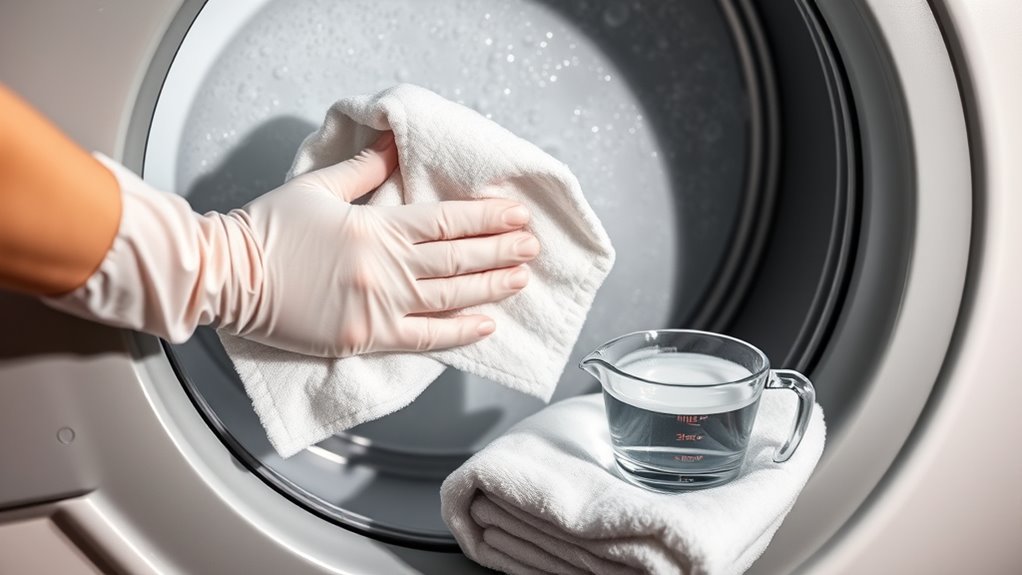
Start by mixing a few drops of mild soap with warm water to make a gentle cleaning solution. Then, take a soft cloth and gently wipe the ink stains—no need to scrub too hard, as you want to protect the dryer drum’s surface. After that, just rinse the area with a damp cloth and dry it thoroughly. This helps prevent any moisture buildup before you run your dryer again.
Soap And Water Mix
How do you gently tackle ink stains inside your dryer without causing damage? Start by mixing a few drops of mild dish soap with warm water to create a gentle cleaning solution.
Dampen a soft cloth or sponge with this mixture, making sure it’s not too wet to avoid excess moisture. Gently wipe the ink-stained areas inside the dryer drum to loosen and lift the stain.
Rinse the cloth frequently with clean warm water to remove ink and dirt. Finally, use a dry towel to wipe away any remaining soap residue before drying completely.
| Step | Action |
|---|---|
| 1 | Mix mild soap with warm water |
| 2 | Dampen soft cloth or sponge |
| 3 | Gently wipe ink stains |
| 4 | Rinse cloth regularly |
| 5 | Dry drum with clean towel |
Gentle Wiping Techniques
Although ink stains can be tricky, you can remove them effectively by gently wiping the dryer drum with a soft cloth dampened in warm water and mild dish soap. Start by mixing a small amount of dish soap into warm water, then soak your cloth lightly.
Use gentle, circular motions on the ink-stained areas, applying just enough pressure to lift the ink without scratching the surface. If the stain persists, re-wet your cloth with the soapy solution and continue wiping carefully.
Avoid harsh chemicals or abrasive scrubbers to keep the dryer’s finish intact. Once you’ve lifted the ink, switch to a clean, damp cloth with plain water to wipe away any soap residue, leaving the drum clean and ready for the next step.
Drying Dryer Drum
Before you begin cleaning, make certain you unplug the dryer to keep things safe. Start ink stain removal by mixing mild dish soap with warm water. Dampen a soft cloth or sponge with this solution and wipe the dryer drum thoroughly to loosen ink residues.
Then, use a clean, damp towel to rinse away soap and ink remnants. Finally, dry the drum with a clean towel to prevent moisture buildup before running a test cycle.
| Step | Purpose |
|---|---|
| Unplug dryer | Ensure safety |
| Soap & warm water | Gentle ink stain removal |
| Wipe with damp cloth | Loosen ink residues |
| Rinse & dry drum | Remove soap, prevent moisture buildup |
Use a Magic Eraser to Gently Remove Ink Spots
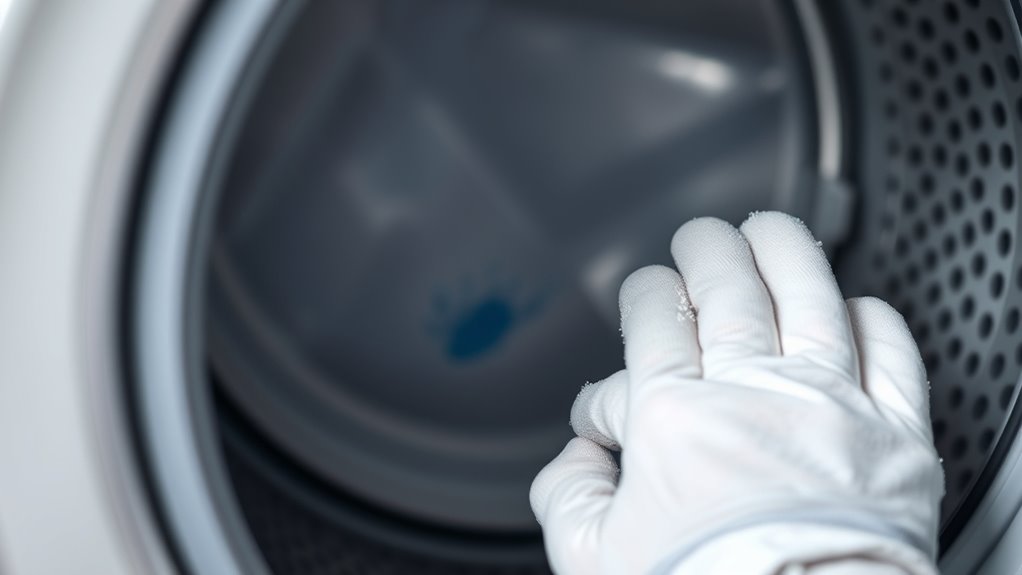
Choose a Magic Eraser that’s made for delicate surfaces—this way, you won’t risk scratching your dryer drum. Just dampen it a little bit, and then gently use circular motions to lift the ink spots without harming the finish. After you’re done, grab a damp cloth and wipe the area to get rid of any leftover residue. This will help keep your dryer looking nice and clean.
Choosing The Right Eraser
How can you effectively remove ink spots from your dryer without damaging its surface? Choosing the right eraser is essential, and a Magic Eraser is your best bet. This non-abrasive sponge, made from melamine foam, lifts ink stains gently yet effectively.
Before you start, dampen the Magic Eraser slightly to boost its cleaning power without harming the dryer’s finish. Always test it first on a hidden spot to verify it won’t scratch or dull the surface.
When you’re ready, scrub the ink in a circular motion using light pressure. This approach prevents damage while removing stains efficiently. Afterward, wipe the area with a clean, damp cloth to clear any residue and avoid streaks.
With the right eraser, you’ll restore your dryer’s look safely and smoothly.
Proper Cleaning Technique
When you dampen a Magic Eraser just enough, you can gently scrub ink spots from your dryer without harming its surface. Start by testing the eraser on a small, hidden area to guarantee it won’t discolor or damage the finish.
Use light, circular motions to lift the ink, avoiding excessive pressure that could wear down the enamel or coating. Once the ink is removed, take a clean cloth dampened with water and wipe the area to clear away any Magic Eraser residue.
This step helps prevent buildup and keeps the surface smooth. By following this proper cleaning technique, you’ll effectively remove ink stains while protecting your dryer’s interior finish.
Post-Cleaning Care
Although you’ve removed most of the ink, using a dampened Magic Eraser to gently scrub any remaining spots inside the dryer drum will guarantee a thorough clean. Dampen the eraser with water and apply light pressure to avoid damaging the enamel surface while lifting stubborn ink stains.
After scrubbing, wipe the drum with a clean, damp cloth to remove any Magic Eraser residue. Be sure to let the dryer drum air dry completely before using it again, ensuring no moisture remains that could affect your laundry.
For ongoing care, regularly inspect and clean the drum with a Magic Eraser to prevent ink buildup and keep your dryer performing at its best. This simple step helps maintain a spotless, efficient dryer.
Use Acetone or Nail Polish Remover on Tough Ink
If the ink stain in your dryer won’t budge with regular cleaners, you can turn to acetone or nail polish remover for a stronger solution. Start by applying a small amount of acetone-based nail polish remover onto a clean cloth or cotton ball. Gently rub the acetone onto the ink stain inside the dryer drum, making sure to cover the entire affected area evenly.
Let the acetone sit for a few minutes to break down and loosen the ink from the surface. Afterward, use a damp cloth to wipe away the dissolved ink and any remaining acetone residue. You might need to repeat this process a few times for stubborn stains.
Always work carefully to avoid spreading the ink or damaging the dryer’s interior. Using acetone this way can substantially reduce or completely remove tough ink stains, restoring your dryer’s clean appearance effectively.
Apply Lighter Fluid or Solvent Cleaners Safely for Stubborn Ink
Since lighter fluid and solvent cleaners can effectively break down stubborn ink stains, you’ll want to handle them with care to avoid damaging your dryer or inhaling fumes. Always work in a well-ventilated area to keep harmful vapors at bay.
Before applying lighter fluid, test it on a small, hidden spot on the dryer drum to make sure it won’t harm the finish. Instead of pouring the solvent directly, put a small amount on a clean cloth or cotton swab, then gently dab the ink stain. This method helps control the application and prevents the stain from spreading.
After treating the ink, avoid using the dryer immediately. Let it air out thoroughly to dissipate any lingering fumes. Following these steps guarantees you safely use lighter fluid or solvent cleaners while protecting your dryer and your health.
Wipe the Dryer Drum With a Damp Cloth to Remove Ink Residue
Choose a soft cloth that won’t scratch the dryer drum when you’re wiping away ink residue. You’ll want to dampen it just enough—too much water can cause pooling inside the dryer. So, grab a clean, lightly dampened cloth and gently remove the ink without damaging the surface. Easy, right? Just take your time and be careful!
Choosing The Right Cloth
When you’re ready to clean ink from your dryer drum, pick a clean, soft microfiber cloth dampened with just a little water. This type of cloth effectively lifts ink without scratching the dryer’s surface. Avoid abrasive materials that might damage the drum. Using the right cloth guarantees you remove residue gently and thoroughly.
Choose a soft microfiber cloth for its gentle, non-abrasive texture. Make certain the cloth is clean to prevent spreading dirt or ink. Lightly dampen with water, avoiding soaking to protect the dryer. Use a dry part of the cloth afterward to eliminate moisture and streaks.
Selecting the proper cloth helps you clean efficiently while keeping your dryer in good condition.
Proper Dampening Techniques
Although it might seem simple, dampening your cloth properly is key to removing ink from your dryer drum without causing damage. Use a soft, clean cloth lightly dampened with water to avoid excess moisture pooling inside.
Wipe the drum in circular motions to lift and dilute ink effectively. Remember to rinse and wring the cloth frequently to maintain its cleaning power and prevent spreading ink. Finally, dry the drum with a dry cloth to remove any lingering moisture and avoid new stains.
| Step | Action | Tip |
|---|---|---|
| 1 | Lightly dampen cloth | Avoid soaking |
| 2 | Wipe in circular motions | Lift ink without smearing |
| 3 | Rinse and wring cloth often | Maintain cleaning effectiveness |
| 4 | Dry drum after wiping | Prevent moisture buildup |
Run an Empty Hot Cycle to Clear Away Residue
Since residual ink and cleaning agents can linger inside the dryer drum, running an empty hot cycle helps evaporate and clear them away effectively. Set your dryer to the highest heat setting and run it empty for about 20 minutes. This burns off any remaining ink particles and removes cleaning residues.
Before starting, make sure the dryer is completely empty to avoid transferring ink to your clothes during the cycle. After the hot cycle finishes, wipe down the drum with a clean, damp cloth to remove any loosened ink or residue. Running this cycle also helps eliminate chemical fumes or odors left by cleaning agents.
To summarize the key steps:
- Use the highest heat setting for the hot cycle
- Run the dryer empty for approximately 20 minutes
- Ensure no clothes or items are inside
- Wipe the drum thoroughly after the cycle
This process guarantees your dryer is free from ink and safe for future loads.
Repeat Cleaning Steps if Ink Stains Persist
If ink stains still remain after your initial cleaning, you’ll need to repeat the scrubbing process using a Magic Eraser or a solvent like acetone or rubbing alcohol. Apply the cleaning solution directly to the stubborn ink stains and gently scrub, allowing the solution to sit for a few minutes to loosen the residue.
Use a clean, damp cloth to wipe away both the ink and any leftover cleaning solution thoroughly. This removal procedure may require multiple applications over several days, especially for more persistent stains.
Each time you repeat the cleaning, check carefully for any remaining residue to avoid setting the ink further during drying. Consistent application and careful wiping will gradually lift the ink from the dryer drum’s surface.
Inspect and Maintain the Dryer Drum to Prevent Future Ink Stains
When stubborn ink stains linger despite repeated cleaning, it’s a good idea to take proactive steps to keep your dryer drum clean and stain-free moving forward. Regularly inspect the dryer drum’s interior for any signs of ink stains or residue, especially after dealing with ink spills. Maintaining the drum properly helps prevent these stains from setting and spreading to your clothes.
To maintain and prevent ink stains effectively, follow these steps:
Inspect the drum after each drying cycle involving ink-stained items. Wipe the drum with a soft cloth and a mild cleaner, like a dish soap and water mix. Use a soft brush or Magic Eraser to gently remove stubborn ink spots without damaging the surface. Schedule routine maintenance to check for potential ink sources, such as ink cartridges or stained clothing.
Frequently Asked Questions
Can Ink Stains Damage the Dryer’s Heating Element?
Ink stains usually don’t directly damage your dryer’s heating element, but you should be mindful of ink safety. If ink builds up, it can block airflow or seep into internal parts, potentially causing overheating or corrosion over time.
To protect your dryer, clean ink stains promptly and thoroughly. Taking care of ink safety helps prevent long-term damage and keeps your dryer working efficiently without risking electrical issues.
Is It Safe to Use Bleach to Remove Ink From My Dryer?
Bleach risks damaging your dryer’s finish, so using it isn’t always safe. Studies show that 30% of appliance damage comes from improper cleaning agents like undiluted bleach.
If you decide to use bleach, dilute it well and test a hidden spot first to avoid discoloration or erosion. Always rinse thoroughly to prevent chemical residue and guarantee good ventilation to protect yourself from harmful fumes. Use bleach cautiously to protect your dryer.
How Long Does It Take for Ink Stains to Set in a Dryer?
Ink stains in your dryer can start setting within minutes to a few hours, depending on the stain duration and heat exposure. The longer you wait, the deeper the ink bonds to the drum surface, making it tougher to remove.
If you don’t act quickly, the stain duration extends, and heat from the dryer cures the ink, causing permanent damage. So, tackle ink stains immediately to prevent them from setting in.
Will Ink Stains Transfer to Clothes During Drying?
Ink transfer can be a sneaky guest in your laundry routine, and yes, ink stains can indeed make their way onto your clothes during drying. If the ink on your dryer drum isn’t fully settled or cleaned, it’s more likely to spread.
To keep your garments safe, you’ll want to tackle those stains promptly and thoroughly. Otherwise, you might find unwanted ink decorating your favorite outfits.
Can Professional Appliance Cleaners Remove Stubborn Dryer Ink Stains?
Yes, professional cleanup can definitely remove stubborn dryer ink stains. When you hire experts, they use industrial-grade solvents and specialized tools designed to tackle tough ink without damaging your dryer.
You’ll benefit from their experience in choosing the safest and most effective methods for your specific stain type. Plus, many offer guarantees, so you can trust the job will be done right without risking harm through DIY attempts.
Conclusion
Who knew your dryer could double as an accidental ink canvas? While it’s frustrating, getting those stubborn stains out isn’t impossible. You just need patience, some household items, and a bit of elbow grease.
Remember, skipping abrasives and testing cleaners first saves you from turning your dryer into a bigger mess. So, next time you spot ink, don’t panic. Follow these steps, and your dryer will be ink-free, proving it’s better at drying clothes than holding art exhibitions.
Leave a Reply