To remove ink from vinyl, first identify the ink type and age, then clear the surface of dirt.
Use a baking soda paste for fresh stains, applying it gently to lift the ink.
For tougher marks, apply vinyl-safe solvents like rubbing alcohol or hairspray, letting them sit before softly scrubbing in circular motions.
Rinse and dry thoroughly after each treatment.
If stains persist, repeat or try different solvents.
Keep going to uncover more detailed tips and techniques.
Identify Ink Type and Age

Before you start scrubbing, identify the type and age of the ink stain on your vinyl. Fresh ink stains are usually easier to tackle, while older marks may have set deep into the vinyl’s surface.
The age of the stain directly impacts which removal methods will work best. For instance, ballpoint or gel ink often responds well to gentle household solutions, but permanent marker ink, like Sharpie, bonds tightly with vinyl, making it tougher to remove.
You’ll want to think about the ink type carefully because different inks require different approaches. Older stains might have penetrated the vinyl’s pores, which means you may need stronger, specialized removal methods to get the job done.
Prepare Your Vinyl Surface and Cleaning Supplies
Before you get started, make sure to clear your vinyl surface of any loose dirt or dust. This will help your cleaning agents work more effectively.
Next, gather all the supplies you’ll need—things like rubbing alcohol, baking soda, a soft cloth, and some mild soap.
Oh, and don’t forget to test your cleaning solution on a hidden spot first. That way, you can be sure it won’t damage the vinyl.
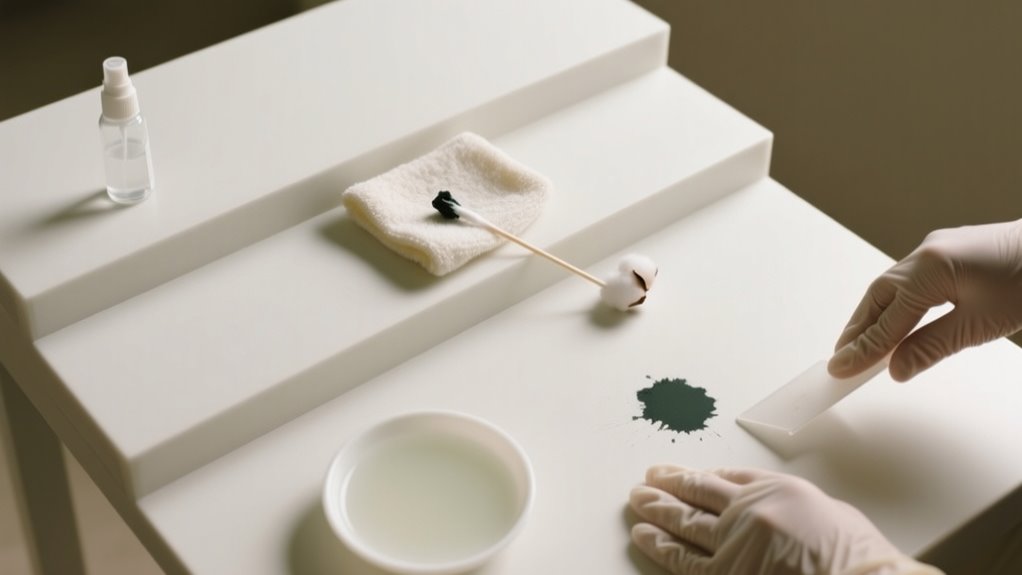
Surface Preparation Essentials
How do you get your vinyl surface ready for ink removal? Start by clearing away any loose debris and dust to prevent scratching during cleaning. Use a damp microfiber cloth for gentle cleaning, removing surface dirt and stains to create a clean base.
This surface preparation step is essential for effective ink removal. Before applying any cleaning solution, test it on a small, hidden area to avoid discoloration or damage. When handling cleaning agents like mild soap or rubbing alcohol, always wear protective gloves to protect your skin and guarantee safety.
Good ventilation is also important during this process. By carefully preparing your vinyl surface with these cleaning essentials, you set the stage for successful ink removal without compromising the vinyl’s integrity.
Cleaning Supplies Checklist
Once your vinyl surface is clean and ready, gather the right cleaning supplies to tackle the ink stains safely and effectively. Choose gentle cleaning agents like rubbing alcohol, white vinegar, or a baking soda paste to protect your vinyl while removing ink stains.
Use soft cloths, sponges, or microfiber towels to avoid scratches during cleaning. Don’t forget protective gloves and assure good ventilation when handling any chemical solutions.
Keep a plastic scraper or a soft-bristled brush nearby for stubborn ink stains that need gentle scrubbing. Before you start, test all cleaning supplies on a small, hidden area of the vinyl to spot any adverse reactions or discoloration.
Preparing these cleaning supplies thoughtfully ensures a safe and effective approach to restoring your vinyl surface.
Use Baking Soda Paste for Fresh Ink Stains
You can easily tackle fresh ink stains by making a thick baking soda paste with a little bit of water. Just mix them together until you get a spreadable consistency. Then, apply it generously over the stain and let it sit for a few minutes.
After that, gently scrub the area with a soft cloth to lift the ink. If the stain is still there, don’t worry—just repeat the process. Once you’re done, wipe the area clean and you should see great results!
Baking Soda Benefits
Three simple ingredients, baking soda, water, and a little patience, can effectively lift fresh ink stains from vinyl. Baking soda works as a mild abrasive that gently breaks down and absorbs ink without harming the vinyl surface.
When you mix baking soda with water to form a paste, it penetrates the stain, loosening ink particles for easier removal. Letting this paste sit for 5 to 10 minutes boosts its stain removal power by allowing it to draw out the ink more effectively.
Using baking soda for ink stains on vinyl is practical and safe, especially since its abrasive quality is gentle enough to avoid damage. Plus, you can repeat the process if the stain needs extra attention to vanish completely.
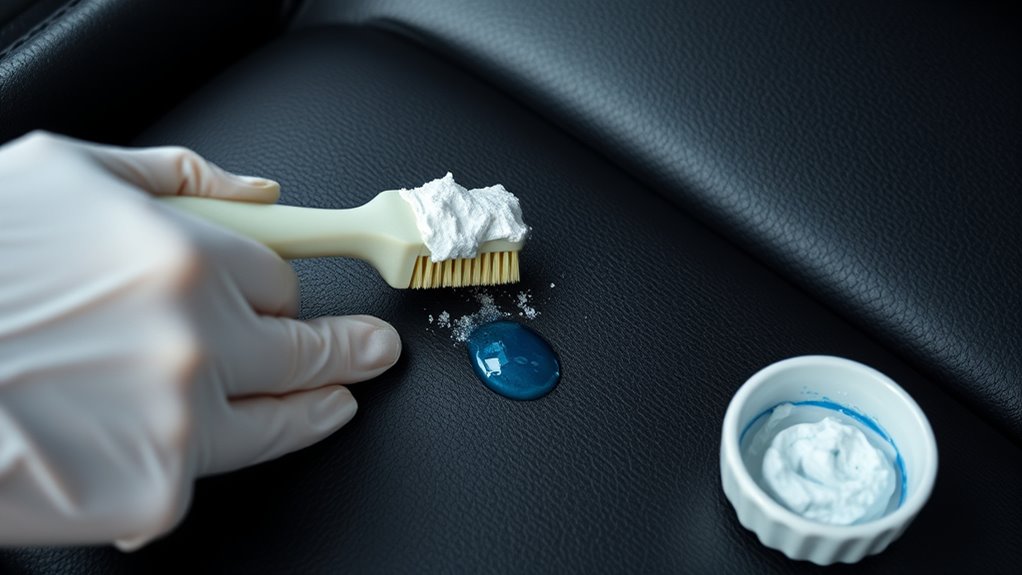
Application And Scrubbing
How should you tackle fresh ink stains on vinyl? Start by applying a thick layer of baking soda paste directly onto the stain. Let it sit for 5 to 10 minutes to absorb and loosen the ink.
Afterward, gently scrub the area with a soft sponge or brush, being careful not to damage the vinyl surface. If the stain persists, repeat the application and scrubbing process for better results.
Once the ink starts lifting, wipe the area clean with a damp cloth to remove any leftover baking soda paste and ink residue. This method is effective because the baking soda paste breaks down the ink while you gently scrub, protecting your vinyl from harsh chemicals and abrasion.
Apply Vinyl-Safe Solvents Like Hairspray or Rubbing Alcohol
Although vinyl can be sensitive to harsh chemicals, applying vinyl-safe solvents like hairspray or rubbing alcohol effectively breaks down ink stains without causing damage. Hairspray contains alcohol and polymers that help lift ink marks, while rubbing alcohol (isopropyl alcohol) dissolves ink pigments safely on most vinyl surfaces.
To use, spray hairspray or apply rubbing alcohol onto a soft cloth or sponge, then gently dab the affected ink marks. Be sure to test the solvent on a small, hidden area first to check for any discoloration or damage.
After treating the stain, rinse the vinyl with cold water and dry it thoroughly to remove any leftover solvent and ink residue. Using these vinyl-safe solvents carefully makes removing ink from vinyl straightforward and helps preserve your item’s appearance.
Gently Scrub Without Damaging the Vinyl
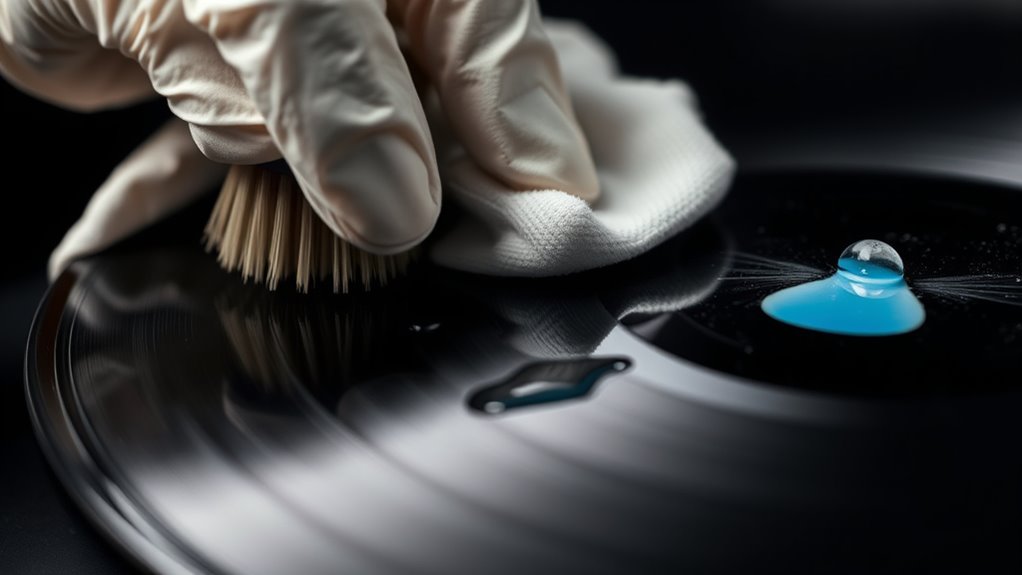
When you start scrubbing the ink stain, use a soft sponge or microfiber cloth to protect the vinyl’s surface. Gently scrub the area in circular motions after applying a mild cleaning solution like rubbing alcohol or baking soda paste. This approach helps lift the ink without scratching or dulling the vinyl surface.
Avoid abrasive scrub brushes or harsh chemicals, as these can damage the vinyl finish and worsen the stain. Always test your cleaning method on a small, hidden spot first to make sure it won’t discolor or harm the vinyl. Remember, the key is to gently scrub so the cleaning solution can gradually loosen the ink without applying too much pressure.
Rinse and Dry Vinyl After Ink Removal
Why should you rinse and dry vinyl immediately after removing ink? Rinsing the vinyl right away with lukewarm water helps wash away any leftover cleaning agents and ink particles. This prevents chemical residues from lingering, which could cause staining or damage later on.
Use a soft cloth or sponge dampened with clean water to gently wipe the surface, avoiding harsh scrubbing that might harm the vinyl.
Once rinsed, it’s essential to dry the vinyl thoroughly. Use a clean, dry microfiber cloth to remove moisture and prevent water spots. After drying, let the vinyl air dry in a well-ventilated area to ensure no moisture remains trapped.
This step completes the cleaning process, maintaining the vinyl’s appearance and durability. Following this rinse and dry routine keeps your vinyl looking fresh and free from damage after ink removal.
Repeat or Try Other Solvents for Stubborn Ink
If stubborn ink won’t come off after your first attempt, you can repeat the solvent application or try different ones to improve results. Repeating applications of solvents like rubbing alcohol, nail polish remover, or hairspray can gradually break down the ink.
You might also switch between solvents. For example, move from alcohol to vinegar or a baking soda paste to boost effectiveness. Make sure to let each solvent sit for 5-10 minutes to loosen the stain before gently scrubbing with a soft cloth or sponge.
This gentle scrubbing helps lift ink without damaging the vinyl surface. Multiple treatments combining various solvents and gentle scrubbing often make the biggest difference when dealing with deeply set or stubborn ink stains.
Frequently Asked Questions
Can Ink Stains on Vinyl Cause Permanent Damage?
Yes, ink stains on vinyl can cause permanent damage, especially if you don’t act quickly. The ink composition matters. Permanent markers are tougher to remove.
You should prioritize stain prevention and practice regular vinyl maintenance to avoid deep penetration. Cleaning frequency is essential. The longer you wait, the harder it gets to remove the stain without harming the surface.
Using gentle methods consistently helps protect your vinyl from lasting damage.
Is It Safe to Use Bleach on Vinyl Ink Stains?
Bleach safety matters because it can reduce vinyl durability by up to 40%, causing discoloration. You shouldn’t use bleach on ink stains, especially because different ink types react unpredictably.
Instead, rely on gentler cleaning techniques like rubbing alcohol or vinegar. These protect your vinyl’s surface while effectively removing ink without causing damage.
Always test your method on a small area first to verify the cleaning won’t harm your vinyl’s finish.
How Long Should I Wait Before Treating an Ink Stain?
You should wait at least 5 to 10 minutes before treating an ink stain to let the cleaning agent penetrate effectively. Depending on the ink composition and vinyl surface types, waiting longer, up to 15 minutes, can improve results.
Regular cleaning frequency helps with stain prevention, but don’t rush the process. Always follow product instructions carefully to avoid damaging the vinyl while maximizing ink removal success.
Can Ink Removal Methods Affect Vinyl Color or Texture?
Yes, ink removal methods can affect the vinyl surface. When ink absorption happens, certain solvents might cause color fading, especially if left on too long.
Aggressive cleaning can lead to texture alteration, like rough or shiny spots. To protect your vinyl’s look, test any ink remover on a hidden area first. That way, you avoid unwanted damage to both color and texture while tackling stains effectively.
Are There Specific Inks That Cannot Be Removed From Vinyl?
Oh, sure, you can totally erase every ink stain from vinyl if you enjoy miracles. In reality, some inks just laugh at your efforts.
Permanent markers soak in deeply because of ink absorption, and their solvent compatibility is minimal. The longer you wait, the worse the stain visibility becomes.
Conclusion
Now that you know how to nix nasty ink stains on your vinyl, you’re ready to refresh and restore with ease. Remember, removing residue requires a careful, consistent approach. Choose your cleaning concoctions cautiously and scrub softly to save your surface.
With a bit of baking soda brilliance and solvent savvy, you’ll swiftly see spotless success. Stay steady, stay safe, and say so long to stubborn spots!
Leave a Reply