To change your HP ink cartridge in 7 easy steps, first find the right cartridge for your printer model and check ink levels.
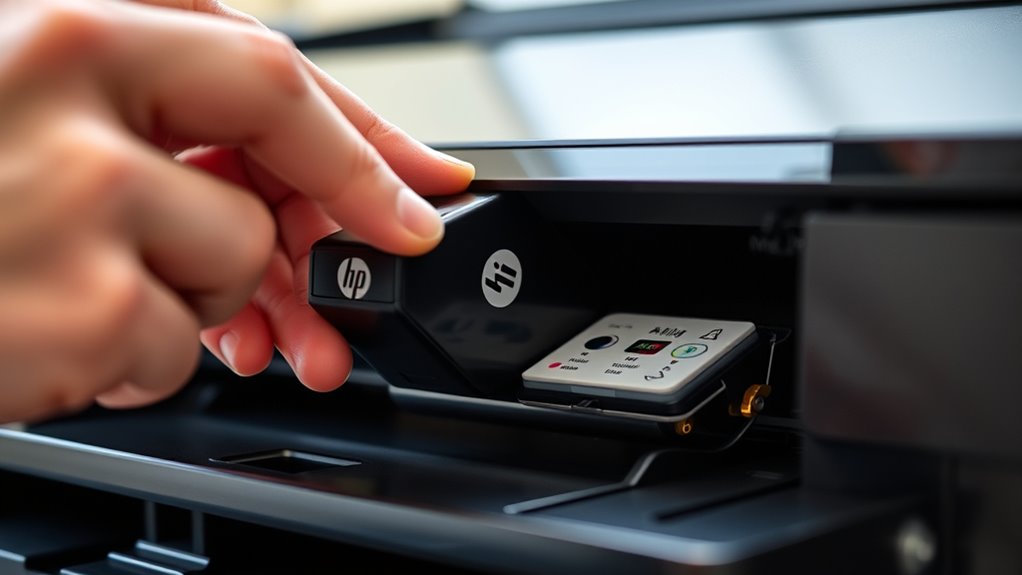
Power off and unplug your printer, then gently open the ink access door.
Remove the old cartridge carefully to avoid spills.
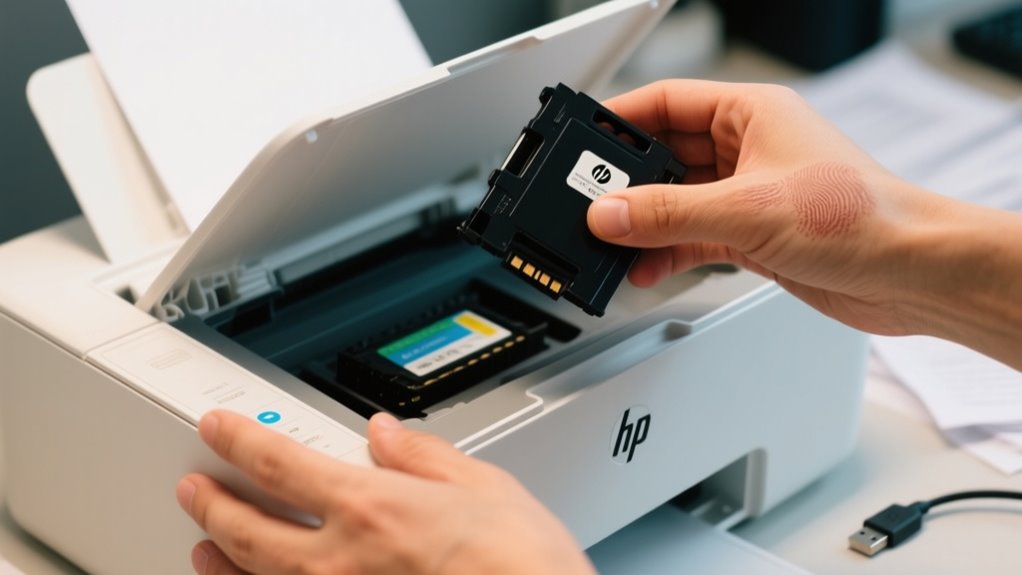
Unpack your new cartridge without touching contacts, then install it firmly until it clicks.
Close the door and run a test print to ensure everything works.
Following this guarantees smooth printing.
There’s more to help you keep your printer in top shape.
Find the Right HP Ink Cartridge for Your Printer
Before replacing your HP ink cartridge, you’ll need to find the exact cartridge that fits your printer model. Start by checking your printer’s model number, usually located on the front or inside the ink cartridge door. This helps you find the right cartridge without guesswork.
Next, visit the HP official website or consult your user manual to identify the specific ink cartridge recommended for your printer. You can also use your printer’s control panel or software to check current ink levels and see which cartridge requires replacement.
Visit HP’s website or use your printer’s software to find the right cartridge and check ink levels.
Make certain to choose genuine HP cartridges or verified third-party options that meet HP’s quality standards. This guarantees compatibility and maintains print quality.
Also, confirm the type of ink you need, whether black, tri-color, or photo, to avoid installing the wrong cartridge. Taking these steps helps you replace your ink smoothly and keeps your printer running efficiently.
Prepare Your Printer Safely Before Changing Ink
After you’ve identified the right HP ink cartridge for your printer, you’ll want to prepare your device to change the ink safely. First, make sure your printer is on and has cooled down if you’ve used it recently. This prevents burns or damage during the process.
Next, turn off your printer and unplug it from the power source. This step is vital to avoid any electrical hazards while handling the cartridges. Once unplugged, open the ink cartridge access door gently. Don’t force it, as that could damage the mechanism.
Handling the cartridges carefully will help prevent spills and damage later on. By following these precautions, you’ll create a safe environment to replace your ink cartridges efficiently and avoid unnecessary risks. Taking these simple but essential steps ensures your printer stays in good condition and ready for the next phase of ink replacement.
Remove the Old HP Ink Cartridge Without Spills
To remove the old HP ink cartridge without spills, start by carefully opening the ink cartridge door and waiting for the cartridges to stop moving completely. Place a paper towel or disposable cloth under the cartridge area to catch any accidental drips.
Next, gently press down on the old cartridge to release it from its slot. Be sure not to tilt or shake it, as this can cause ink to spill. Hold the cartridge upright while pulling it out slowly to avoid leaks.
Avoid touching the electrical contacts or nozzles on the cartridge, as this can contaminate the ink and cause issues with your printer. Handling the cartridge carefully guarantees a clean removal and prepares you for installing your new HP ink cartridge without problems.
Following these steps helps keep your workspace tidy and protects your printer’s functionality during the ink replacement process.
Unpack and Inspect Your New HP Ink Cartridge
When you get your new HP ink cartridge, start by carefully unpacking it. Be sure to take off all the protective materials, but handle it gently so you don’t accidentally damage anything.
Next, take a good look at the cartridge. Check for any leaks, cracks, or parts that might be missing.
Before you go any further, it’s a good idea to double-check that this cartridge is the right one for your printer. That way, you’ll avoid any compatibility issues down the line.
Check Cartridge Packaging
How do you guarantee your new HP ink cartridge is ready for use? Start by carefully unpacking the new cartridges from their packaging. Make sure you remove all protective tapes and seals without damaging the cartridge.
Next, inspect the packaging itself. Check the expiration or manufacturing date to confirm the cartridge’s freshness. Also, verify that the cartridge model number matches your printer’s specifications to avoid compatibility issues.
When handling the cartridge, hold it by the edges to avoid touching the electrical contacts or nozzles, which could affect print quality. By thoroughly checking the cartridge packaging and inspecting your new cartridges, you’ll secure a smooth installation and maintain your printer’s peak performance.
Inspect For Damage
After confirming your new HP ink cartridge matches your printer’s model and removing all protective tapes, it’s important to inspect the cartridge for any visible damage. Carefully unpack the cartridge, handling it by the edges to avoid contaminating the ink or damaging the nozzles and contacts.
Take a close look to inspect for damage such as cracks, leaks, or broken parts. Also, verify the ink nozzles and electrical contacts are clean and free from debris or packaging residues.
This step helps prevent printing issues and guarantees maximum performance. By thoroughly inspecting new ink cartridges before installation, you reduce the risk of malfunctions and keep your printer running smoothly.
Always take this step seriously to maintain print quality and cartridge longevity.
Install the New HP Ink Cartridge Correctly and Securely
Now, go ahead and carefully insert the new ink cartridge into the correct slot. You’ll know it’s in place when you hear a click—that means it’s secure. Just be sure the electrical contacts line up properly so you don’t run into any connection issues.
Once it’s seated, close the cartridge door completely. This lets your printer recognize the new cartridge and get ready to print. Easy, right?
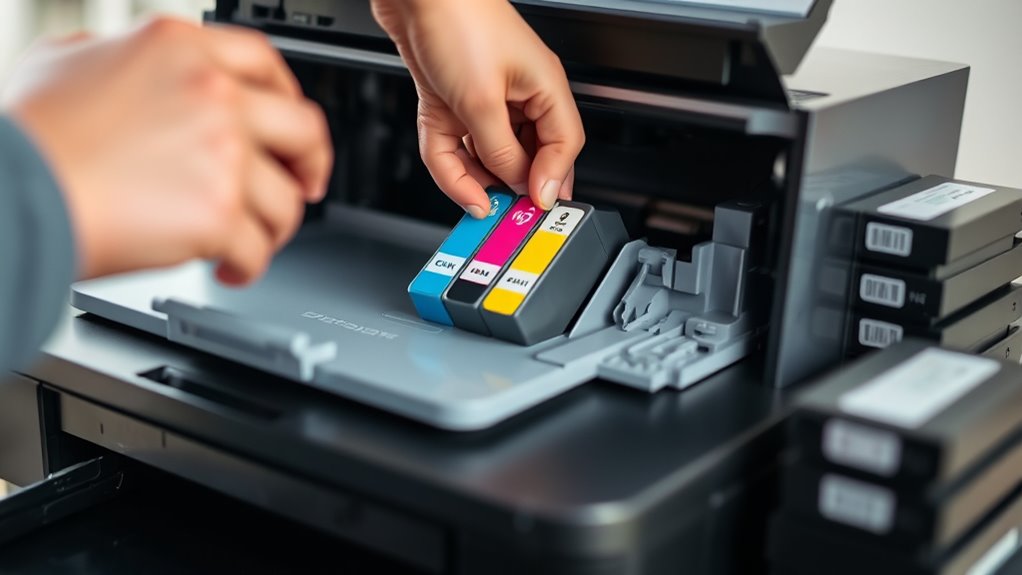
Proper Cartridge Insertion
When installing a new HP ink cartridge, make sure you align the cartridge’s contacts with the printer’s electrical contacts before pressing it firmly into place. Proper cartridge insertion is key to installing ink cartridges without errors.
Match the color labels on the cartridge to the corresponding slots. Push the cartridge until you hear a click, confirming it’s seated correctly. Here’s a quick guide:
| Step | Action | Tip |
|---|---|---|
| Align contacts | Match electrical points | Avoid touching contacts |
| Match colors | Color label to slot | Double-check the label |
| Press firmly | Push until click | Ensure cartridge is secure |
Following these steps guarantees a smooth installation process and prevents errors during printing.
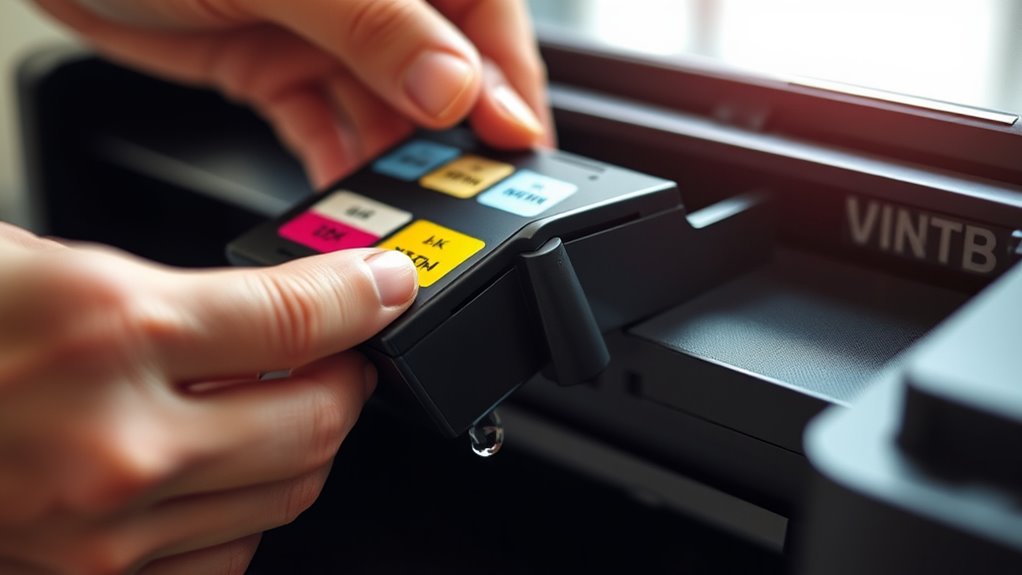
Confirm Secure Placement
Once you’ve aligned the cartridge properly and pressed it firmly into place, make sure it clicks securely to confirm it’s locked in. Gently press down until you hear that click, signaling the cartridge is securely seated in its slot.
Double-check the alignment with the contact points and confirm the cartridge sits flush with the printer. This step is vital to avoid ink flow issues or errors.
After confirming the cartridge is secure, close the ink cartridge door completely to prevent any movement during printing. Finally, run a test print to verify the cartridge installs correctly and the ink flows smoothly.
Taking these steps guarantees your new HP ink cartridge is installed properly and ready for use without any hiccups.
Run a Test Print to Confirm Proper Installation
Although you’ve just installed the new ink cartridge, you should run a test print to confirm it’s seated correctly and working properly. Most HP printers will either print a test page automatically or prompt you to do so. Just follow any on-screen instructions to run a test print on your HP printer.
After installing a new ink cartridge, run a test print to ensure proper installation and functionality.
Before printing, make sure the printer has completed any initialization or recognition processes to guarantee accurate results.
Once the test page prints, carefully examine it for clear text, vibrant colors, and the absence of streaks or missing sections. These signs indicate the cartridge is properly installed and the print head is aligned.
If you notice any issues, turn off the printer and recheck the cartridge seating. You might also want to clean the print heads or reinstall the cartridges to fix the problem.
Running a test print is a quick way to verify your printer is ready to produce high-quality documents.
Keep Your Printer Running Smoothly With Regular Maintenance
To keep your HP printer running smoothly, you should perform regular maintenance that includes cleaning print heads and monitoring ink levels. Use the printer’s built-in cleaning utility to prevent clogs and maintain consistent print quality.
Regularly check ink levels so you can replace cartridges before they run out, avoiding any printing delays. Don’t forget to unplug the printer before cleaning the exterior or handling cartridges to ensure safety.
Keeping your printer free of dust and debris also helps prevent print defects and mechanical problems. By performing these simple tasks routinely, you not only improve print results but also extend your printer’s lifespan.
Proper care and timely attention to maintenance reduce the chance of costly repairs or replacements. Staying proactive with these steps guarantees your printer stays reliable and efficient every time you need it.
Frequently Asked Questions
How Do I Recycle Used HP Ink Cartridges?
To recycle your used HP ink cartridges, visit the HP Planet Partners website and create an account. You’ll order free recycling envelopes or find local cartridge recycling drop-off points.
Once your ink cartridges are empty, pack them securely for ink cartridge disposal using the prepaid shipping labels or drop them off at a collection site. This way, you help reduce environmental waste and support HP’s sustainable cartridge recycling program efficiently.
Can I Use Third-Party Ink Cartridges Safely?
Yes, you can use alternative ink cartridges safely if you prioritize cartridge security. Make sure the third-party cartridge is specifically designed for your HP printer model and comes from a reputable brand with positive reviews. This helps prevent damage like clogs or leaks.
Keep in mind, though, that using alternative ink might void your warranty. So weigh the cost savings against potential risks before you decide.
What Should I Do if the Cartridge Is Not Recognized?
Think of your printer like a stubborn friend refusing to recognize a new face at a party. If your cartridge isn’t recognized, start with recognition troubleshooting: turn off the printer, unplug it, then restart to trigger a cartridge reset.
Clean contacts gently with isopropyl alcohol. Dirty connections often cause issues. Removing any protective tape is essential.
If problems persist, updating your printer’s firmware can help it “remember” the cartridge correctly.
How Long Do HP Ink Cartridges Typically Last?
HP ink cartridges typically last between 200 to 300 pages for standard models, while high-yield versions can print 600 to 1,000 pages. Your ink cartridge lifespan depends on ink consumption rates, which vary based on what and how much you print.
If you print a lot of color or high-quality images, you’ll use ink faster. Adjusting your print settings and maintaining your printer helps you get the most out of each cartridge.
Are HP Ink Cartridges Compatible With All Printer Models?
No, HP ink cartridges aren’t compatible with all printer models. You’ll find cartridge variations like HP 62, 63, or 64 designed specifically for certain printers.
Printer compatibility is essential because using the wrong cartridge can cause errors or damage. Always check HP’s compatibility guides to match your printer model with the right cartridge.
Don’t assume third-party options will work. Verify their compatibility to avoid problems.
Conclusion
Changing your HP ink cartridge might seem like a small task, but it’s a wonderful opportunity to give your printer a little TLC. By following these simple steps, you’re not just swapping cartridges, you’re ensuring your printer stays in tip-top shape and continues producing vibrant prints.
A little care goes a long way in keeping your printer happy and your documents looking their best. So, embrace the process. It’s a small investment for lasting quality.
Leave a Reply