To make invisible UV ink in seven easy steps, start by gathering fluorescent compounds like quinine or fluorescein and a suitable solvent like distilled water or ethanol.
Extract ink from highlighters or mix your compounds in solvent.
Apply a thin layer to paper using a fine brush, then let it dry fully.
Test it under a 365nm UV light to see the invisible message glow.
Store your ink in a cool, dark place and handle it safely.
Keep exploring to master application and storage tips.
What Is Invisible UV Ink and How Does It Work?
Although invisible to the naked eye under normal lighting, invisible UV ink reveals itself vividly when you shine ultraviolet light on it. This special ink contains fluorescent compounds that absorb UV light, usually at a 365nm wavelength, and then re-emit it as visible light.
That’s why you only see the ink glow under UV light and not in regular conditions. Invisible ink typically includes organic fluorophores, synthetic dyes, phosphors, or quantum dots, all designed to guarantee fluorescence.
The brightness you see depends on how concentrated these fluorescent materials are and the exact UV wavelength used. When you apply invisible UV ink, it remains hidden until you illuminate it with a UV source, making it perfect for secret messages or security markings.
Professional-grade UV inks undergo rigorous testing to make certain they’re safe, durable, and consistently bright, so you’ll get reliable fluorescence every time you use them.
Gather Fluorescent Compounds and Solvents for Invisible UV Ink
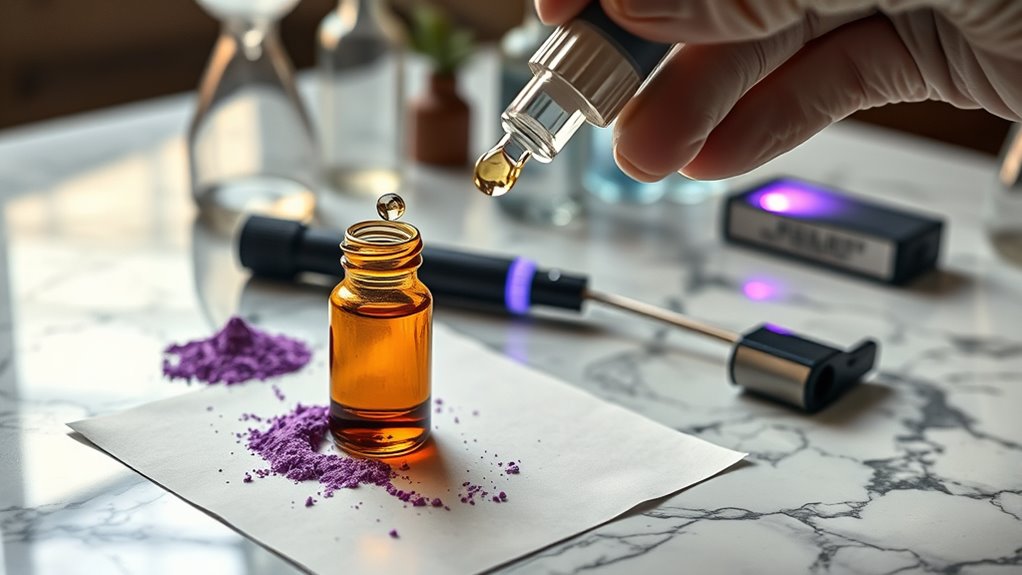
Before you start mixing your invisible UV ink, you’ll need to gather the right fluorescent compounds and solvents. Common fluorescent compounds like quinine sulfate, fluorescein, and rhodamine are excellent choices because they glow brightly under UV light. You’ll want to use these compounds at concentrations between 0.1% and 1% by weight to avoid clumping or drying issues.
For solvents, distilled water, ethanol, and glycerin work well to dissolve your fluorescent compounds and control the ink’s viscosity. Choosing the right solvent depends on your application method and desired drying time. You might also consider adding pH buffers or stabilizers to keep the ink stable and enhance its fluorescence over time.
Make sure to handle all fluorescent compounds and solvents carefully, as some can be toxic or irritating. Wearing gloves and working in a well-ventilated area will help keep you safe while preparing your invisible UV ink ingredients.
Extract Fluorescent Ink From Highlighters or Prepare Tonic Water Solution
You can extract fluorescent ink by carefully opening a highlighter with pliers and removing the ink tube without damaging it. Then, place the ink on a clean surface or in a jar so it’s easier to handle while you squeeze out the liquid.
Alternatively, if you don’t want to go through that, you can use tonic water instead. It contains quinine, which glows under UV light. Just pour some into a container and apply it with a brush or pen—super simple!
Extract Ink Safely
When extracting fluorescent ink from highlighters or preparing a tonic water solution, handle all materials with care to avoid spills and skin contact. To extract invisible ink from a highlighter, use pliers to gently pry open the casing and remove the ink reservoir or tip.
Squeeze or dip it into a small container for easy access. This ink fluoresces under UV light, making it perfect for invisible ink projects. If you’re using tonic water, pour it into a dark, waterproof container to preserve its fluorescent properties.
Always store your extracted ink away from light and air to maintain its glow. Taking these precautions guarantees you safely prepare effective invisible ink that reacts well under UV light without risking exposure or waste.
Tonic Water Preparation
Although tonic water naturally fluoresces under UV light thanks to quinine, diluting it with water can make it easier to apply as invisible ink. To prepare your fluorescent ink, mix equal parts tonic water and water.
You can also extract fluorescent ink from highlighters by soaking inked paper in alcohol or water. Then test under UV light for brightness.
Use a small brush or cotton swab to write secret messages on paper. Store your solution in a dark, airtight container to keep its glowing effect.
| Step | Description |
|---|---|
| 1. Mix | Combine equal parts tonic water and water |
| 2. Extract (optional) | Soak highlighter ink in alcohol or water |
| 3. Apply | Use brush or swab to write on paper |
| 4. Store | Dark, airtight container for preservation |
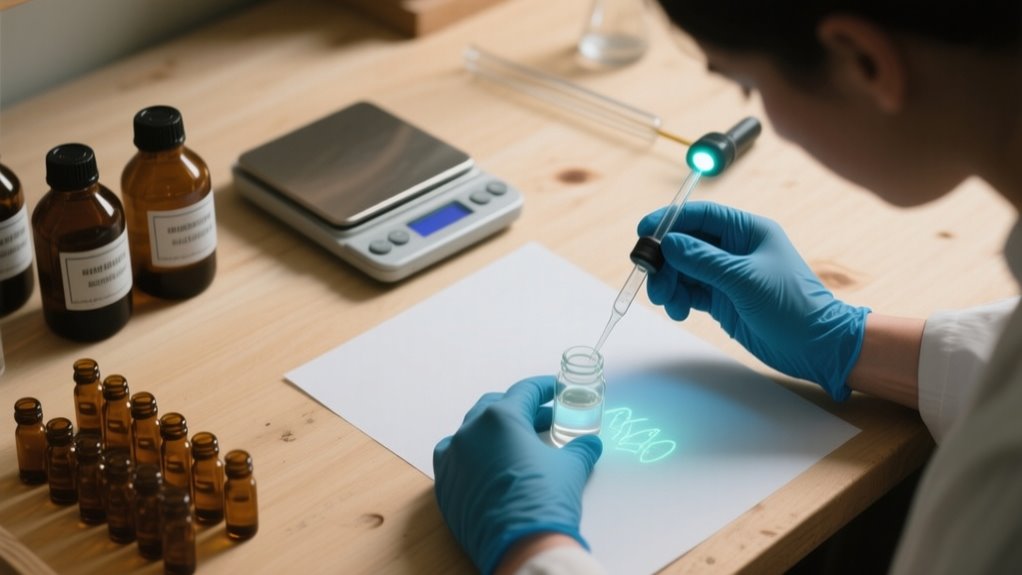
Mix and Test Invisible UV Ink Under UV Light
Since the key to effective invisible UV ink lies in its composition, you’ll want to start by mixing a fluorescent compound like tonic water, which contains quinine, with a suitable solvent such as water or alcohol. This blend creates the foundation for your invisible ink.
The secret to invisible UV ink starts with mixing quinine-rich tonic water and a clear solvent for glowing results.
Once mixed, apply a thin, even layer on paper using a brush, cotton swab, or fine-tip marker. Then, expose the paper to UV light, ideally a 365nm blacklight, to see the ink’s glow. Testing different concentrations of your fluorescent compound helps you find the perfect brightness and longevity.
Keep these tips in mind:
- Use a 365nm UV light for best fluorescence.
- Apply ink evenly for clear visibility under UV light.
- Experiment with solvent ratios to enhance glow.
- Store your ink in a dark, airtight container to preserve its properties.
Apply Invisible UV Ink: Tips for Best Results
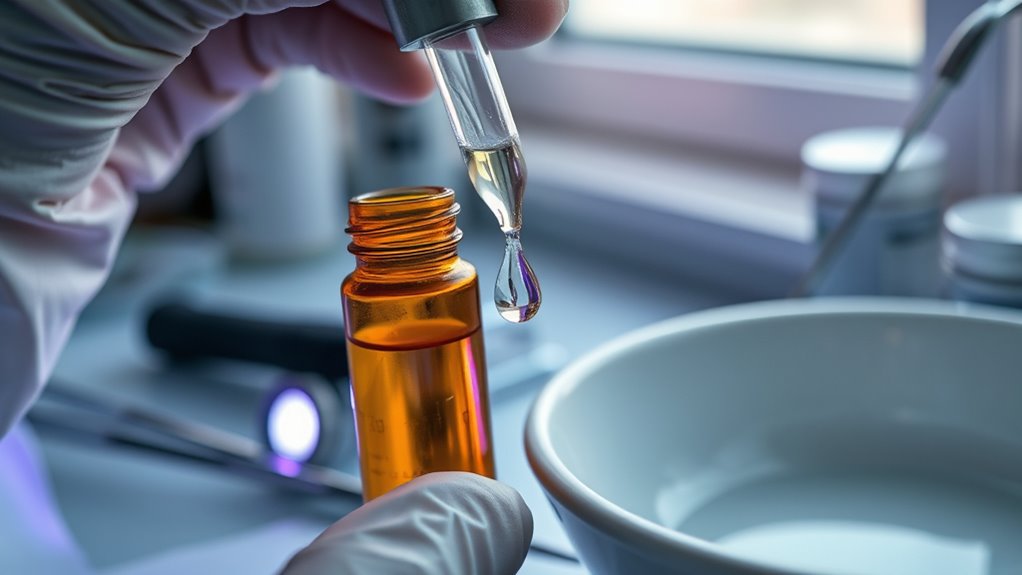
To get the best results, use a fine-tipped brush or marker to apply your invisible UV ink evenly and precisely. It really helps to keep the paper flat and handle it carefully, so you don’t smudge your message. Once you’ve applied the ink, be sure to store the paper in a cool, dark place. This will protect the ink from fading too soon.
Optimal Ink Application
When applying invisible UV ink, you’ll want to use a fine-tip brush or applicator that matches the ink’s viscosity to achieve precise, even coverage. This helps guarantee your message appears clear under UV light without blotches or smudges.
To get the best results, keep these tips in mind:
- Apply a thin, consistent layer of invisible ink to avoid uneven fluorescence.
- Test a small area first to find the right amount of ink.
- Let the ink dry fully before exposing it to UV light to prevent smearing.
- Use tools that fit the ink’s thickness for smooth application.
Following these steps assures your invisible ink displays sharply and reliably when revealed with UV light.
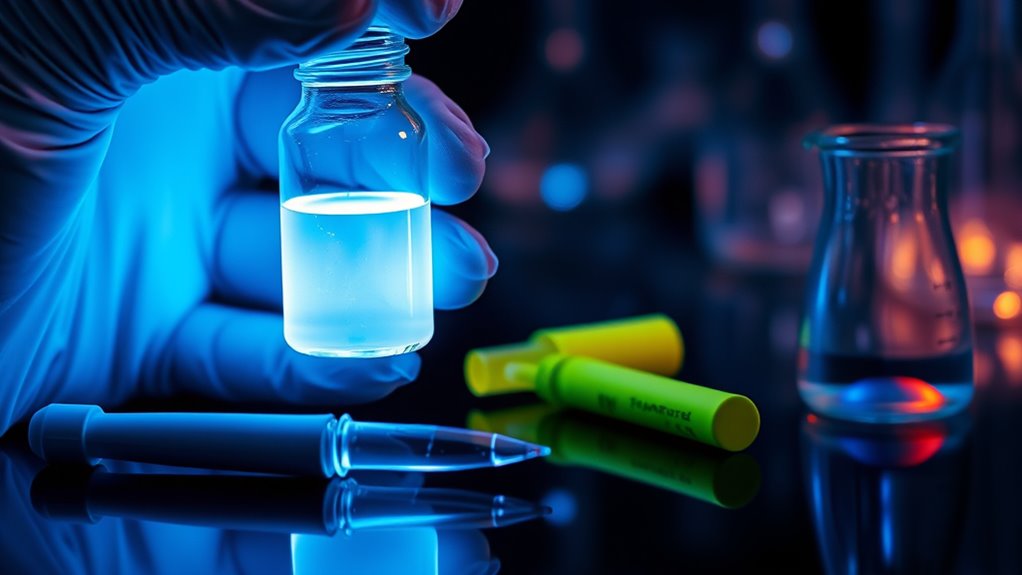
Storage And Handling
After applying your invisible UV ink carefully, proper storage and handling become key to preserving its effectiveness. Store the ink in airtight, opaque containers to block light and prevent degradation.
Keep these containers in a cool, dark place to maintain the ink’s fluorescent properties and extend its shelf life. Always use clean applicators to avoid contamination, and seal the container tightly after each use.
Label your storage containers clearly to avoid accidental misuse or mixing with other chemicals. When handling the ink, wear gloves and safety glasses to protect your skin and eyes, especially if you’re working with concentrated formulations.
Following these storage and handling tips guarantees your invisible UV ink stays reliable and safe for future use.
Store Invisible UV Ink to Keep It Bright and Ready
A completely opaque, airtight container is essential for storing your invisible UV ink to keep it bright and ready. Proper storage prevents exposure to light and air, which can degrade the ink’s fluorescence.
To maintain your invisible ink’s effectiveness, keep it in a cool, dark place like a refrigerator or storage cabinet. Always label the container clearly to avoid confusion and guarantee it’s tightly sealed after each use.
Here are key tips for invisible ink storage:
- Use an airtight, opaque container to block light and air
- Store in a cool, dark environment away from sunlight and UV exposure
- Label containers clearly to prevent accidental misuse
- Follow manufacturer guidelines for storage duration and conditions
Stay Safe When Using Invisible UV Ink and UV Lights
Because invisible UV ink and UV lights involve chemicals and radiation, you need to prioritize safety to protect your skin and eyes. Always wear UV-protective safety glasses and gloves when handling UV lights to prevent damage.
Work in a well-ventilated area to avoid inhaling fumes from the ink’s chemical components. Keep UV lamps and all chemicals away from heat sources or open flames since many solvents are flammable and pose fire risks.
Store your UV inks in dark, cool containers to maintain their effectiveness and ensure safe storage. Moreover, follow local safety regulations and guidelines when making or using homemade UV ink to stay within legal boundaries.
Frequently Asked Questions
Can Invisible UV Ink Be Removed With Regular Soap and Water?
You can’t fully remove invisible UV ink with regular soap and water because its chemical composition bonds it strongly to surfaces. While mild washing might fade the fluorescence temporarily, it won’t erase the ink entirely.
Application techniques guarantee the ink adheres deeply, making simple cleaning ineffective. To remove it completely, you’d need stronger solvents or physical methods, since soap and water just won’t break down the chemical bonds holding the ink in place.
How Long Does Invisible UV Ink Remain Visible Under UV Light?
Invisible ink longevity under UV light typically lasts from several hours to a few weeks, depending on the formulation. You’ll notice UV light duration varies because some inks fluoresce longer if stored properly in cool, dark places.
Exposure to sunlight or heat shortens this time. Professional invisible inks can even last months or years, but for most DIY inks, expect visibility to fade within days to weeks.
Is Invisible UV Ink Safe for Use on Skin or Clothing?
Invisible UV ink generally isn’t safe for use on skin or clothing because its formulation often includes chemicals that can irritate or cause allergic reactions. You shouldn’t apply it directly to your skin without confirming skin safety through manufacturer guidelines or safety data sheets.
For clothing, the ink might stain or damage fabrics, and removal could be tricky. Always prioritize safety and avoid prolonged contact with skin or fabrics unless the ink’s specifically designed for that.
Can Invisible UV Ink Be Used for Security or Anti-Counterfeiting?
You see a blank surface, yet under UV light, hidden patterns glow vividly. Yes, invisible UV ink is perfect for counterfeit prevention.
You can use these security markers on documents, banknotes, or IDs to reveal covert details only under specific lighting. This clever contrast between invisibility and bright fluorescence makes forgery tough.
What Types of UV Lights Work Best for Viewing Invisible Ink?
You’ll get the best results viewing invisible ink by using UV lights in the 365nm range of the UV light spectrum, known as long-wave UV or blacklight. These lights maximize ink fluorescence, making the ink glow brightly and clearly.
Avoid shorter wavelengths like 254nm since they’re less effective and more harmful. For sharp, vivid fluorescence, choose a dedicated 365nm UV flashlight with high lumens to enhance visibility.
Conclusion
Invisible UV ink is like a secret handshake, only visible to those who know the trick. Just as a magician reveals hidden wonders under the right light, your invisible ink comes to life under UV rays.
Remember, a single drop can brighten a whole message, so handle it with care. With these steps, you’re not just making ink; you’re creating a hidden world, ready to surprise and delight whenever you shine a little light on it.
Leave a Reply