First, gather supplies like rubbing alcohol, acetone, soft cloths, and gloves, and set up in a ventilated space.
Identify the plastic and ink types to choose safe cleaners.
Test solvents on a hidden spot, then apply rubbing alcohol or gentle solvents with a soft cloth.
For stubborn ink, soak the plastic briefly, then gently scrub in circular motions.
Rinse well and dry thoroughly to protect the surface.
Keep going for tips on protecting and maintaining your plastic after cleaning.
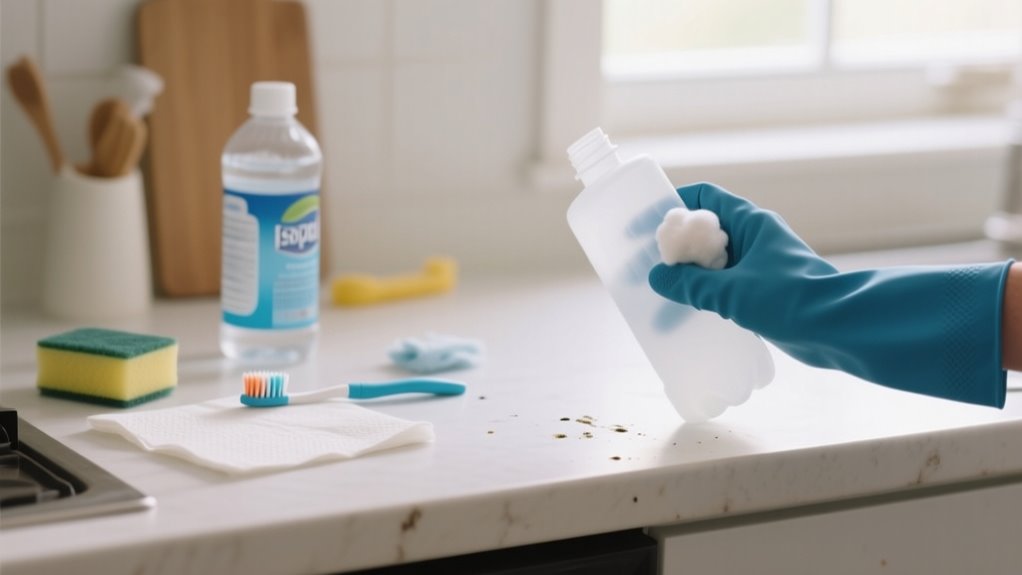
Gather Cleaning Supplies and Prepare Workspace
Before you begin removing ink from plastic, gather essential supplies like rubbing alcohol, acetone, soft cloths, gloves, and a sponge to make certain you have everything on hand. Proper preparation is key to a smooth cleaning process.
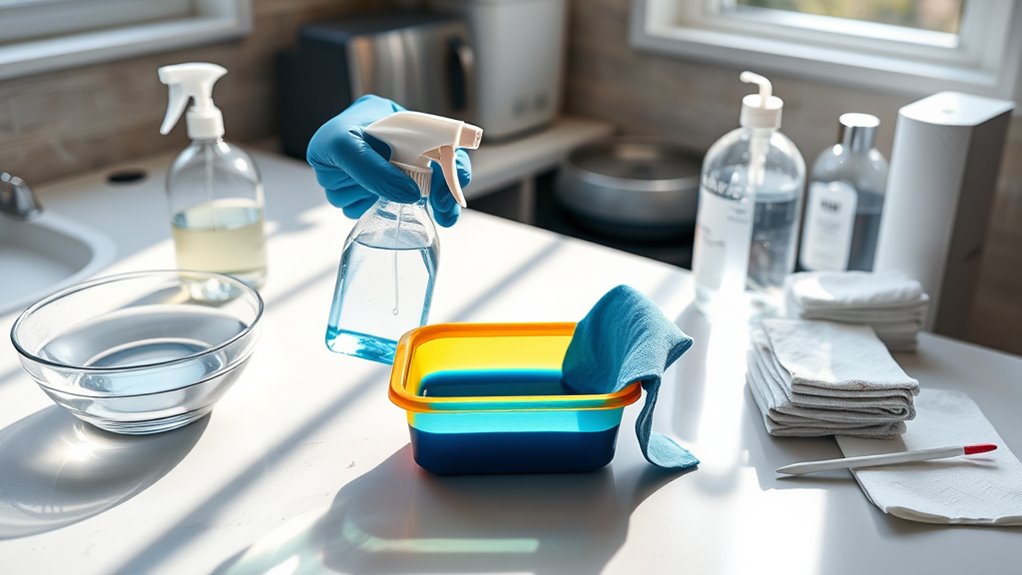
Set up your workspace in a well-ventilated area to safely disperse fumes from chemical solvents. Choose a clean, flat surface and protect it with paper towels or plastic sheets to avoid damage.
Prepare a clean, flat workspace in a well-ventilated area and protect surfaces from damage.
Wear rubber gloves to shield your skin from irritation and maintain hygiene while handling chemicals. Before applying any cleaning agent on a visible area, test it on a small, inconspicuous spot of the plastic to ensure it doesn’t cause discoloration or surface damage.
This careful workspace setup and use of appropriate cleaning supplies will help you efficiently and safely remove ink from plastic without causing harm to the material or yourself. Taking these steps guarantees you’re ready to tackle the task effectively.
Identify Plastic and Ink Types Before Cleaning
Once you’ve prepared your workspace and gathered supplies, the next step is to identify the types of plastic and ink you’re dealing with. Proper plastic identification, such as acrylic, polycarbonate, or polyethylene, helps you choose suitable cleaning agents and avoid surface damage.
Recognizing ink types like ballpoint, gel, or permanent marker is equally important since each requires specific ink removal methods. Before applying any solution, consult manufacturer recommendations to confirm plastic compatibility.
Understanding ink types guides you toward the right solvent for effective ink removal.
| Plastic Type | Ink Type | Recommended Cleaning Agents |
|---|---|---|
| Acrylic | Ballpoint (oil) | Rubbing alcohol (gentle) |
| Polycarbonate | Gel (water-based) | Mild detergent or isopropyl alcohol |
| Polyethylene | Permanent marker | Stronger solvents (test first) |
| Acrylic | Permanent marker | Solvent testing essential to prevent damage |
Identifying these factors ensures safe and effective ink removal without harming the plastic surface.
Test Cleaning Agents on Hidden Plastic Ink Stains
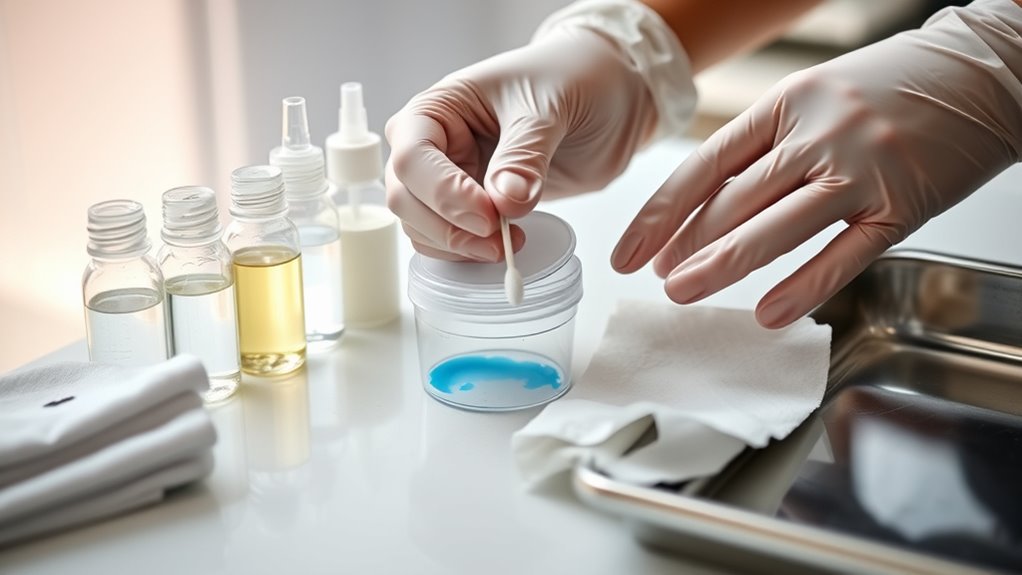
Before you start using any cleaning agent, try it out on a hidden part of the plastic first. This way, you can avoid any damage or discoloration. Just take a soft cloth or a cotton swab and apply a little bit of the cleaner.
Then, give it a few minutes to see how the plastic reacts. Doing this quick test helps you pick a safe method without putting the visible areas at risk. It’s a simple step that can save you a lot of trouble later on.
Importance Of Spot-Testing
Although cleaning ink from plastic can be tempting to do right away, you should always spot-test your chosen cleaning agent on a hidden area first. Spot-testing helps you avoid discoloration or surface damage by revealing any adverse plastic reaction before full application.
Different plastic surfaces react uniquely to chemicals, so testing solvents on a conspicuous area can lead to irreversible damage.
| Plastic Type | Testing Solvent | Possible Reaction |
|---|---|---|
| Acrylic | Isopropyl Alcohol | No discoloration |
| Polycarbonate | Acetone | Surface damage |
| PVC | Vinegar | Mild discoloration |
| Polyethylene | Soap & Water | Safe |
| Polystyrene | Acetone | Severe chemical reaction |
Always wait 5-10 minutes, then remove residue to check results accurately.
Safe Testing Techniques
Spot-testing your cleaning agent on a hidden section of the plastic helps prevent damage, but you’ll need to apply safe testing techniques to get reliable results. Always test the solvent by applying a small amount to an inconspicuous part of the plastic.
Use a soft cloth or cotton swab to gently dab the solution, avoiding harsh rubbing that could cause scratches. Wait at least five minutes to watch for any discoloration or surface damage. Document the plastic’s initial condition so you can compare it after testing.
Avoid aggressive solvents on delicate plastics like acrylic or polycarbonate, as they may cause irreversible damage. By carefully following these safe testing steps, you’ll guarantee the cleaning agent won’t harm your plastic item while effectively removing ink stains.
Use Rubbing Alcohol or Gentle Solvents for Fresh Ink
When you’ve got fresh ink on plastic, it’s best to reach for rubbing alcohol or some gentle solvents that won’t harm the surface. Just dab them on carefully using a soft cloth or a cotton ball—try to avoid any harsh scrubbing.
And hey, don’t forget to test it out first on a hidden area. That way, you can be sure the plastic stays safe and doesn’t get damaged.
Selecting Suitable Solvents
Since fresh ink stains haven’t set deeply into plastic surfaces, you can effectively remove them using rubbing alcohol or gentle solvents. Rubbing alcohol acts as a powerful solvent that dissolves fresh, oil-based ink stains on most plastics.
However, for delicate plastic, opt for gentle solvents like dilute vinegar or mild dish soap to avoid damaging the surface. Before applying any solvent, always perform a spot test on an inconspicuous area of the plastic to guarantee it won’t cause discoloration or harm.
When selecting your solvent, consider the plastic’s sensitivity and the ink’s age. Using the right solvent assures efficient ink stain removal without compromising the plastic’s finish. This careful choice sets the stage for safe and effective cleaning.
Applying Solvents Safely
Although applying solvents might seem straightforward, you should always wear rubber gloves and work in a well-ventilated area to protect your skin and lungs from irritation or fumes.
Before treating the entire stain, test rubbing alcohol or gentle solvents on a small inconspicuous area of the plastic to check for any surface damage or discoloration.
Use a soft cloth or cotton ball lightly soaked with your chosen solvent to gently dab the fresh ink in circular motions. Apply the solvent sparingly to avoid over-saturation, which can warp the plastic.
Let the solvent sit for a few seconds to dissolve the ink, then gently wipe without scrubbing aggressively. This careful approach guarantees effective ink removal while preserving your plastic’s integrity.
Soak Plastic to Remove Stubborn Ink
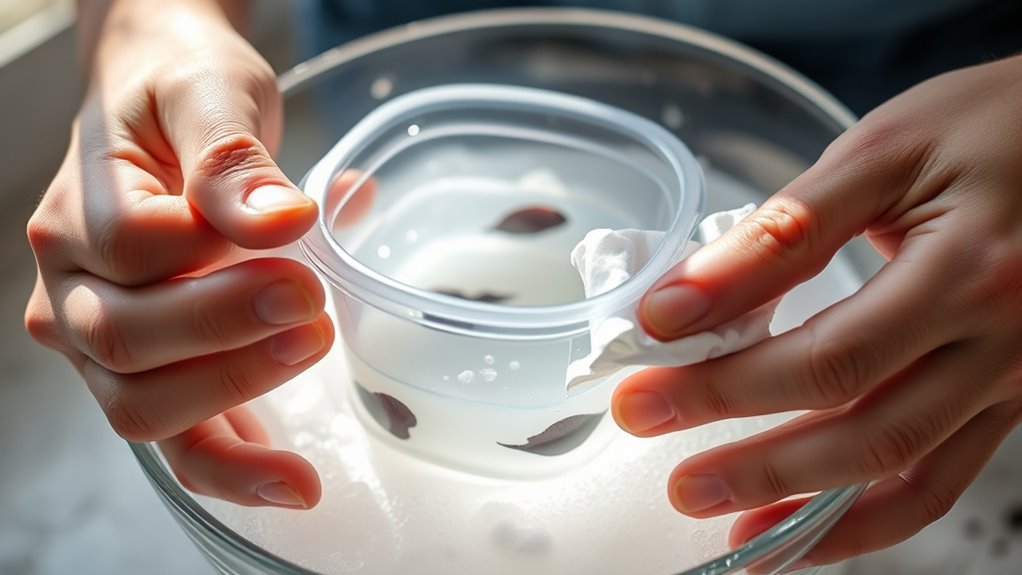
How long should you soak plastic to remove stubborn ink? To effectively loosen ink stains, fully submerge the plastic item in a non-reactive container filled with a suitable solvent like acetone or rubbing alcohol. Make sure the plastic is completely covered and soak it for 5 to 10 minutes.
This soaking time is usually enough to break down set-in ink stains without causing damage. For larger or heavily stained plastic items, you can extend the soak carefully but don’t exceed 15 minutes, as prolonged exposure to solvents can damage the plastic. After soaking, gently wipe the surface to remove the loosened ink.
Always rinse the plastic thoroughly with water afterward to remove any residual solvent, then dry with a soft cloth to avoid water spots. By controlling the soaking time and using the right solvent, you’ll safely and efficiently remove ink from your plastic items without compromising their finish.
Gently Scrub to Remove Remaining Ink
When soaking doesn’t remove all the ink, you’ll want to gently scrub the remaining stains to avoid damaging the plastic. Use a soft cloth or sponge dampened with a suitable cleaning agent, such as rubbing alcohol or vinegar, to enhance ink removal.
Apply minimal pressure and move the cloth in small, circular motions to lift residual ink without scratching or dulling the plastic surfaces. Avoid abrasive brushes or scrubbing pads, as they can harm the plastic protection and leave permanent marks.
This careful approach guarantees you remove stubborn ink while preserving the integrity of the plastic. By gently scrubbing, you target the remaining ink effectively without risking surface damage, making your ink removal process both safe and efficient.
Rinse and Dry to Remove Ink and Protect Plastic
After gently scrubbing away the remaining ink, you’ll want to rinse the plastic thoroughly to wash off any leftover cleaning agents and ink residue. Use water and a soft cloth or sponge to gently rinse the surface, avoiding abrasive materials that could scratch or damage the plastic. This step is important to prevent any chemical buildup that might harm the plastic over time.
Once rinsed, dry the plastic immediately with a clean, lint-free towel to prevent water spots and potential moisture damage. For electronic or sensitive plastic items, it’s best to let the surface air dry in a well-ventilated area to ensure all solvents evaporate completely.
Regular rinsing and proper drying after your cleaning routine help maintain the plastic’s appearance and extend its lifespan. By following these gentle rinse and dry steps, you’ll effectively remove ink while protecting the plastic surface from damage.
Frequently Asked Questions
Can Ink Removal Damage the Color of Plastic?
Yes, ink removal can damage the plastic color if you’re not careful. Aggressive cleaning or harsh chemicals may cause pigment removal, leading to color fading or dye transfer.
You risk surface damage and plastic staining from chemical reactions that strip or alter the plastic’s original hue. To avoid this, always test on a small spot first and choose gentle methods to protect the plastic color while removing the ink stain.
Is It Safe to Use Nail Polish Remover on Plastic?
Think of nail polish remover as a double-edged sword. You can wield it carefully or risk cutting too deep. You shouldn’t use it blindly on plastic because chemical reactions vary with plastic compatibility.
Non-acetone removers offer safer removal techniques but sacrifice solvent effectiveness. Always test first, follow safety precautions, use proper cleaning tools, and compare products to prevent stains or damage. This way, you balance stain prevention with preserving your plastic’s integrity.
How Long Should I Wait After Cleaning to Use the Plastic Item?
You should wait at least 30 minutes to an hour of drying time after cleaning before using the plastic item. If your plastic has material sensitivity or adhesive residue, extending drying time to 24 hours helps.
Cleaning frequency and stain persistence matter. More stubborn stains might need extra surface preparation and cleaning tools. Use gentle drying methods to avoid damage.
Always check the plastic type to match drying time and cleaning methods effectively.
Can Sunlight Help in Fading Ink Stains on Plastic?
Imagine leaving a plastic toy marked with water-based ink on your sunny windowsill. Yes, sunlight fading can naturally bleach those stains over weeks through UV exposure.
However, too much sunlight duration may cause plastic oxidation, leading to discoloration and damage. Weather effects like clouds slow fading, so monitor the process to balance natural bleaching and color preservation.
To prevent unwanted fade prevention, avoid overexposure while harnessing sunlight’s gentle power.
Are There Any Eco-Friendly Alternatives for Ink Removal on Plastic?
Yes, you can use biodegradable solvents and plant-based cleaners as eco-friendly sprays to remove ink from plastic. These natural ink removvers work gently yet effectively, providing green chemical alternatives to harsh products.
Try organic stain removers like lemon juice mixed with baking soda for sustainable cleaning methods. These environmentally safe solutions protect plastic surfaces while minimizing chemical impact, letting you clean responsibly without compromising on results.
Conclusion
By boldly battling bothersome blotches, you’ll brilliantly banish ink from your plastic. With careful cleaning, cautious checking, and consistent courage, you can conquer stubborn stains without causing cracks.
Remember to rinse and refresh your rescued plastic, preserving its perfection and prolonging its life. So, stay steady, stay smart, and say sayonara to smudges.
Your sparkling, spotless surfaces will surely satisfy, making maintenance more manageable and more meaningful every time!
Leave a Reply