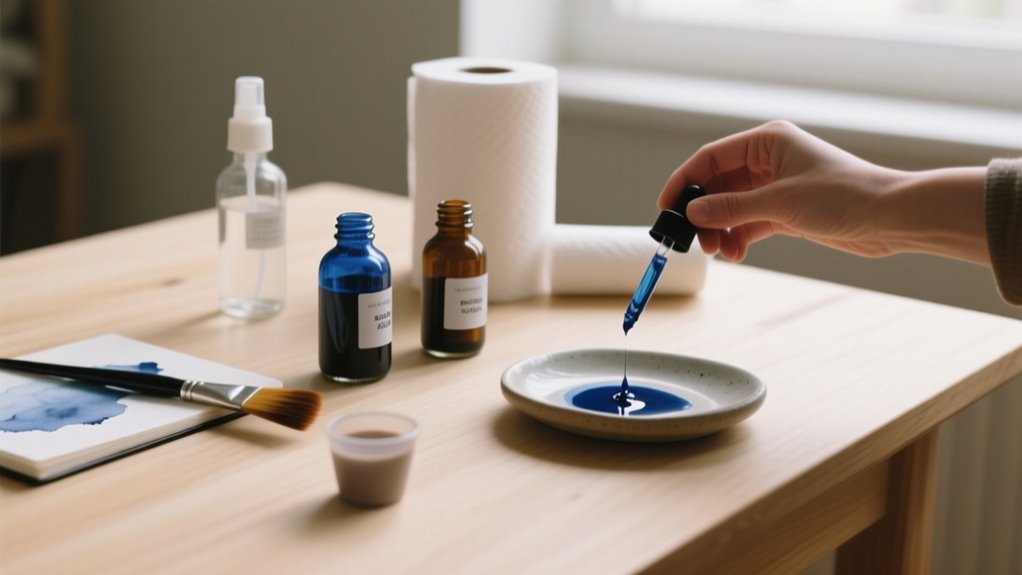
Start by preparing a clean, well-ventilated workspace and gathering your acrylic ink, brushes, pens, and water. Mix your ink with water to control transparency, testing on scrap paper.
Apply ink with brushes or pens, layering colors to build depth.
Try special techniques like splattering or dry brushing for texture.
Combine inks with other media for richer effects.
Finish by letting it dry fully and sealing your work to protect it.
Keep exploring to discover more creative possibilities.
Prepare Your Workspace and Gather Acrylic Ink Materials
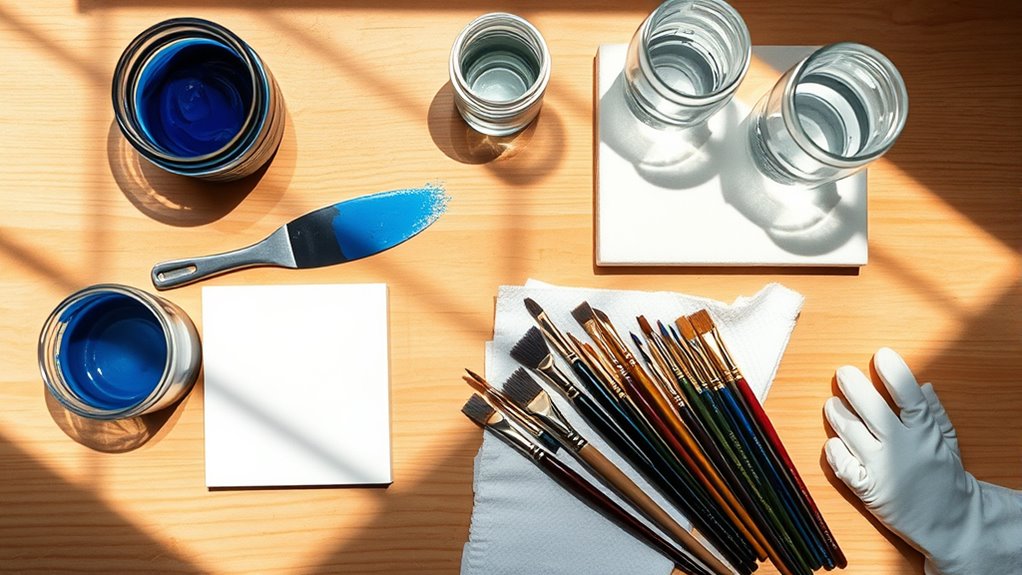
Before you begin working with acrylic ink, make sure you clear a flat, well-ventilated space where you can comfortably spread out your materials. This setup is essential whether you’re diving into art or exploring mixed media techniques.
Clear a flat, well-ventilated space to comfortably spread out your materials before working with acrylic ink.
Start by gathering your essential supplies: acrylic ink, brushes, water, a palette or mixing tray, and the paper or surfaces you plan to work on. Protect your workspace by covering it with newspapers or plastic sheets to catch any ink splatters or spills.
Keep a cloth or paper towels nearby so you can quickly clean up any accidental drips or excess ink. Arrange all your tools within easy reach to maintain a smooth workflow.
Preparing your workspace this way helps you focus on your creative process without interruptions, ensuring your acrylic ink projects go smoothly and your art turns out just the way you want.
Mix and Dilute Acrylic Inks for Best Results
When you mix acrylic ink with water, you control its transparency and flow. This lets you create effects ranging from bold, saturated strokes to delicate, translucent washes. Start by diluting your ink in a clean palette, usually with a 1:1 water-to-ink ratio.
Adjust this dilution to suit your desired effect. More water means lighter, more transparent colors, while less water keeps the hues intense and vibrant. Before applying, test the diluted ink on scrap paper to see how it dries, as heavier dilution lightens the color.
Use a spray bottle or brush to distribute the ink evenly for smooth washes. Keep these tips in mind when mixing and diluting:
- Begin with equal parts ink and water for balanced transparency
- Increase water for softer, transparent layers
- Test on scrap paper to preview final color and flow
- Use spray or brush to apply diluted ink smoothly
This method guarantees your acrylic ink behaves exactly how you want.
Applying Acrylic Ink With Brushes and Pens
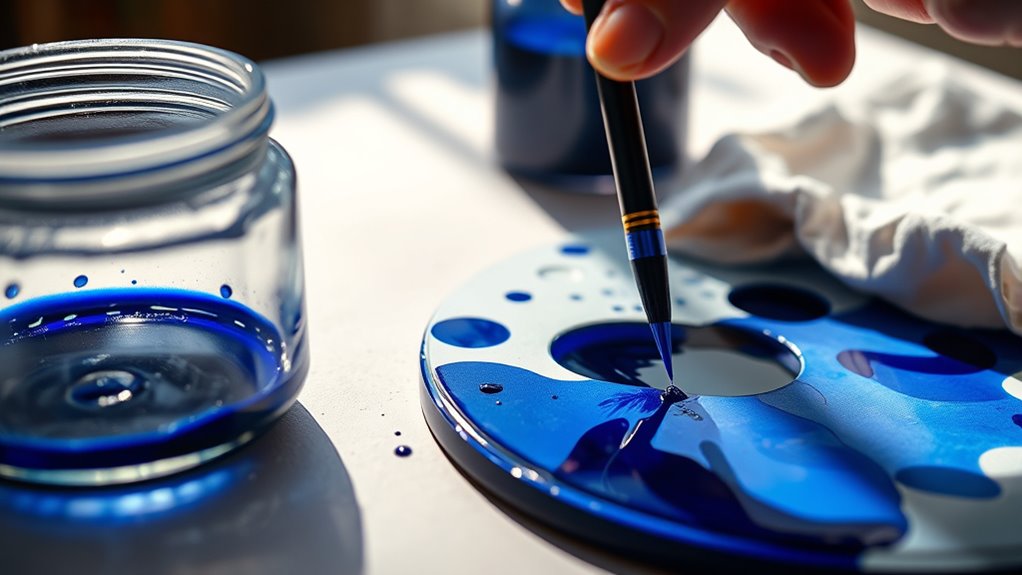
When you’re applying acrylic ink with brushes and pens, loading them just right helps you avoid blotches and keeps you in control. It’s all about finding that sweet spot.
By using different pressures and fine tips, you can create sharp lines and a variety of effects. It really lets you play around with the details.
And when you combine brushes and pens, you get even more flexibility to build depth and add those finishing touches that make your work stand out.
Brush Techniques Overview
Although acrylic ink can be applied in various ways, using brushes and pens gives you precise control and versatility. Mastering brush techniques lets you create detailed lines, bold strokes, and textured effects. Start with a small, flat brush to achieve smooth, controlled strokes for clean lines.
Adjust your brush pressure to vary your marks from fine details to broad washes. Keep your brushes or pens slightly moist to prevent the ink from drying too quickly. Remember, layering is key. You can build depth by applying multiple ink layers, letting each dry before adding the next.
Here are some brush techniques to try:
- Use a fine-tipped brush or pen for intricate details and calligraphy
- Vary pressure to switch between thin and thick lines
- Maintain moisture to keep ink flowing smoothly
- Layer strokes for richer color and texture
Pen Handling Tips
Mastering brush techniques sets a solid foundation, but handling your pen or brush correctly will take your acrylic ink work even further. For smooth pen handling, hold your tool at about a 45° angle. This controls ink flow and ensures clean lines.
Apply gentle, even pressure to avoid pooling or bleeding. Quick, deliberate strokes keep your work precise and prevent smudging. Don’t forget to reload your pen or brush often for consistent application.
Practice on scrap paper to get comfortable with the feel and flow.
| Tip | Why It Helps |
|---|---|
| Hold at 45° angle | Controls ink flow and line quality |
| Use gentle pressure | Prevents ink pooling and bleeding |
| Quick strokes | Maintains precision and avoids smudging |
Combining Brushes Pens
Because acrylic ink responds well to both brushes and pens, you can combine these tools to achieve detailed line work and expressive textures. Use fine-tipped brushes or pens for precise markings, while dip pens or technical drawing pens offer consistent, controlled strokes.
Vary your pressure to create different line thicknesses and dynamic effects. Layering with brushes and pens builds intricate details and rich textures. Remember to clean your tools immediately after use to keep tips from clogging.
- Delicate lines with fine-tipped brushes
- Controlled strokes from technical pens
- Expressive textures by varying pressure
- Layered details using both brushes and pens
Layer Acrylic Ink Colors and Build Depth
Start by applying a light, transparent wash of acrylic ink to set your base color. Then, gradually build depth by layering additional colors. Just be sure to let each layer dry enough so the hues stay vibrant. This way, you can create rich, complex tones without muddying the overall effect.
Transparent Color Layers
How can you create depth and richness using acrylic ink? Start by applying a light wash of transparent acrylic inks, letting each layer dry completely before adding the next. This approach lets you build subtle color variations without masking previous work.
To enhance your piece, use diluted acrylic inks for gentle, see-through color washes. Layer different hues gradually to develop complexity. Manipulate wet ink with water or tools to blend colors smoothly. Repeat layering translucent inks, drying between applications for a multidimensional effect.
This technique helps you achieve vibrant, transparent color layers that add richness and depth to your artwork, making your acrylic ink creations truly stand out.
Gradual Depth Building
When do you know it’s time to deepen your acrylic ink layers? Start by applying a light wash of diluted acrylic ink to set your base. Once dry, gradually add darker or more saturated layers, letting each one dry before the next. This technique helps you build depth without muddying colors.
Use transparent or semi-transparent inks to layer colors effectively, enhancing richness and dimension. Add small details or accents with darker inks on top of lighter layers to create contrast and focal points. You can also tilt your surface or add water between layers to blend and soften progressions, making the depth more natural.
Special Techniques: Splattering and Dry Brushing Acrylic Inks
Although splattering and dry brushing might seem spontaneous, mastering these acrylic ink techniques requires careful control over your brush and ink load. When splattering, load a brush or toothbrush, then flick or tap it onto your surface for random, textured effects. Vary your distance to control splatter size and intensity.
For dramatic results, release ink from a pipette held high, creating energetic splashes. Dry brushing uses a nearly dry brush with minimal ink, applied in quick, twisting strokes to produce textured, broken lines.
Keep these tips in mind:
- Flick ink-loaded brushes for random splatters
- Adjust distance to vary splatter size
- Drop ink from height for bold splashes
- Use dry brush strokes for texture and broken lines
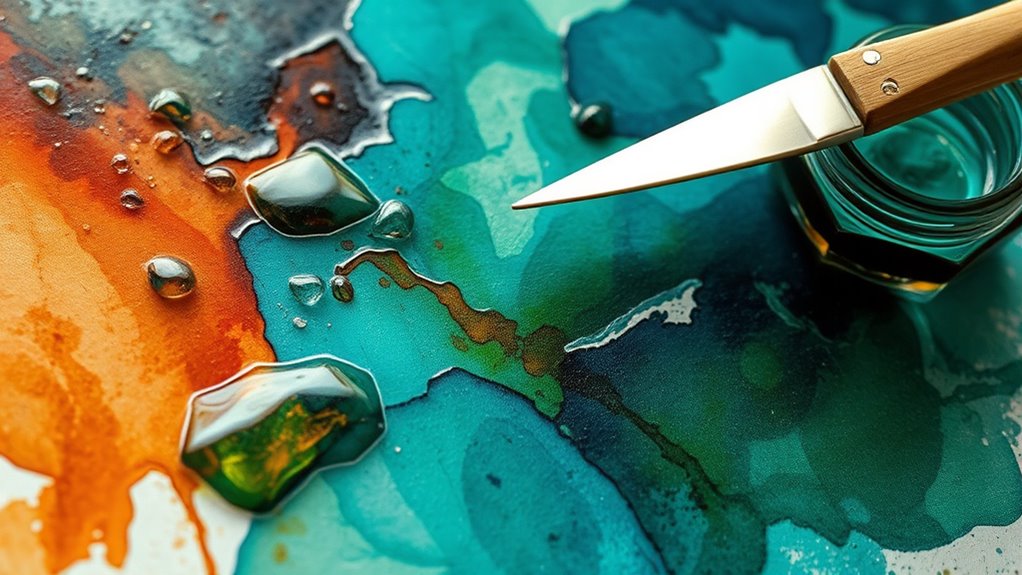
Combining Acrylic Inks With Water and Mixed Media
Since acrylic inks respond well to dilution, you can mix them with water to create transparent washes that work beautifully for backgrounds and layering. Experiment with different water-to-ink ratios to achieve effects ranging from vibrant, saturated color to soft, translucent washes.
Use a spray bottle to mist water onto your surface before applying acrylic ink for smooth, watercolor-like blending. This technique helps you control how the ink spreads and interacts with the paper or canvas.
When working with mixed media, incorporate acrylic ink alongside acrylic paints, gels, or collage elements to add depth and color variation. Apply diluted acrylic ink over dried layers to enhance your artwork with subtle tones and rich layering.
Combining acrylic ink with water and other mediums opens up endless possibilities for texture and visual interest, making your mixed media pieces vibrant and dynamic.
Finishing Touches and Protecting Your Acrylic Ink Art
After layering and blending your acrylic inks with water and other media, it’s important to properly finish and protect your artwork. Let your piece dry fully, usually 15 to 30 minutes, to avoid smudging. Next, apply a clear acrylic sealant to protect the surface and enhance vibrancy. Choose a spray or brush-on sealant made for acrylics, making sure you apply an even coating without bubbles or drips.
To perfect your finish and safeguard your art, remember to:
- Use a UV-resistant coating if your artwork faces direct sunlight to prevent fading
- Store your work in a dust-free, dry place, ideally framed or behind glass
- Apply sealant in thin, uniform layers for a smooth surface
- Let each coat dry completely before adding another
These finishing touches will protect your acrylic ink art and keep its brilliance for years to come.
Frequently Asked Questions
How Long Does Acrylic Ink Take to Fully Dry?
Acrylic ink’s drying time varies, but it usually feels dry to the touch within 10 to 20 minutes. However, for it to fully dry and cure, you should wait up to 24 hours, especially if you applied thick layers or worked on porous surfaces.
Keep in mind, humidity and temperature affect drying time, so in cooler or more humid conditions, it’ll take longer. Always give your artwork enough time before handling or sealing.
Can Acrylic Ink Be Used on Fabric?
Yes, acrylic ink sticks to fabric like paint on a canvas. When considering fabric compatibility, it works best on natural fibers like cotton and linen because they absorb the ink well.
You’ll want to pre-wash your fabric to improve adhesion, then apply the ink with a fine brush or sponge. Afterward, heat-setting with an iron guarantees the design stays vibrant and washable, making your artwork durable on textiles.
Is Acrylic Ink Waterproof Once Dry?
Yes, acrylic ink is generally waterproof once dry because it contains an acrylic binder that provides excellent water resistance. However, you should know that the level of water resistance can vary depending on the brand and formulation.
To boost its durability and water resistance, you can apply a protective sealant or varnish over the dried ink. Just make sure the ink is fully dry before exposing it to moisture to avoid smudging or running.
How Should I Store Leftover Acrylic Ink?
You should store leftover acrylic ink using these storage tips: keep the bottles tightly sealed and upright to prevent leaks and drying out. Place them in a cool, dark spot away from sunlight and temperature extremes to maintain color and consistency.
Always use clean tools when handling the ink to avoid contamination. Following these steps guarantees your acrylic ink stays fresh and ready for your next project.
Are Acrylic Inks Toxic or Safe for Children?
You’ll be glad to know that most acrylic inks are non-toxic and generally safe for children when used properly. Over 90% of popular acrylic inks are labeled as water-based and meet child safety standards. However, you should always check the product label to confirm.
Keep kids supervised to avoid staining or accidental ingestion, and use protective clothing. Proper ventilation is also key to maintaining a safe environment during use.
Conclusion
Now that you know how to use acrylic ink in seven simple steps, you’re ready to create vibrant, dynamic art with ease. Did you know acrylic ink dries up to 50% faster than traditional acrylic paint? This quick drying time means you can layer colors and build depth without long waits.
So, gather your materials, experiment with techniques, and protect your work to make your acrylic ink creations truly stand out!
Leave a Reply