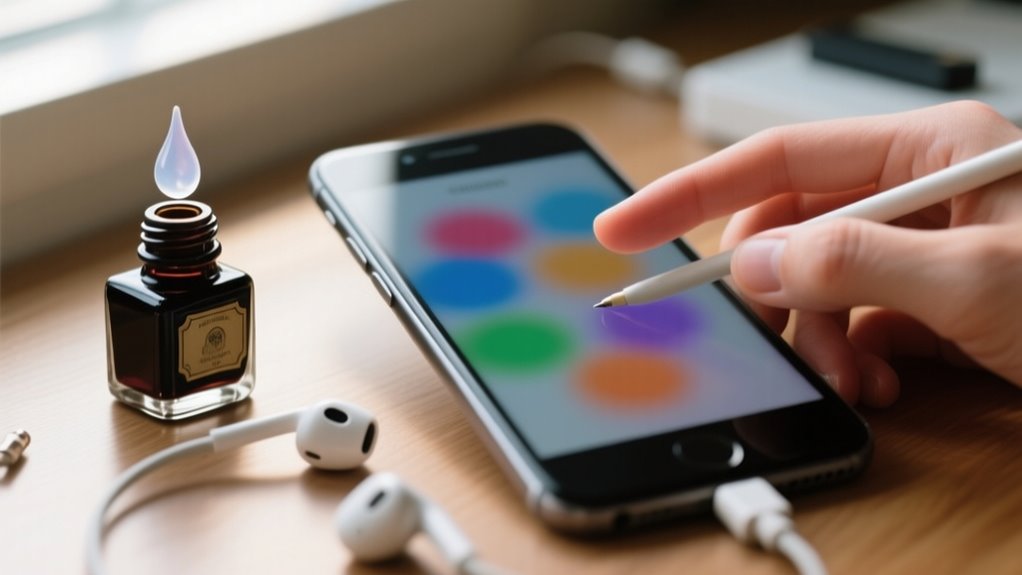
To use Invisible Ink on your iPhone, open the Messages app and start a conversation.
Type your message or add a photo, then press and hold the send button to open the effects menu.
Swipe to select Invisible Ink and tap send. The message appears blurred for privacy.
The recipient just swipes to reveal it.
Make sure both devices run iOS 10 or later with Reduce Motion off for best results.
Keep going to explore tips and troubleshooting for a smoother experience.
What Is Invisible Ink?

Although it might seem like a simple effect, Invisible Ink adds a fun layer of privacy to your iMessages by hiding text or images until the recipient swipes to reveal them. This feature was introduced with iMessage in iOS 10 to give your conversations a playful, secretive edge.
Invisible Ink adds playful privacy by hiding your iMessages until the recipient swipes to reveal them.
When you send a message with Invisible Ink, the content appears blurred or pixelated, making it unreadable at first glance. The recipient has to swipe over the message to uncover what you’ve sent, adding anticipation and a sense of surprise.
Invisible Ink enhances privacy by preventing anyone nearby from casually reading your messages. Keep in mind, Invisible Ink works only within iMessage on iOS devices running iOS 10 or later, so both you and the recipient need compatible devices.
This clever effect not only keeps your messages private but also makes your chats more engaging and interactive.
Open Messages and Compose Invisible Ink Messages
Open the Messages app on your iPhone, then either pick an existing conversation or tap the compose button to start a new one. This is where you’ll create your Invisible Ink message. When you’re ready, just type your message or add a photo before applying the effect.
Launch Messages App
When you want to send a message with Invisible Ink on your iPhone, start by launching the Messages app and either create a new message or choose an existing conversation. Tap the text input field and type your message.
Instead of tapping the send button immediately, press and hold it, the blue arrow, to reveal message effects options. From the menu that appears, select “Invisible Ink.” This effect hides your message until the recipient swipes over it, adding a fun layer of surprise.
Before sending, you can preview how your message looks with the Invisible Ink effect to make sure it’s just right. Once satisfied, hit the send button to deliver your concealed message. This simple process enhances your conversations with a unique, playful touch.
Start New Conversation
To start a new conversation and send a message with Invisible Ink on your iPhone, launch the Messages app and tap the compose button. Next, enter the recipient’s contact name or phone number to begin the conversation.
Type your message as you normally would in the input field. When you’re ready to send it with the Invisible Ink effect, tap and hold the blue send button. This action opens the message effects menu.
From there, select “Invisible Ink” to apply the effect to your message. Once selected, send it to surprise the recipient with a message that remains hidden until they swipe over it.
This simple process lets you start conversations that add an extra layer of fun and privacy using Invisible Ink.
Device & iOS Requirements for Invisible Ink
Since Invisible Ink relies on iMessage, you’ll need an iPhone running iOS 10 or later with iMessage enabled to send messages using this feature. Device compatibility is straightforward: any iPhone that supports iOS 10 or later can use Invisible Ink.
Make sure your device is updated to the latest iOS version to enjoy all messaging effects, including Invisible Ink. Remember, the recipient also needs an iPhone with iOS 10 or newer to see the effect properly.
Here’s a quick overview of the device and iOS requirements:
| Requirement | Details |
|---|---|
| iOS Version | iOS 10 or later |
| Device Compatibility | iPhones supporting iOS 10+ |
| Messaging Effects | Available with latest iOS update |
| iMessage Enabled | Must be turned on |
Meeting these requirements guarantees smooth use of Invisible Ink in your conversations.
Access the Effects Menu
After typing your message, press and hold the blue send button to open the effects menu. If you have a newer iPhone, just press firmly. Older models will need a longer hold. From there, you can pick Invisible Ink from the options to send your message with a hidden effect.
Opening Message Effects
When you want to add a special touch to your message, open the Messages app and either start a new conversation or choose an existing one. To open the message effects menu, follow these steps:
- Type your message as usual.
- Press and hold the send button (the upward arrow) to open the message effects menu.
- Swipe left or right to preview different effects, including Invisible Ink.
Holding Send Button
If you want to add a special effect to your message, press and hold the blue send button in the Messages app after typing your text. When you hold the send button, a menu with various message effects appears, letting you preview different options.
This method works on all iPhones, including older models without 3D Touch. By holding down the send button, you can easily access the effects menu where Invisible Ink and other effects are available.
Simply keep holding until the message effects show up, then choose the effect you want before releasing the send button. This quick step allows you to enhance your message with fun effects, making your texts more engaging and interactive before sending them off.
Selecting Invisible Ink
How do you select Invisible Ink once the effects menu appears? It’s simple and quick. After you press and hold the blue Send button, the effects menu pops up. Here’s how to choose Invisible Ink:
- Swipe left or right through the effects menu to browse all available options.
- Tap on the Invisible Ink effect to select it. You’ll immediately see a preview of your message with the effect applied.
- Once satisfied with your selection, tap the Send arrow to deliver your message with Invisible Ink.
On older iPhone models, holding down the Send button also brings up the effects menu, letting you select Invisible Ink easily. This way, you get a clear preview before sending, ensuring your message stays hidden until the recipient reveals it.
Choose and Preview Invisible Ink
Although sending a regular message is straightforward, you can add a fun twist by using Invisible Ink. To select this effect, type your message, then tap and hold the send button. A menu will pop up with several effects. Select “Invisible Ink.”
Before you send, you can preview how your message looks. It appears blurred and hidden, with only the “Invisible Ink” label visible. This preview lets you confirm your choice and ensures your message has the desired secretive vibe.
When you’re ready, tap the send arrow to deliver it. The recipient will need to swipe the message to reveal what you’ve hidden.
Here’s a quick guide to help you choose and preview Invisible Ink:
| Step | Action |
|---|---|
| 1 | Type your message |
| 2 | Tap and hold the send button |
| 3 | Choose “Invisible Ink” |
| 4 | Preview the blurred message |
| 5 | Tap send when you’re satisfied |
Send Your Message With Invisible Ink
Once you’ve previewed your message with the Invisible Ink effect and confirmed it looks just right, it’s time to send it. Sending your message with Invisible Ink adds a fun layer of privacy, making your text appear blurred until the recipient chooses to reveal it.
Here’s how to send your message using this feature:
- Type your message in the Messages app as usual.
- Tap and hold the blue Send button to open the message effects menu.
- Select “Invisible Ink” from the options, then tap the Send arrow to deliver your message.
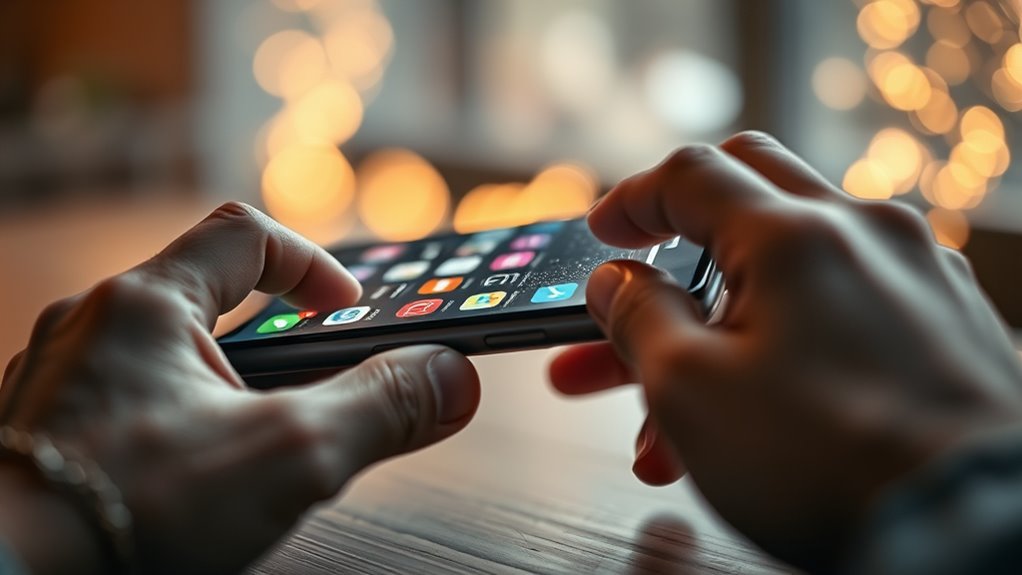
Reveal Invisible Ink Messages
When you receive an Invisible Ink message, you reveal its content by tapping and swiping over the blurred bubble or image. This simple gesture lets you swipe across the message, gradually unveiling the hidden content beneath the blur.
Whether it’s a text message or an image, swiping over the effect temporarily reveals what’s concealed, allowing you to read or view it clearly.
Once you stop interacting with the message, it automatically reverts to its obscured state, keeping the content private. If you find that the message doesn’t reveal when you swipe, check your device’s Accessibility settings to ensure Reduce Motion is turned off. This feature can interfere with the reveal animation.
Troubleshoot Invisible Ink Issues
If Invisible Ink isn’t working, the first thing to do is make sure that both you and the person you’re messaging have iMessage turned on. Also, double-check that your devices are updated to a compatible iOS version.
Next, take a look at your device’s Reduce Motion setting. If it’s turned on, it can prevent message effects from showing up properly, so be sure to switch it off.
Finally, it’s a good idea to confirm that the recipient’s device actually supports these effects. That way, you can be sure everything displays just as it’s supposed to.
Enable iMessage And Updates
To use Invisible Ink on your iPhone, start by making sure iMessage is enabled in Settings > Messages. Invisible Ink only works with iMessage, so this step is essential. Next, verify that your device runs iOS 10 or later, as earlier versions don’t support this feature.
Keeping your iPhone updated guarantees smooth performance and access to the latest effects.
Here’s what to do:
- Enable iMessage in Settings > Messages.
- Check for an iOS update by going to Settings > General > Software Update.
- Confirm the recipient also uses iMessage with iOS 10 or newer.
Following these steps helps prevent issues with Invisible Ink and guarantees you and your contacts can enjoy the full messaging experience.
Adjust Reduce Motion Settings
After confirming iMessage is enabled and updated, you might still run into issues with Invisible Ink not displaying properly. One common cause is the Reduce Motion setting under Accessibility.
To fix this, go to Settings > Accessibility > Reduce Motion and make sure the toggle is turned off. When Reduce Motion is enabled, it limits system animations and can prevent Visual Effects like Invisible Ink from showing correctly.
If you’re unsure, try toggling Reduce Motion off and on to see if it resolves the issue. Disabling Reduce Motion restores full animation support, allowing Invisible Ink and other message effects to appear as intended.
Adjusting this setting often fixes problems with Invisible Ink visibility, making your messages more engaging and fun.
Check Device Compatibility
Wondering why Invisible Ink isn’t working on your iPhone? It often comes down to device compatibility, iOS version, and iMessage settings. To make sure everything runs smoothly, follow these steps:
- Confirm your iPhone and the recipient’s device run iOS 10 or later, as Invisible Ink requires this minimum iOS version to function.
- Check that iMessage is enabled on both devices by going to Settings > Messages. Invisible Ink only works within iMessage conversations.
- Verify your Reduce Motion setting is off in Settings > Accessibility. If it’s on, the Invisible Ink effect might not appear correctly.
Use Invisible Ink Creatively
While Invisible Ink keeps your messages hidden at first glance, you can use it creatively to add excitement and privacy to your conversations. Invisible Ink lets you send private messages that only reveal their content when the recipient swipes over them, making your chats more engaging.
Use this feature for creative messaging by hiding surprise announcements or spoilers, building suspense before revealing the full message. It’s also perfect for sharing sensitive information discreetly, maintaining your privacy without immediately exposing details.
You can even combine Invisible Ink with images, blurring photos until the recipient chooses to view them. This adds an interactive element to your texts.
This approach encourages your contacts to engage more actively with your messages, turning ordinary conversations into fun and intriguing exchanges. By using Invisible Ink creatively, you enhance both privacy and enjoyment in your iPhone messaging experience.
Enhance Your Invisible Ink Experience
To get the most out of Invisible Ink, preview your message effects before sending to make sure everything looks just right. This helps ensure your hidden message creates the perfect surprise when revealed. Here’s how to enhance your Invisible Ink experience:
- Use the hold-down gesture on the send button to open the effects menu and select Invisible Ink. This gives your message a slick, engaging reveal that stands out.
- Combine Invisible Ink with images or emojis for dynamic, playful messages that add personality and fun to your texts.
- Make sure the recipient’s device runs iOS 10 or later and hasn’t disabled Reduce Motion. Otherwise, the Invisible Ink effect might not display as intended.
Frequently Asked Questions
Can Invisible Ink Messages Be Saved or Forwarded by Recipients?
Yes, you can save or forward Invisible Ink messages, but they aren’t automatically stored separately. The message stays hidden until you swipe to reveal it, which helps address some privacy concerns.
Once revealed, you can copy or save it like any message. However, app compatibility varies when it comes to preserving encryption.
If you forward the thread, the hidden content remains concealed until revealed. Keep in mind, screenshots capture the revealed content, which impacts privacy.
Does Invisible Ink Work With Group Messages on iPhone?
It’s funny how you might try Invisible Ink in a group chat just as everyone’s debating privacy! Yes, it works, but message privacy depends on app compatibility. Everyone needs iMessage on iOS 10 or later.
Only your message gets blurred, so ink visibility stays personal. Each person swipes to reveal it individually, keeping your secret safe unless someone’s on an older system where the effect doesn’t show properly.
Is There a Way to Customize the Invisible Ink Effect?
You can’t customize the Invisible Ink effect on your iPhone right now. Invisible ink customization isn’t supported, so you won’t find options to change hidden message design or create personalized ink effects.
The blur and animation are preset by Apple, keeping things simple and secure. If you’re hoping for more creative control, you’ll have to wait for future iOS updates since no official tools exist for personalizing invisible ink.
Can Invisible Ink Be Used in Third-Party Messaging Apps?
You can’t use Invisible Ink in third-party apps because it’s exclusive to iMessage and Apple’s messaging system. Its privacy relies on Apple’s message encryption and special animation, which third-party app compatibility doesn’t support.
If you want that unique Invisible Ink privacy, both you and your recipient need iMessage on iOS devices. Otherwise, third-party apps might offer different privacy features, but they won’t replicate the exact Invisible Ink effect or encryption.
Do Invisible Ink Messages Consume More Data or Storage?
Invisible Ink messages don’t gobble up data or storage like a ravenous monster. You’ll barely notice any extra usage because the effect is processed on your device, not the network.
Thanks to message encryption, your privacy concerns stay locked down without extra cost. Just remember, app compatibility is limited. Invisible Ink works best within iMessage, so third-party apps won’t boost your data or storage with this feature.
Conclusion
Now that you know how to use Invisible Ink on your iPhone, you can add a fun, mysterious touch to your messages. Remember, “actions speak louder than words,” so send your secret notes with style and surprise.
Don’t forget to check your device and iOS compatibility, explore creative uses, and troubleshoot if needed. With a little practice, you’ll master this feature and keep your conversations both private and playful.
Give it a try today!
Leave a Reply