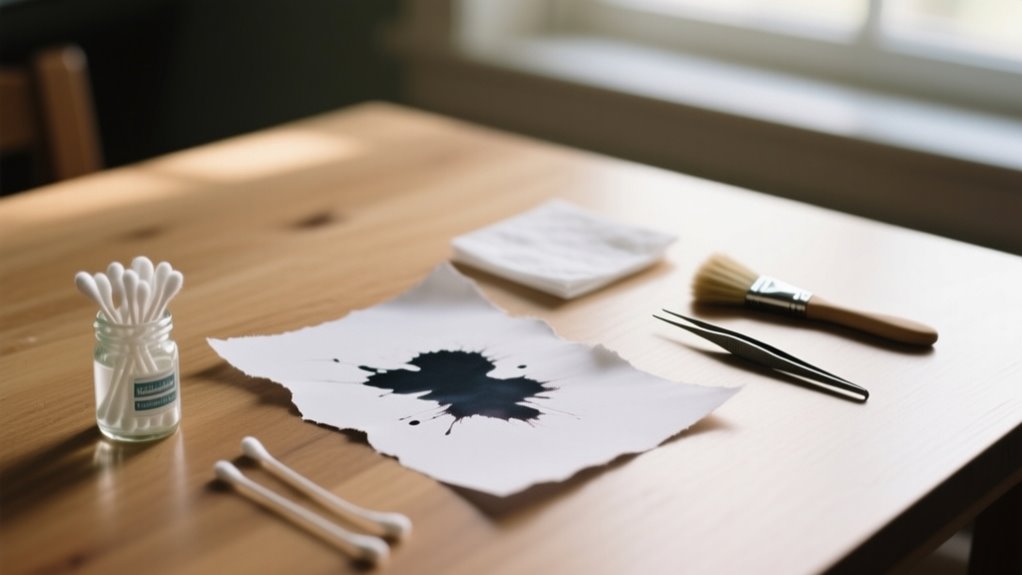
To get ink off paper in 7 easy steps, first identify your ink and paper type to choose the safest method.
Test removal techniques like gentle sanding, light rubbing with rubber erasers, or careful application of acetone on a hidden spot.
If ink won’t lift, try covering it with correction fluid.
Always dry and evaluate between steps to avoid damage.
Using these cautious methods helps protect your paper’s integrity.
Keep going, and you’ll uncover more tips to handle ink stains effectively.
How to Identify Ink and Paper Types Before Removal
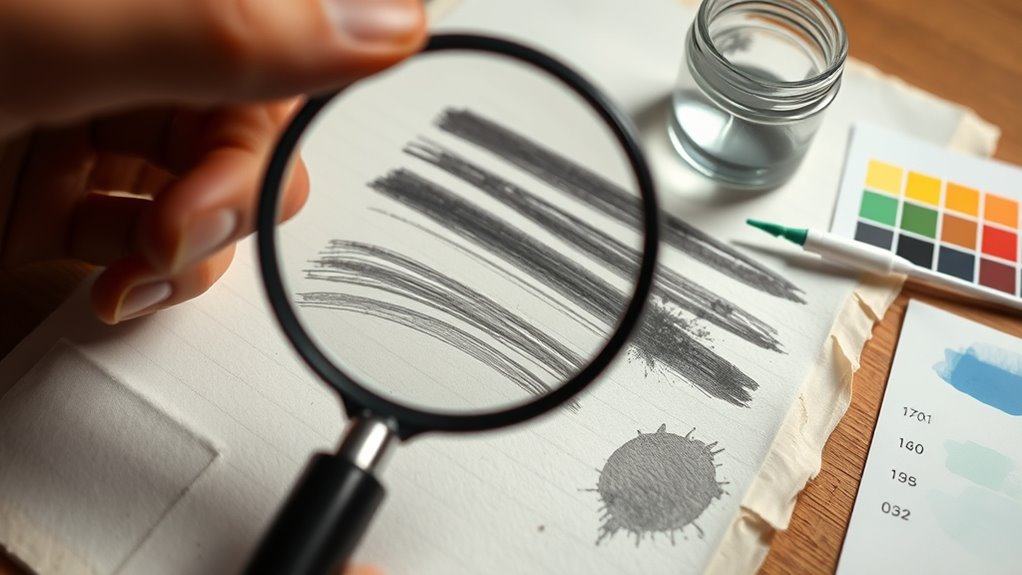
Before you start removing ink from paper, it’s essential to identify both the ink type and the paper texture, as these factors determine the best approach. Different ink types like ballpoint, gel, and fountain pen ink penetrate paper fibers differently, so understanding which you’re dealing with helps you choose effective removal techniques. For example, ballpoint ink often sits on the surface, while fountain pen ink soaks deeper.
Next, assess the paper textures: smooth, rough, coated, or thin tissue. These affect how easily the ink can be erased or covered up. Smooth, coated papers might resist some techniques, while thin tissue risks tearing. Always test your chosen method on a small, hidden area to avoid damage or discoloration.
Remove Ink Gently Using Sandpaper or a Razor Blade
Once you’ve identified the ink and paper types, you can carefully start removing the ink using fine-grit sandpaper or a razor blade. Use the sandpaper gently, scrubbing the ink in small, lateral motions to avoid damaging the paper’s surface.
If you choose the razor blade, apply light pressure and move it in circular or scraping motions to lift the ink without cutting through the paper. Always support the paper underneath to prevent tearing and maintain control during ink removal.
After scraping, lightly burnish the area to smooth out any rough fibers and reduce visible abrasion. Remember, avoid using sandpaper or a razor blade on fragile or thin paper, as these abrasive tools can easily create holes or surface damage.
Erase Pen Ink Precisely With Rubber Ink Erasers
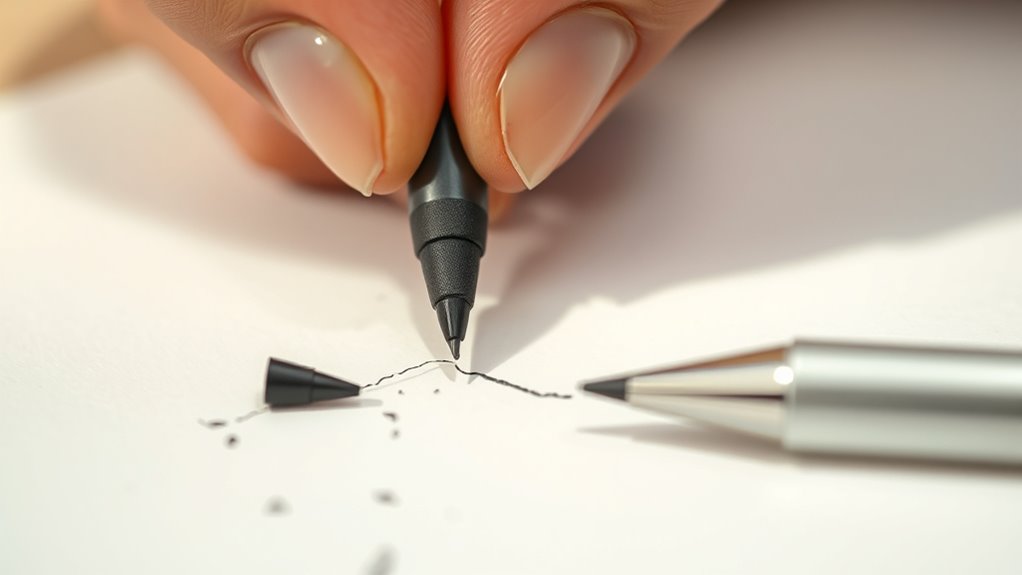
Although removing ballpoint ink from paper can be tricky, rubber ink erasers give you precise control to lift ink without damaging the surface. These erasers contain latex and silica grit, allowing them to gently remove ink with smooth, short strokes.
To achieve precise removal, apply light pressure and focus on small ink spots or detailed areas. This technique helps avoid tearing or creating uneven spots on the paper. Before you start, test the rubber ink eraser on a hidden corner to make sure it won’t harm delicate or thin paper layers.
Apply light pressure on small ink spots and test first to protect delicate paper from damage.
By using rubber ink erasers correctly, you can effectively remove ink while preserving the paper’s integrity. This method offers a reliable way to erase pen marks cleanly and precisely, especially when you only need to target specific spots.
Keep your strokes controlled, and you’ll see the ink lift away neatly without causing damage.
Remove Stubborn Ink Spots Safely Using Acetone
When rubber ink erasers can’t fully remove stubborn ink spots, acetone offers a stronger solution. To use acetone safely for ink removal, dip a cotton swab in a small amount of acetone-based nail polish remover and gently dab the ink spot. Let the acetone dissolve the ink for a few seconds before blotting with a clean cloth.
Always test acetone on a hidden corner first to ensure paper safety by checking for discoloration or damage. Use minimal acetone to avoid weakening or warping delicate paper fibers. Allow the treated paper to dry completely before handling or writing over it to prevent smudging.
| Step | Action |
|---|---|
| 1. Test | Try acetone on a concealed area of the paper |
| 2. Apply | Dab ink spot lightly with a cotton swab |
| 3. Blot | Use a clean cloth to absorb the dissolved ink |
| 4. Dry | Let the paper dry completely before further use |
Following these steps ensures effective ink removal without compromising paper safety.
Cover Ink Mistakes With Wite-Out Correction Fluid or Pen
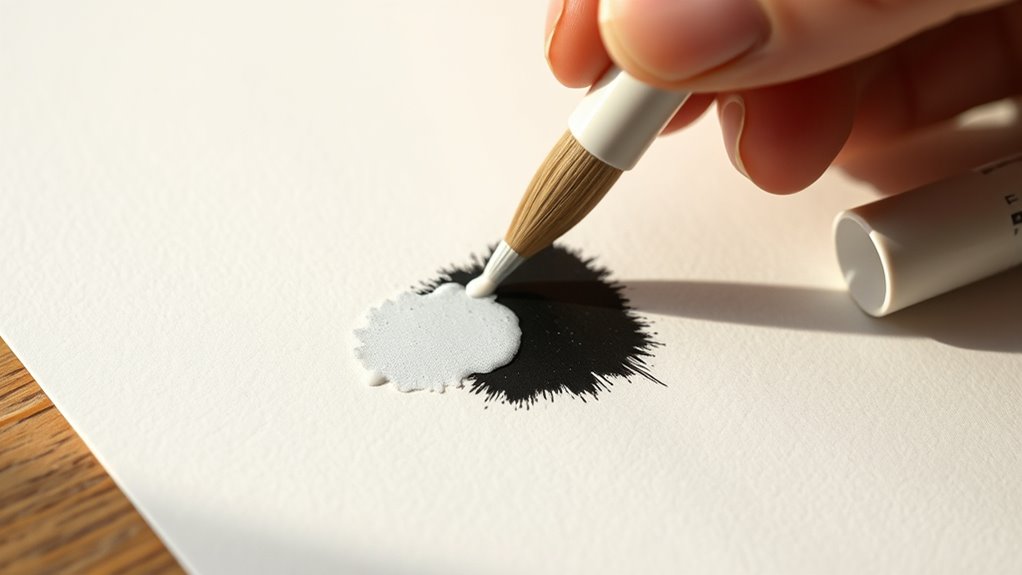
If you can’t fully remove an ink mistake, using Wite-Out correction fluid or a correction pen offers a quick and effective way to cover it up. Before you start, shake the correction fluid or pen well to guarantee it applies smoothly and evenly.
Then, move the metal tip or applicator steadily across the ink mark to whiten the paper surface completely. Be sure to apply a thin, even layer to cover ink mistakes without creating excess buildup, which can lead to uneven texture or peeling.
After applying, allow the correction fluid or pen to dry fully for a few minutes before writing over it to prevent smudging. This method is ideal when complete ink removal isn’t feasible and you need a fast way to conceal small errors.
Using correction fluid correctly helps keep your paper looking neat, saving you time and effort while maintaining a clean appearance.
Try Lemon Juice and Baking Soda to Remove Ink at Home
You can use lemon juice to gently lift ink stains—just dab it on with a cotton swab. But if your paper is delicate, make sure to dilute the lemon juice first.
For those tougher spots, give a baking soda paste a try. Apply it in circular motions, let it sit for a few minutes, then rinse it off.
Oh, and always remember to test these methods on a hidden area before going all in, so you don’t accidentally damage your paper.
Lemon Juice Application
Although ink stains can be stubborn, applying lemon juice can effectively lift them from paper without causing damage. Lemon juice contains natural acids that break down ink, making it a safe option for ink removal on delicate surfaces.
To use it, dip a cotton swab in lemon juice and gently dab the ink stain, avoiding rubbing to protect the paper. Let the lemon juice sit for a few minutes to work on the stain, then blot with a clean tissue to absorb excess moisture.
This method is gentle yet effective, helping you remove ink without harming the paper’s fibers. Remember to let the paper dry completely before handling or writing on it again to prevent smudging or warping.
Baking Soda Paste
Two common household ingredients, baking soda and lemon juice, combine to create an effective paste for removing ink stains from paper. For stain treatment, start by mixing baking soda with a small amount of water until you get a thick paste.
Apply this paste gently to the ink stain using a soft cloth or cotton swab, moving in circular motions to avoid damaging the paper. Let the baking soda paste sit for a few minutes so it can break down the ink.
Afterward, blot or wipe away the paste carefully. Rinse the paper with clean, distilled water to remove any residue and prevent damage. If the stain persists, repeat the ink removal process cautiously, making sure not to oversaturate the paper.
Ink Removal Tips
While ink stains on paper can seem stubborn, using lemon juice and baking soda at home offers a simple way to lift them effectively. Start by dabbing a cotton swab dipped in lemon juice gently onto the ink stain.
Then, create a baking soda paste with water and apply it in circular motions. Let either solution sit for a few minutes before blotting with a clean cloth.
After using baking soda, rinse the paper with cold water to avoid residue, then let it dry thoroughly. Always test on a hidden spot first to ensure no damage occurs.
| Step | Action |
|---|---|
| Apply Lemon Juice | Dab with cotton swab gently |
| Use Baking Soda | Apply paste in circular motion |
| Finalize | Blot, rinse (if baking soda), dry |
Test Ink Removal Methods Carefully to Protect Your Paper
Before you start removing ink from your paper, always test your chosen method on a small, hidden area or a scrap piece. This test helps you see how the ink and paper react without risking visible damage.
Apply your ink removal technique gently, whether it’s erasing or using a light solvent, to avoid tearing or warping the paper’s surface. After applying the method, let the test spot dry completely to check for any discoloration or damage.
If you notice any adverse effects, try a milder approach or reconsider the removal altogether. Keep in mind that older, set-in ink stains might not respond well, so aggressive attempts can cause irreversible harm.
Frequently Asked Questions
Can Ink Removal Damage Valuable Documents Permanently?
Yes, ink removal can permanently damage valuable documents. When ink absorbs deeply into paper fibers, especially with certain pen types, it becomes nearly impossible to remove without harm.
Paper aging makes the fibers more fragile, so any attempt to erase ink risks tearing or thinning. You shouldn’t use harsh chemicals or abrasion, as they can cause discoloration or warping.
Instead, consult a professional conservator to protect your documents properly.
Are There Eco-Friendly Alternatives to Chemical Solvents?
Yes, you can choose natural cleaning methods that use biodegradable solvents like lemon juice or vinegar. These plant-based solutions are gentle on paper and better for the environment compared to harsh chemicals.
You’ll find they break down quickly without polluting, making them an eco-friendly option. Just remember to dispose of any used solvents properly to keep your cleanup sustainable and safe for the planet.
How Long Should I Wait Before Attempting Ink Removal?
You should wait at least 10-15 minutes before attempting ink removal to allow proper drying time, which helps prevent smudging. Timing considerations are essential because if you act too soon, the ink may spread.
For fresh ink, waiting 5-10 minutes lets the stain absorption settle slightly, making removal easier. Always wait until the ink is dry to make certain your method works effectively without damaging the paper.
Can Ink Removal Methods Affect Paper Texture or Color?
Yes, ink removal methods can definitely affect your paper’s texture and color. Because of ink absorption, the paper fibers may weaken, causing texture alteration like roughness or unevenness.
Chemical solvents often cause paper discoloration, especially on glossy or thin paper. You’ll want to handle the process carefully to avoid these issues, as aggressive methods or harsh chemicals can permanently change how your paper looks and feels.
Is Professional Restoration Better for Old Ink Stains?
Yes, professional restoration is better for old ink stains because they understand ink absorption and how it affects paper preservation. You’ll avoid damaging the paper’s texture or color since experts use archival materials and gentle techniques.
They reduce stain visibility without compromising the document’s integrity. If you want to keep your valuable papers safe and looking good, trusting professionals guarantees the best results and long-term preservation.
Conclusion
Imagine your paper as a delicate canvas, each ink mark a brushstroke you can gently erase or transform. By knowing your ink and paper, you hold the power to restore your work without damage.
Whether you choose a soft eraser, a careful swipe of acetone, or a homemade lemon juice remedy, you’re guiding your paper back to its clean, bright self. With patience and care, those ink stains don’t stand a chance.
Leave a Reply