To refill your ink stamp, start by locking it to stabilize and access the ink pad safely.
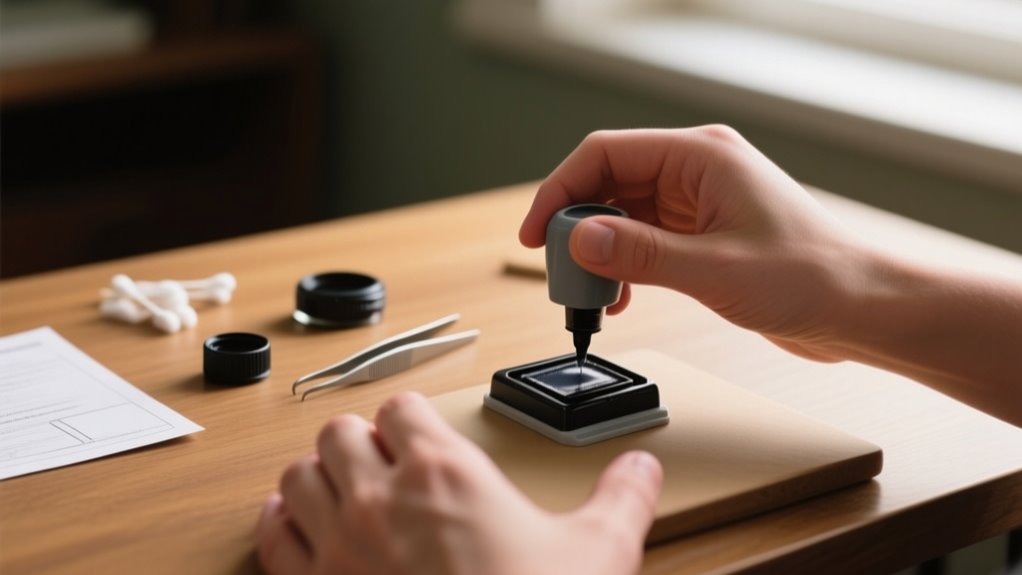
Gently remove the ink pad, making sure not to damage it, then apply 10 to 20 drops of ink evenly using a dropper.
Let the ink soak for 15 to 30 minutes or longer for best results.
Reinsert and lock the pad securely, then test the stamp on scrap paper.
Follow these steps, and you’ll quickly restore crisp, clear impressions while avoiding common issues.
Lock the Stamp to Access the Ink Pad for Refill
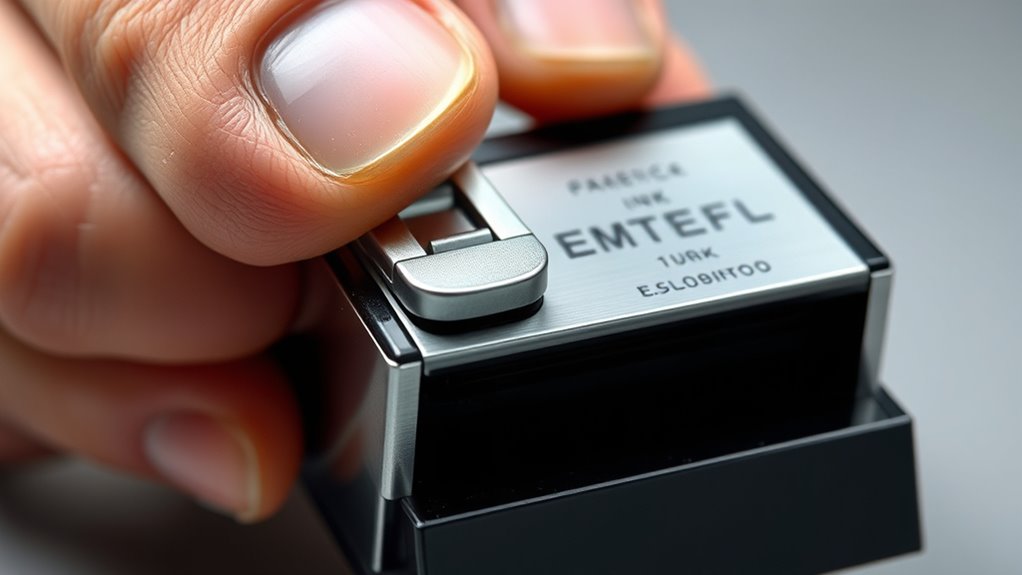
Before you add ink, lock the stamp by pressing it down to its first position to release the internal mechanism. This step is crucial because locking the stamp stabilizes the ink pad, making it easier to refill without causing misalignment or accidental movement.
Many self-inking stamps come with a lock feature specifically designed to prevent the ink pad from sliding out prematurely. When you lock the stamp, you ensure the internal parts stay secure and accessible, so you can refill the ink precisely where it’s needed.
Follow the manufacturer’s instructions carefully to properly lock and unlock the stamp before and after refilling. Doing this prevents damage and keeps the refill process smooth.
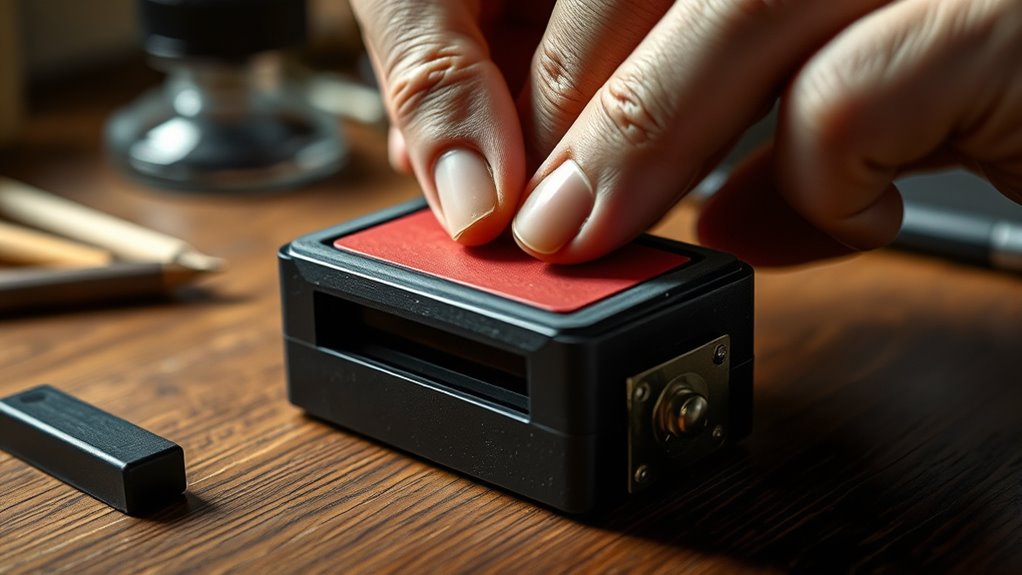
Carefully Remove the Ink Pad Without Damage
When you’re ready to remove the ink pad, gently grasp its edges and lift it straight out to prevent any damage to the pad or the surrounding mechanism. Before you remove the ink pad, check if there are any clips or locks holding it in place. Release them slowly and carefully to avoid snapping or bending.
Use both hands to support the ink pad evenly during extraction. This helps prevent bending or warping. Never pull the pad at an angle, as this can cause snagging or tearing from the stamp housing.
Once removed, place the ink pad on a clean, dry surface to avoid contamination or unwanted ink spills during maintenance. Taking these cautious steps ensures you remove the ink pad without damage, making the refill process smoother and preserving the stamp’s longevity.
Apply the Right Amount of Ink to the Ink Pad
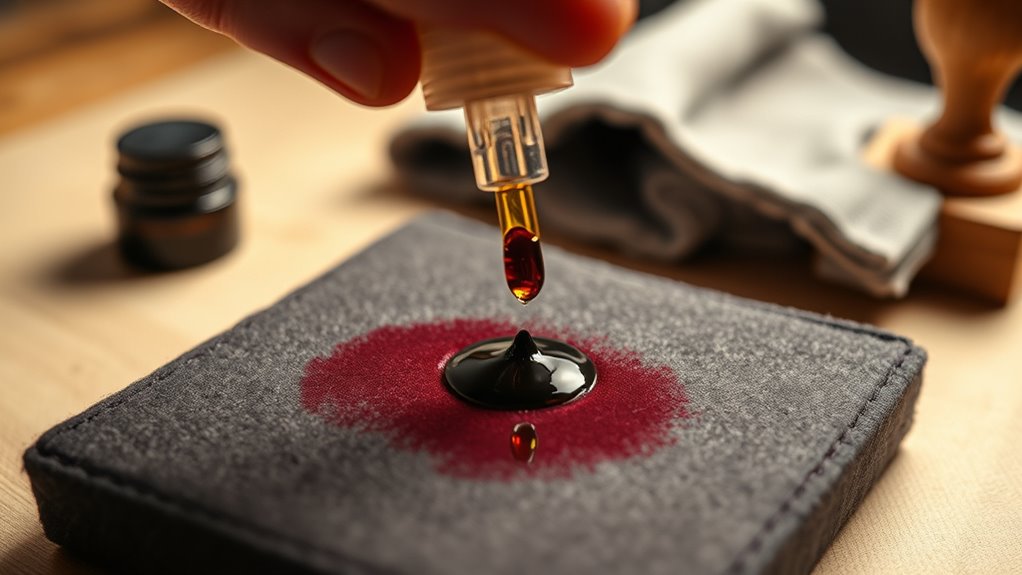
Although it might be tempting to add a lot of ink, you should apply only 10 to 20 drops to the ink pad to guarantee proper saturation without overfilling. Using a dropper or a gentle squeeze bottle helps you control the amount of ink precisely, preventing excess that could lead to smudging or leakage.
When you refill the ink, distribute the drops evenly across the pad to assure consistent impressions every time you stamp. Avoid pouring ink directly and heavily in one spot, as this causes uneven saturation and messy results.
Let Ink Soak Fully Before Reassembly
After you apply the ink, give it some time—let it soak into the pad for at least 15 to 30 minutes before you put everything back together. This waiting period really helps make sure the ink absorbs properly. It also prevents any damage from overfilling and keeps the ink spreading evenly.
If you can, try to leave it soaking overnight. That way, you get the best possible results.
Ink Absorption Time
How long should you wait for the ink to fully absorb before putting your stamp back together? For self-inking stamps, proper ink absorption is crucial for sharp, consistent impressions.
After you refill ink onto the stamp pad, allow at least 15 to 30 minutes for the ink to soak in evenly. Some inks designed for these stamps may require up to an hour or overnight for complete absorption.
Avoid using the stamp immediately after applying ink, as this can cause uneven distribution and potential leakage. By letting the ink fully soak, you ensure the pad is properly saturated, which helps maintain clean, clear stamping results every time.
Patience during this ink absorption time makes a big difference in your stamp’s performance.
Prevent Overfilling Damage
When you refill your stamp, resist the urge to add too much ink at once. Instead, apply small drops gradually to prevent overflow. Overfilling leads to excess ink, causing damage like smudges or leaks.
Always let the ink soak fully, ideally 10-15 minutes or overnight, before reassembling. This prevents uneven printing and protects internal parts from damage.
| Risk | Cause | Prevention |
|---|---|---|
| Ink Leakage | Overfilling | Add ink gradually |
| Smudged Prints | Excess ink | Wait for full absorption |
| Stamp Damage | Reassembly too soon | Let ink soak completely |
Following these steps keeps your stamp working smoothly and extends its lifespan. Be patient; letting ink soak fully is key to avoiding overfilling damage.
Reinsert the Ink Pad and Lock the Stamp
Once you’ve refilled the ink pad with the right ink, carefully slide it back into the stamp body, making sure it’s properly aligned. When you reinsert the ink pad, push it down firmly until you hear a click or feel it lock into place, depending on your stamp model. This ensures the pad is securely seated and flush with the stamp surface, which is vital to prevent uneven impressions.
If your stamp features a locking mechanism, be sure to engage it to hold the ink pad firmly during use. This lock keeps the pad stable and avoids any shifting that could affect your stamping quality. Taking these steps guarantees that your ink pad stays in position, ready for clear, consistent impressions every time you stamp.
Test the Ink Stamp on Scrap Paper for Clarity
Before you start using your freshly refilled stamp, test it on scrap paper to check the clarity and consistency of the impression. Grab a piece of plain, uncoated scrap paper. This will give you the most accurate view of how the ink covers the surface.
Press your stamp firmly onto the paper and examine the impression for sharpness and even ink distribution. Make multiple test impressions to catch any areas that might be faint or over-inked. If the impression isn’t clear or looks uneven, add a few more drops of ink to the pad and test again.
Also, verify you clean the stamp surface before testing to avoid any smudges or ink buildup that could affect the impression quality. By carefully testing on scrap paper, you’ll ensure your stamp delivers crisp, consistent impressions every time you use it.
Troubleshoot Common Ink Stamp Refilling Problems
Although refilling your ink stamp is straightforward, you might encounter some common issues like faint impressions or ink smudging. If your stamp produces faint or inconsistent marks after refilling, make sure the ink cartridge has fully absorbed into the pad. Sometimes it just needs more time.
Refilling your ink stamp is easy, but faint marks may appear if the ink hasn’t fully absorbed yet.
Avoid overfilling during refilling; adding too much ink at once can cause ink leakage or smudging. Instead, add drops gradually and test frequently. Also, use only compatible, high-quality ink to prevent poor ink distribution and damage to the stamp’s internal parts.
Before refilling, clean off any dust, lint, or dried ink residue from the stamp and pad, as these can interfere with ink transfer. If you notice ink pooling or leaking around the edges, double-check that the ink pad or cartridge is seated correctly and the stamp is properly reassembled.
Following these steps will help you avoid common refilling problems and keep your stamp working smoothly.
Frequently Asked Questions
What Type of Ink Is Best for Different Stamp Materials?
You’ll want to match ink to your stamp material for the best results. For rubber stamps, oil-based inks work great, giving vibrant, lasting prints.
Self-inking or polymer stamps need water-based inks to dry quickly and avoid damage. Always follow ink compatibility tips and clean your stamp pad regularly to prevent clogging.
If you’re feeling crafty, try DIY ink formulas, but test first to avoid harm. Stamp pad cleaning keeps your impressions sharp and consistent.
How Often Should I Refill My Ink Stamp?
You should adjust your refill frequency based on stamp maintenance and how quickly ink drying affects impression quality. If your impressions start fading or drying out, it’s time to refill.
High-use stamps might need re-inking every few days or weeks, while occasional use could last longer. Keep an eye on your stamp’s clarity and avoid over-inking to prevent smudging or damage.
Regular checks help you maintain best performance.
Can I Use Colored Inks in My Stamp?
Yes, you can use colored inks in your stamp, but make sure the ink color options match your stamp’s ink type. Colored inks can bring fresh stamp design ideas to life, enhancing your branding or decor.
Look for alternative ink sources that specify compatibility with your stamp to avoid smudging or damage. Always follow the manufacturer’s guidelines to keep your stamp working smoothly and your impressions crisp.
How Do I Store My Ink Stamp to Prevent Drying Out?
To prevent your ink stamp from drying out, store it in a cool, dry place away from direct sunlight. Keep it upright or flat to guarantee even ink distribution, which helps with stamp longevity.
Always cover or seal your stamp when not in use to limit air exposure. Regular stamp cleaning also ensures ink color selection stays vibrant and prevents clogs.
Avoid extreme temperatures, and check ink levels frequently to maintain moisture and performance.
Is It Safe to Refill Ink Stamps for Children to Use?
It’s safe to refill ink stamps for children only if you prioritize child safety by using non-toxic inks and ensuring age appropriateness. You shouldn’t let kids handle refilling themselves because of the risks involved.
Always supervise closely during any stamping activities, and store ink refills securely out of their reach. This way, you protect them from accidental ingestion or spills while still letting them enjoy creative fun safely.
Conclusion
You’ve just mastered the ancient art of ink stamp refilling. Who knew such drama came in such a tiny pad? Now, instead of buying a new stamp every time, you’re basically an ink wizard, saving trees and wallets alike.
Just remember, if your stamp smears like modern art or refuses to cooperate, it’s not you. It’s the ink’s dramatic personality. Keep at it, and soon you’ll reign supreme in the kingdom of perfectly stamped documents!
Leave a Reply