First, identify if the ink is water-based or oil-based by testing with rubbing alcohol on a hidden spot.
Blot the stain gently without rubbing, then apply the right solvent: alcohol for oil-based or water for water-based ink.
Let it sit, blot again, and wash the garment in the hottest water safe for the fabric.
Air dry to avoid setting the stain and repeat if needed.
Keep going to discover more detailed tips for complete ink stain removal success.
Identify Ink and Fabric Types
How can you effectively remove an ink stain if you don’t know what type of ink or fabric you’re dealing with? Start by focusing on ink identification because knowing the ink type directs your stain removal approach. Water-based ink, like that from washable markers or gel pens, usually responds well to cold water and detergent. In contrast, oil-based ink from permanent markers or ballpoint pens often needs solvents such as rubbing alcohol.
Next, check the fabric care label to understand fabric sensitivity and which cleaning agents are safe. Delicate fabrics like silk require gentler treatments, while sturdier fabrics like cotton can handle stronger solvents. Always test your chosen stain removal method on an inconspicuous spot first to avoid color fading or damage.
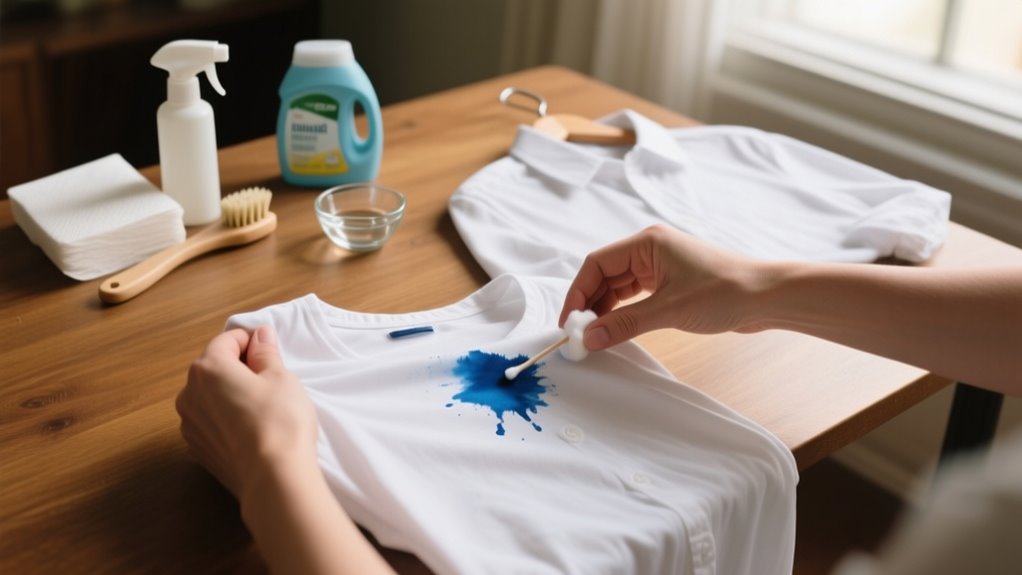
Act Quickly to Blot Ink Stains
Once you’ve identified the type of ink and fabric, the next step is to act quickly to blot the stain. Blotting an ink stain immediately with a clean cloth is essential to prevent it from setting deeper into the fabric. Acting quickly maximizes your chances of successful stain removal and helps avoid permanent discoloration.
Identifying the ink and fabric type, then promptly blotting, is crucial to prevent deeper staining and discoloration.
Follow these steps to blot the ink stain effectively:
- Use a clean cloth or paper towel to gently blot the ink stain immediately. Avoid rubbing, which can spread the stain.
- Apply gentle pressure to lift the ink without pushing it further into the fibers.
- Continue blotting with fresh sections of the cloth until no more ink transfers.
How to Test and Pick the Right Ink Solvent
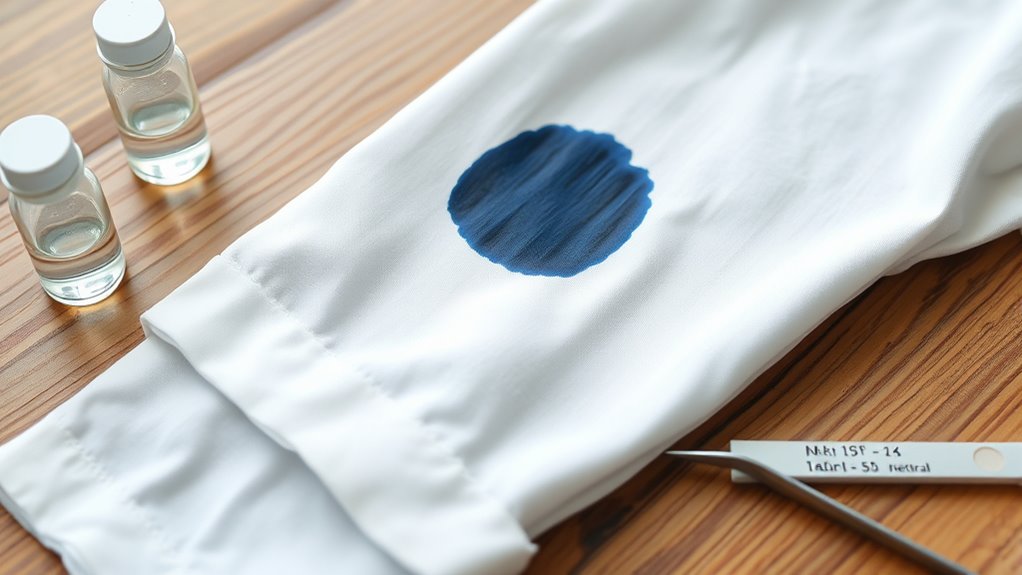
First, figure out if your ink is oil-based or water-based—that way, you can pick the right solvent. Then, before going all in, try a little bit of the solvent on a hidden spot of the fabric. This helps make sure you won’t damage or discolor it. Taking this simple step really helps you find a safe and effective solution for your stain.
Identify Ink Type
Because different inks respond to different treatments, you’ll want to identify whether the stain is water-based or oil-based before attempting removal. Determining the ink type helps you pick the right solvent and avoid fabric damage. Here’s how to test:
- Apply a few drops of rubbing alcohol on a hidden fabric spot with the ink stain.
- If the ink dissolves or blurs, it’s likely oil-based ink, needing stronger solvents like rubbing alcohol or commercial removers.
- If it remains intact, it’s probably water-based ink, which responds well to cold water and gentle detergents.
Always perform this test first to guarantee effective stain removal and protect your fabric’s color and texture. Knowing your ink type streamlines the cleaning process and boosts your success rate.
Test Solvents Safely
Knowing the type of ink you’re dealing with helps narrow down your solvent options, but you still need to make certain the solvent won’t harm your fabric. Always test solvents on an inconspicuous area to check for colorfastness and ensure fabric safety.
Use a small amount of the chosen solvent, like rubbing alcohol or hairspray, and wait a few minutes to see if the color changes or the fabric deteriorates. For delicate fabrics such as silk or suede, perform a patch test in a hidden corner before applying any stain removal product.
If you notice lightening or color bleeding, opt for a gentler alternative or consider professional cleaning. Keep a record of your test results to confirm solvent safety before full application to protect your clothes effectively.
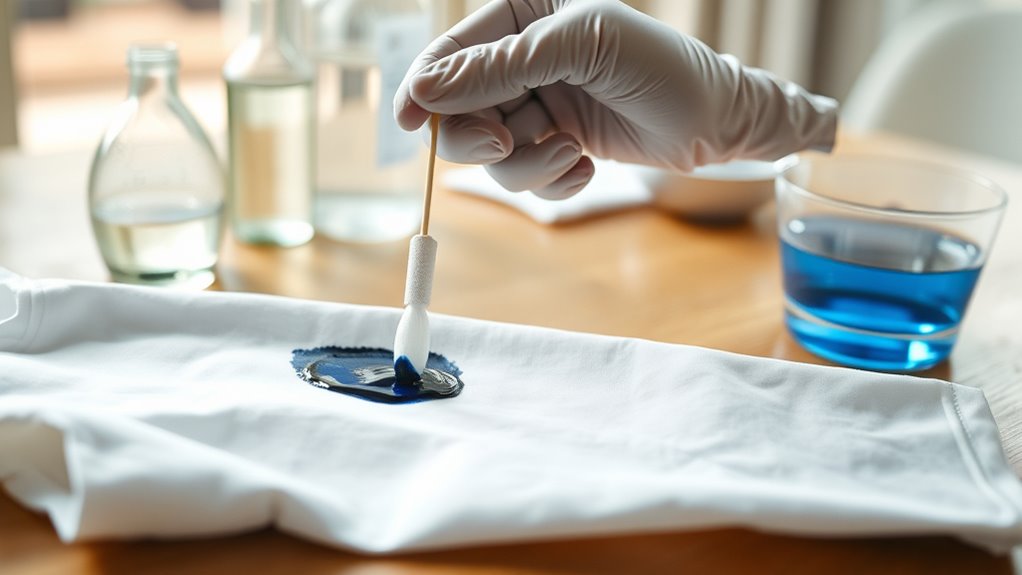
Apply Solvent and Pretreat Ink Stains
When you apply a solvent like rubbing alcohol, hand sanitizer, or a commercial stain remover, you break down the ink molecules, making the stain easier to lift. Before you pretreat, always test the solvent on a hidden fabric area to avoid discoloration.
To apply solvent effectively and tackle the ink stain, follow these steps:
- Saturate the stain thoroughly with rubbing alcohol or your chosen solvent using a clean cloth or cotton swab. Work from the outside inward to prevent spreading.
- Let the solvent sit on the stain for at least 5 minutes to loosen the ink.
- Gently blot the area with a clean cloth to absorb the dissolved ink, avoiding rubbing which could damage fibers.
Wash Clothes to Remove Ink Stains
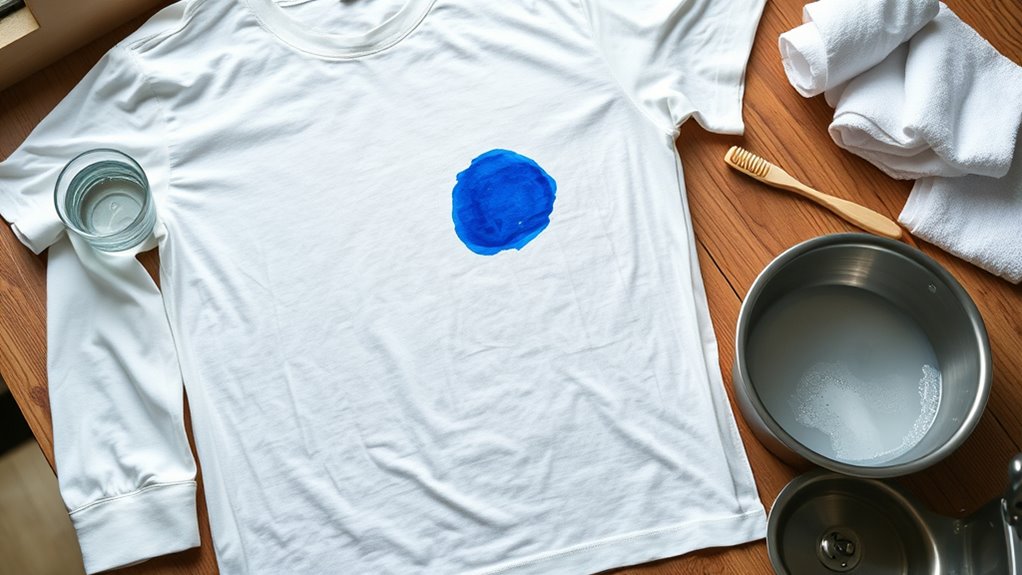
After you’ve pretreated the ink stain with a solvent, the next step is to wash the garment in the hottest water safe for its fabric. Using an enzyme-based detergent helps break down ink stains more effectively during the wash cycle.
Make sure the stain remover has fully penetrated the fabric before washing to improve the chances of removal. After washing, rinse thoroughly to remove any leftover residues.
Avoid drying the clothes in a dryer right away; instead, air dry them to prevent heat from setting any remaining ink. If the stain persists, you’ll need to repeat the pretreat and wash process.
| Step | Action |
|---|---|
| Pre-treat | Apply stain remover thoroughly |
| Wash temperature | Use the hottest water safe for fabric |
| Rinse | Rinse completely after washing |
| Air dry | Let garment air dry to check stain removal |
Repeat Ink Stain Treatment Before Drying
Before you dry your clothes, be sure to repeat the ink stain treatment a few times. This helps to fully break down the ink. After each application, take a close look at the fabric to see if the stain is fading. And remember, don’t use any heat until the stain is completely gone—otherwise, it might set permanently.
Importance Of Multiple Treatments
Multiple treatments considerably boost your chances of removing stubborn ink stains completely. When you tackle ink stains, relying on a single application often isn’t enough. The repeat process helps with effective cleaning by breaking down ink particles gradually, improving stain removal success.
To maximize results, remember these key points:
- Multiple treatments allow better stain breaking by gradually loosening ink trapped in fabric fibers.
- Don’t dry completely until the stain is gone; heat can set the ink permanently, making removal harder.
- Air dry between treatments to avoid setting stains and ensure each round of cleaning works effectively.
Monitoring Stain Removal Progress
To get the best results in removing ink stains, you need to keep a close eye on the stain as you treat it. Monitoring stain removal progress is essential. After each treatment, let the fabric air dry to inspect the treated area carefully.
If you notice any residual ink, don’t hesitate to repeat the process with additional stain remover. This careful inspection helps prevent setting the stain with heat. You should avoid using any heat setting until the stain is fully gone.
Regularly checking the fabric allows you to apply further treatments only when necessary, ensuring a thorough clean. By staying vigilant and patient, you’ll improve your chances of completely eliminating the ink without damaging your clothes.
Avoid Heat Before Removal
Even if the ink stain looks faint, don’t use heat like a dryer or iron until you’re sure it’s completely gone. Applying heat too soon can set the stain permanently, making removal much harder.
To guarantee fabric safety and prevent heat from embedding ink deeper, follow these steps:
- Repeat stain removal treatments as needed before drying.
- Always air dry the garment after washing to check if the stain persists.
- Only use heat after confirming the stain is fully lifted and dry.
Air Dry and Check for Ink Removal
Although it’s tempting to speed up the process with a dryer, you should always air dry ink-stained clothes after treatment to avoid setting any leftover ink permanently. Air drying gives you the chance to monitor effectiveness without risking heat setting stubborn stains.
Once your garment is completely dry, carefully check for ink removal. Some ink stains can become more visible or stubborn after air drying, so a thorough inspection is vital.
If you still see the ink stain, don’t put the clothes in the dryer. Instead, repeat the stain removal process until the ink is gone. Using heat too soon can make the stain permanent, undoing all your hard work.
Frequently Asked Questions
Can Ink Stains Be Removed From Leather or Suede?
Yes, you can remove ink stains from leather or suede with careful stain assessment and proper leather cleaning or suede treatment. Start by testing cleaning techniques on a hidden spot to avoid damage. Use gentle solvents for ink removal, and avoid water on suede to protect fabric preservation.
If the stain persists, consider professional help. Always prioritize stain prevention and handle materials delicately to maintain their quality and appearance over time.
Are There Natural Alternatives to Chemical Solvents for Ink Removal?
When it comes to ink removal, you don’t have to throw in the towel just yet. You can rely on natural remedies like lemon juice, white vinegar, and baking soda as effective homemade solutions.
Herbal extracts such as tea tree oil add a soothing touch, while eco-friendly cleaners and plant-based solvents offer chemical-free methods. These organic stain removers provide gentle, chemical-free alternatives that keep your clothes clean without harsh toxins.
How to Prevent Ink Stains From Setting Permanently?
To prevent ink stains from setting permanently, you should focus on immediate blotting to stop smudging and avoid rubbing. Keep ink away from your clothes by using protective sprays on fabrics and choosing washable materials that allow easier stain removal.
Avoid water contact initially, as it can set some inks. Perform regular fabric checks to catch stains early. Acting quickly and protecting your clothes helps you prevent permanent ink damage effectively.
Can Ink Stains Be Removed From Dry-Clean-Only Fabrics?
You can remove ink stains from dry-clean-only fabrics, but it’s tricky. Around 30% of ink stain types resist home treatments because of ink composition and fabric compatibility.
Act fast since timing is vital before the stain becomes permanent. Always perform a colorfastness test first, using gentle cleaning tools that pros recommend.
Ink stains vary widely, so consulting experts is the safest way to treat them without damaging your delicate clothes.
What Should I Do if Ink Stain Removal Damages the Fabric?
If ink stain removal causes fabric tears, weakening, or texture damage, stop immediately to prevent further harm like stain spreading or dye bleeding.
For fabric discoloration or color fading, gently reapply a fabric-safe color restorer to even out the tone. Avoid harsh rubbing to protect the fabric’s integrity.
When damage is severe, consult a professional tailor or consider repurposing the garment instead of risking more wear and tear.
Conclusion
Removing ink stains from clothes can feel intimidating, but acting quickly makes a huge difference. Did you know 90% of ink stains can be completely removed if treated within the first hour?
By identifying the fabric and ink type, testing solvents, and carefully pretreating before washing, you greatly improve your chances. Just remember to avoid drying until the stain’s gone. Air dry and check.
With these steps, you’ll save your clothes and keep them looking fresh!
Leave a Reply