To quickly remove ink stains from your dryer, first unplug it and wipe away loose debris.
Mix dish soap with warm water, then use a cloth or sponge to gently scrub the stained drum.
For tough spots, try a damp Magic Eraser carefully, or apply rubbing alcohol before scrubbing.
After cleaning, run an empty dry cycle with a towel to clear residues.
If you want to explore safer chemical options and thorough stain removal tips, there’s a lot more to discover.
Prepare Your Dryer for Ink Stain Removal
Before you begin removing ink stains from your dryer, make sure to unplug it for safety. This step is essential to avoid any electrical hazards while cleaning. Once unplugged, open the dryer door and carefully remove any lint or debris from the drum and paddles using a clean cloth. This prevents interference during the stain removal process.
Unplug your dryer and clear lint from the drum to ensure safe, effective ink stain removal.
If you plan to use chemical cleaners later, wear gloves and protective gear to protect your skin from irritation.
Next, gather your cleaning supplies, including dish soap, warm water, and a clean towel. Having everything ready makes the process smoother and faster.
Before applying any cleaning solutions, wipe the dryer drum with a damp clean cloth dipped in water to remove loose dirt. After cleaning, ensure the dryer is completely dry before you load wet clothes to avoid new stains forming.
Proper preparation sets the stage for effective ink stain removal.
Clean Ink Using Dish Soap and Warm Water
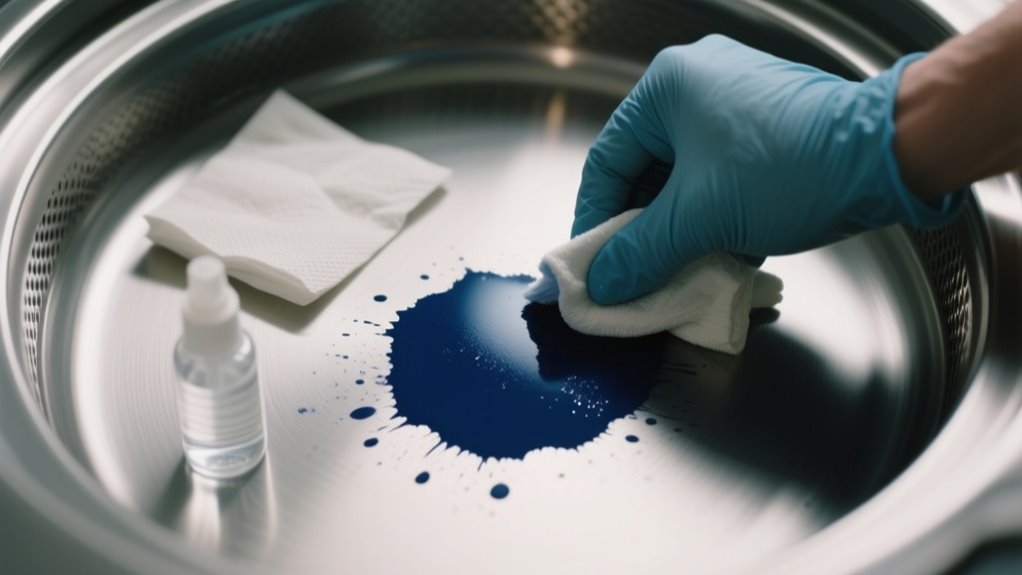
Once your dryer is prepped and dry, you can tackle the ink stains using a simple mixture of dish soap and warm water. Start by mixing a few drops of dish soap, such as Dawn, into warm water to create an effective cleaning solution.
Dip a clean cloth or sponge into the soapy water, then gently wipe the dryer drum and paddles to lift away the ink stains. Be thorough but gentle to avoid damaging the dryer surfaces.
Afterward, use a damp, clean towel to wipe away any remaining soap and ink residue. Make sure the dryer is completely dry before loading any wet clothes to prevent the ink from transferring or setting further.
If you notice stubborn ink stains still lingering, just repeat this cleaning process as needed. This method is a quick and straightforward way to remove ink stains and keep your dryer clean without harsh chemicals.
Remove Tough Ink Stains With a Magic Eraser
If you’re dealing with tough ink stains, a Magic Eraser can be your best tool. Just make sure you pick the right one and use it carefully. First, always wet the eraser before you start. It’s a good idea to test it on a hidden spot too, so you don’t accidentally damage your dryer’s finish. After you’ve scrubbed gently, don’t forget to wipe the drum clean to get rid of any leftover residue.
Choosing The Right Eraser
Although many cleaning tools can tackle ink stains, a Magic Eraser stands out for its effectiveness on dryer surfaces. This melamine foam eraser acts as a gentle abrasive, making ink stain removal easier without harsh chemicals.
Before using it, dampen the Magic Eraser with water to boost its cleaning power and protect your dryer from scratches. Always test it first on a hidden spot to ensure it won’t damage or discolor your dryer’s finish.
When tackling stains, use light, circular motions to avoid excessive wear. After you’re done, wipe the area with a clean, damp cloth to remove any residue and prevent streaking.
Choosing the right eraser like a Magic Eraser makes ink stain removal quick and efficient.
Using Magic Eraser Safely
When you use a Magic Eraser to remove tough ink stains from your dryer, it’s important to handle it carefully to protect your appliance’s surface. Dampen the Magic Eraser with water before scrubbing to avoid scratching, and test it on a small, hidden spot first.
Avoid using it on plastic, rubber, or painted areas to prevent damage. After cleaning, wipe the area with a damp cloth to remove residue and keep your dryer clean.
| Step | Tip |
|---|---|
| Dampen Magic Eraser | Prevent surface scratches |
| Test on small area | Check for damage before cleaning |
| Wipe after use | Remove residue and streaks |
Post-Cleaning Drum Care
After you’ve used a Magic Eraser to lift tough ink stains from your dryer’s drum, make sure to wipe the area with a damp cloth to remove any leftover residue. This step is essential because the Magic Eraser can leave behind tiny particles that might affect your clothes.
Once you’ve cleaned the drum, let it air dry completely before loading your laundry. This prevents any remaining moisture or ink residue from transferring onto your clothes.
Remember, always dampen the Magic Eraser before use to avoid scratching the drum surface. If you haven’t already, test the Magic Eraser on a small, hidden spot of the drum to ensure it won’t damage the finish.
Proper post-cleaning drum care keeps your dryer stain-free and ready for use.
How to Use Bleach Safely to Remove Ink Stains
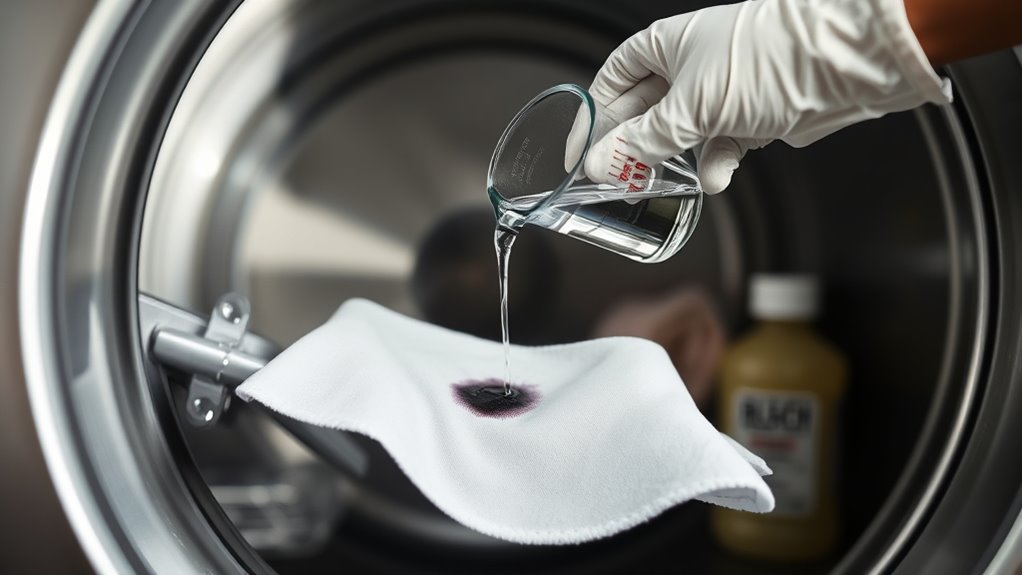
Because bleach can effectively break down ink stains, you’ll want to handle it carefully to protect yourself and your dryer. First, unplug the dryer to guarantee safety and prevent electrical hazards. Mix a 1:1 solution of bleach and warm water, then soak a clean cloth in it.
Place the bleach-soaked cloth inside the dryer and run it for about 20 minutes to break down the ink stains. Wear gloves and assure proper ventilation to avoid skin irritation.
After bleaching, run the dryer on an empty cycle with plain water to rinse out any residual bleach and prevent stain transfer.
| Step | Action | Safety Tip |
|---|---|---|
| Prepare Solution | Mix bleach and warm water 1:1 | Wear gloves |
| Apply & Run Dryer | Soak cloth, run 20 minutes | Unplug dryer first |
| Rinse Cycle | Run empty cycle with water | Ventilate area properly |
Pick Safe Chemical Cleaners for Ink Stains
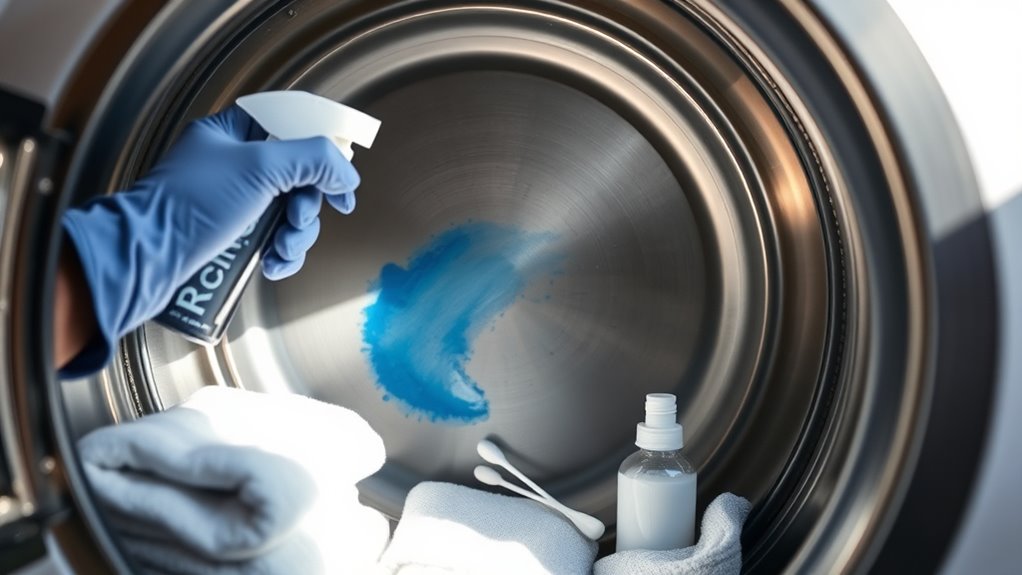
When you’re picking out chemical cleaners for ink stains, it’s a good idea to go for nonflammable products like Goo Gone to keep things safe. Always make sure to follow the manufacturer’s safety instructions carefully so you don’t end up with skin irritation or breathing in fumes.
Also, remember to test the cleaner on a hidden spot first to see how it reacts. And keep it away from heating elements—that way, you can avoid any fire hazards.
Choose Nonflammable Products
How can you safely tackle ink stains in your dryer without risking fire hazards? Start by choosing nonflammable chemical cleaners like Goo Gone or specialized stain removers designed for this purpose. Always check product labels to confirm they’re nonflammable and safe for use around heat sources.
Before applying, test the cleaner on a small, hidden area inside the dryer drum to avoid damage or discoloration. Make sure you avoid using any chemical cleaner near the dryer’s heating element, as this increases fire risk.
Follow Safety Instructions
Although tackling ink stains quickly is important, you should always follow safety instructions when using chemical cleaners. First, pick only those labeled safe for appliances and non-flammable, especially near your dryer’s heating elements. Always read and adhere to the manufacturer’s safety instructions to avoid accidents or damage.
Before applying, test the cleaner on a small, hidden area of the drum to check for any adverse reactions or discoloration. Avoid harsh solvents like acetone or bleach around electrical parts to reduce fire risk. Wear protective gloves and guarantee proper ventilation to protect your health.
Wipe and Rinse Your Dryer After Ink Removal
Why should you wipe and rinse your dryer immediately after removing ink stains? Doing so guarantees you eliminate any leftover ink and cleaning agents that could cause new stains or damage your clothes.
Start by thoroughly wiping the dryer drum and paddles with a damp, clean towel. Use a soft cloth or sponge to gently clean all interior surfaces, especially corners and crevices where residue tends to linger.
Next, rinse the drum with fresh water to remove any soap or chemical remnants. This step is vital to prevent buildup and avoid transferring residues to future laundry loads.
After wiping and rinsing, let the dryer air dry completely before using it again. This helps prevent moisture or odors from developing.
Regularly wiping and rinsing after ink removal not only keeps your dryer clean but also prolongs its lifespan by stopping residue accumulation. Taking these simple steps keeps your dryer in top shape and your clothes looking their best.
Run a Dry Cycle to Clear Ink and Cleaner Residue
Before you start the dry cycle, make sure your dryer is unplugged for safety. Then, set it to the highest heat setting. Run it empty for about 20 to 30 minutes to burn off any remaining ink and cleaner residue. Once it’s done, let the dryer cool completely before using it again. This will help avoid transferring stains to your clothes.
Preparing Dryer For Cycle
How can you effectively remove ink and cleaner residue lingering inside your dryer? First, unplug your dryer to avoid any electrical hazards before starting.
Next, set the dryer to the highest temperature recommended by the manufacturer, as heat helps loosen ink stains and cleaning residue inside the drum. Close the dryer door firmly to contain any fumes released during the cycle.
Running a dry cycle at this setting will burn off or break down stubborn ink and cleaning residue, making it easier to clean. Once the cycle finishes, open the door and wipe the drum with a damp cloth to remove any remaining traces.
Following these preparation steps will ensure your dryer is ready to clear ink stains effectively and safely.
Selecting Appropriate Cycle
When should you run a dry cycle to tackle ink stains inside your dryer? You should run it right after applying any cleaning agents like hand sanitizer to break down ink residue. Use the highest heat setting your dryer allows to loosen stains effectively.
Adding a clean, dry towel helps absorb ink as it lifts away. Once done, let the dryer air dry completely before using it again to avoid transferring ink to your clothes.
| Step | Action |
|---|---|
| 1 | Select highest heat setting |
| 2 | Add clean, dry towel inside drum |
| 3 | Run empty dry cycle |
| 4 | Allow dryer drum to air dry completely |
| 5 | Load clothes only after drum is dry |
This process clears ink and cleaner residue efficiently.
Post-Cycle Dryer Cleaning
Although you’ve finished applying cleaning agents to tackle the ink stains, you’ll want to run a dry cycle afterward to evaporate any remaining residue and loosened ink particles. Before starting, make sure your dryer is completely empty and unplugged to avoid electrical hazards.
Select the longest and hottest dry cycle available to guarantee thorough cleaning and drying. You can add a damp cloth or towel during the cycle to help absorb leftover ink or cleaning agents.
Once the dry cycle finishes, wipe down the interior with a clean, damp cloth to remove any remaining stains or residues. This post-cycle dryer cleaning step is essential to keep your dryer free of ink and guarantee it operates safely and effectively.
Steps to Remove Persistent Ink Stains From Your Dryer
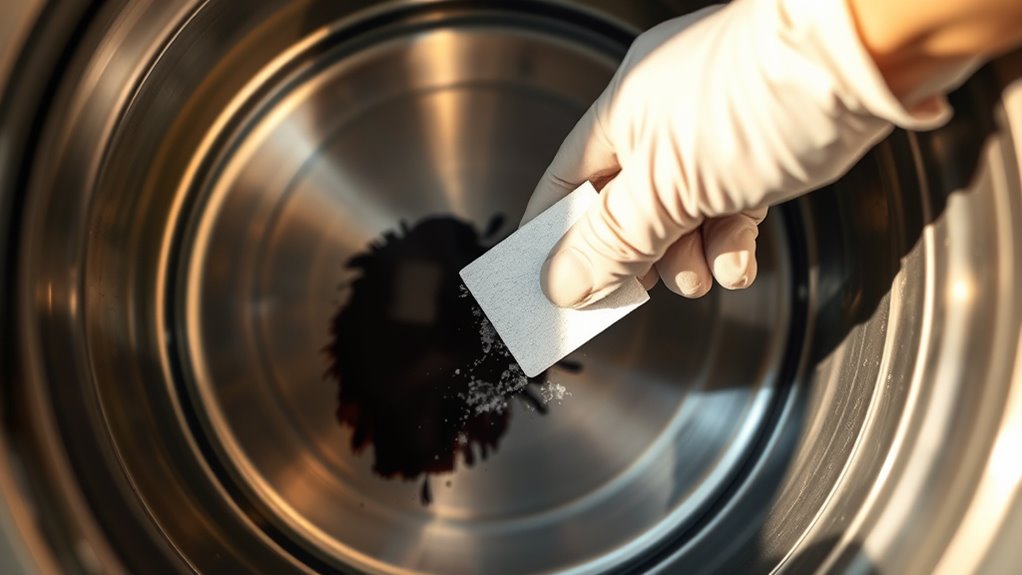
Since persistent ink stains can be tough to remove, you’ll want to start by unplugging the dryer and wiping away any loose ink with a dry cloth or paper towel.
Next, apply rubbing alcohol or a commercial ink remover to a cloth and gently clean the stained areas inside the drum.
For stubborn spots, use a Magic Eraser or a damp sponge with dish soap to scrub the surface.
After cleaning, rinse the drum thoroughly with a damp cloth to remove any residue.
Finally, run the dryer on an empty cycle with a damp towel to *guarantee* all ink and cleaning agents are gone.
| Step | Tool/Material | Purpose |
|---|---|---|
| Wipe Loose Ink | Dry Cloth/Paper Towel | Remove loose ink stains |
| Apply Cleaner | Rubbing Alcohol/Ink Remover | Dissolve ink stains |
| Scrub Stubborn Spots | Magic Eraser/Dish Soap | Deep clean persistent stains |
Prevent Ink Stains When Using Your Dryer Again
To prevent ink stains from reappearing in your dryer, make sure you thoroughly clean the drum and remove any ink residue before adding new clothes. Wipe the dryer drum with a damp cloth to catch any leftover ink particles that might transfer onto your laundry.
For a deeper clean, run an empty cycle with a bleach-soaked towel; this disinfects the drum and helps eliminate stubborn ink stains. Don’t forget to regularly inspect and clean both the dryer drum and lint filter to avoid ink buildup.
Also, always dry clothes on the appropriate heat setting and avoid overloading the dryer. Overloading increases friction, which can spread ink stains or set them permanently.
Quick Tips to Remove Gum and Crayon With Ink Stains
When gum or crayon mixes with ink stains in your dryer, removing the residue quickly can prevent further damage. Start by softening gum or crayon with a hair dryer on low, then wipe away with paper towels or a putty knife.
Alternatively, use ice cubes to harden the residue, making it easier to scrape off without spreading ink stains. Applying Goo Gone gently breaks down sticky or waxy substances; follow with dish soap and water for a clean finish.
Always unplug your dryer before cleaning and test cleaners on a small spot.
| Residue Type | Softening Method | Removal Tool |
|---|---|---|
| Gum | Hair dryer (low heat) | Putty knife/paper towel |
| Crayon | Hair dryer or ice cubes | Scraper/wipe |
| Sticky wax | Goo Gone | Dish soap + water |
| Ink stains | Targeted cleaning agents | Gentle scrubbing |
These quick tips help you tackle gum and crayon while removing ink, keeping your dryer spotless.
Frequently Asked Questions
Can Ink Stains Damage My Dryer’s Motor or Internal Parts?
Ink stains themselves won’t directly damage your dryer’s motor or internal parts, but certain ink stain types can cause trouble if left untreated. Ink residue might seep into vents or sensors, leading to blockages that affect performance.
If you skip proper dryer maintenance, corrosion or short circuits could develop over time. So, it’s crucial to clean ink stains promptly and maintain your dryer regularly to keep it running smoothly and prevent internal damage.
Is It Safe to Use Ink Stain Removers on All Dryer Drum Materials?
It’s not safe to use all ink stain removers on every dryer drum material. You need to think about dryer material compatibility to prevent damage.
Stainless steel drums tolerate most cleaners, but painted or plastic surfaces can discolor or degrade. Always check ink stain removal safety by testing a small area first and avoid harsh chemicals or abrasives.
This way, you protect your dryer’s finish while effectively removing stains.
How Long Should I Wait Before Using the Dryer After Cleaning Ink Stains?
You should wait at least 1 to 2 hours after removing ink stains before using your dryer. This guarantees any cleaning residue or moisture has dried completely, preventing it from transferring to your clothes.
Don’t forget to check for dryer lint buildup during your cleaning frequency routine, as it can trap residues. Letting the drum air dry thoroughly keeps your laundry safe and your dryer running efficiently.
Can Ink Stains Cause Unpleasant Odors in My Dryer?
Yes, ink stains can definitely cause unpleasant ink odor in your dryer. When the stain persistence is high, the ink’s chemicals react with heat, releasing foul smells that stick around.
If you don’t clean the ink thoroughly, this odor can embed in the drum and lint trap, making your dryer smell bad and even transferring to your clothes. So, tackling those stains quickly helps prevent lasting ink odor problems.
Are There Any Natural Alternatives to Chemical Cleaners for Ink Stains?
Yes, you can rely on DIY remedies like white distilled vinegar as natural solutions for ink stains. Vinegar effectively breaks down ink residues and neutralizes odors without harsh chemicals.
Just mix vinegar with water, apply it using a cloth or sponge, and gently scrub the stained area. For tougher stains, soak a cloth in vinegar and let it sit on the spot.
These natural solutions keep your dryer clean and eco-friendly.
Conclusion
Now that you’ve tackled those unwelcome ink surprises, your dryer can shine like new again. With careful steps and a little patience, you’ve given your appliance a gentle makeover, erasing the marks life left behind.
Just remember, a bit of prevention goes a long way. Treat your dryer kindly, and it’ll reward you with spotless performance. Keep these tips handy, and next time ink tries to crash the party, you’ll know exactly how to send it packing.
Leave a Reply