To remove gel ink from clothes, act quickly before the stain sets. Start by applying alcohol-based hand sanitizer to loosen the ink, then blot gently and rinse with cold water.
If needed, use Clorox 2™ or specialized removers for stubborn spots. Check the stain after treatments and avoid machine drying until it’s fully gone.
For whites, use diluted bleach carefully. Following these steps boosts stain removal success and keeps your fabric safe.
Keep going to explore detailed tips and precautions.
How to Recognize Gel Ink Stains on Clothes
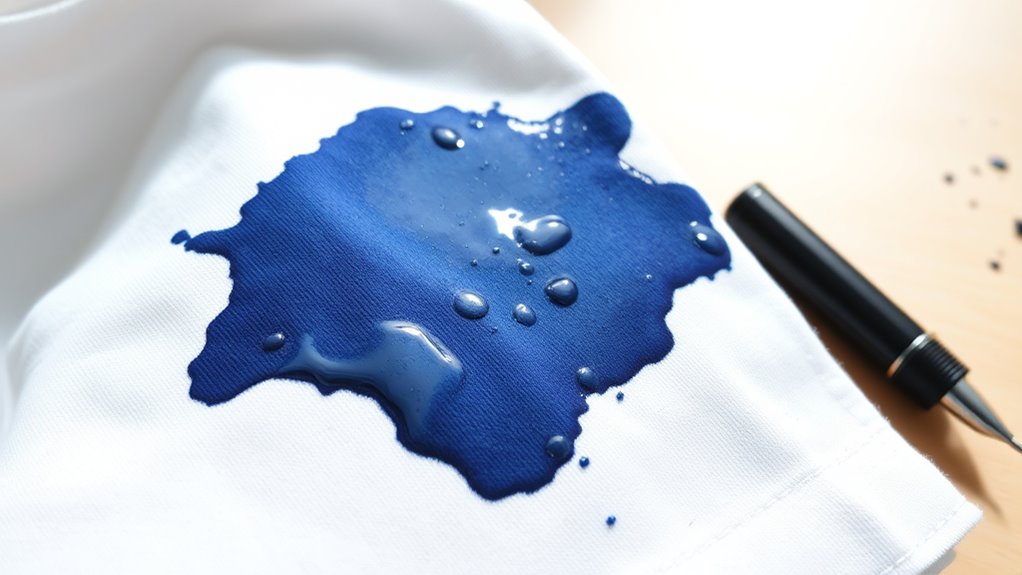
Although gel ink stains can be tricky to spot at first, you’ll notice they stand out because of their vibrant colors and glossy, slightly raised texture. When gel ink lands on your clothes, it often forms thick, textured marks that feel different from water-based ink stains.
Gel ink stains stand out with vibrant colors and a glossy, raised texture unlike typical water-based ink marks.
You might see bright blues, reds, or darker shades depending on the pen, making the stain more noticeable. Gel ink stains resist water and don’t wash out easily with regular laundry.
If you touch the stain lightly, you might even feel a smudged or smooth area, revealing its gel-like nature. Since gel ink sets quickly, especially with pressure or heat, these stains tend to be localized rather than widespread.
Recognizing these unique traits on your clothes helps you identify a gel ink stain accurately and prepares you for the right removal methods.
Why Acting Quickly Removes Gel Ink Better
When you act quickly on a gel ink stain, you stop the ink from settling deep into the fabric fibers. This makes it much easier to remove. Prompt action guarantees the gel stain hasn’t dried or bonded tightly with the fabric, which can complicate stain removal.
Here’s why you should always act quickly:
- Prevents the gel ink from drying and becoming stubborn
- Stops the stain from penetrating deeper into fibers
- Reduces the chance of ink setting due to heat from washing or drying
- Increases the likelihood of fully removing the stain in one treatment
- Minimizes damage to the fabric by avoiding harsh repeated cleaning
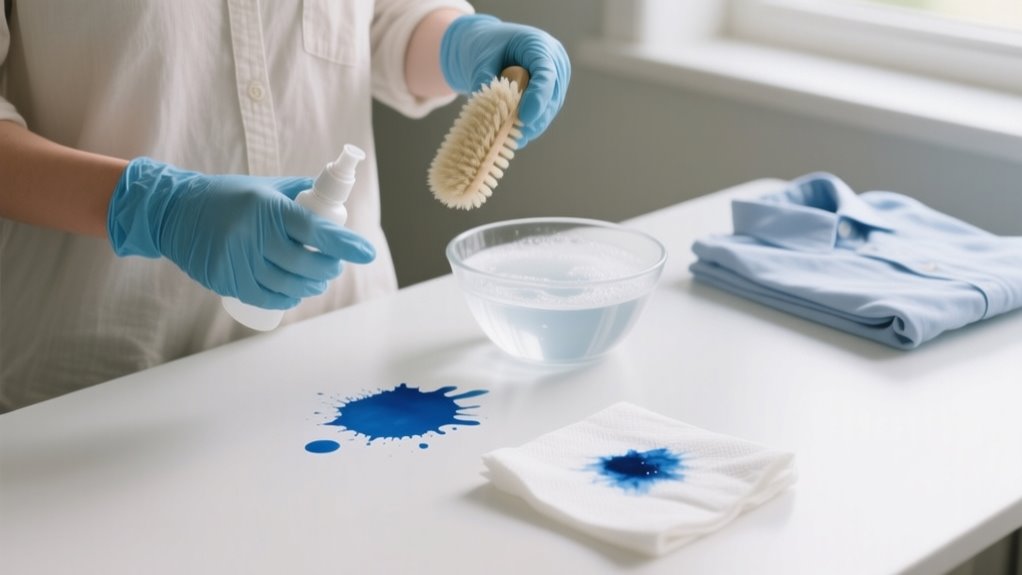
Pre-Treat Gel Ink Stains With Hand Sanitizer
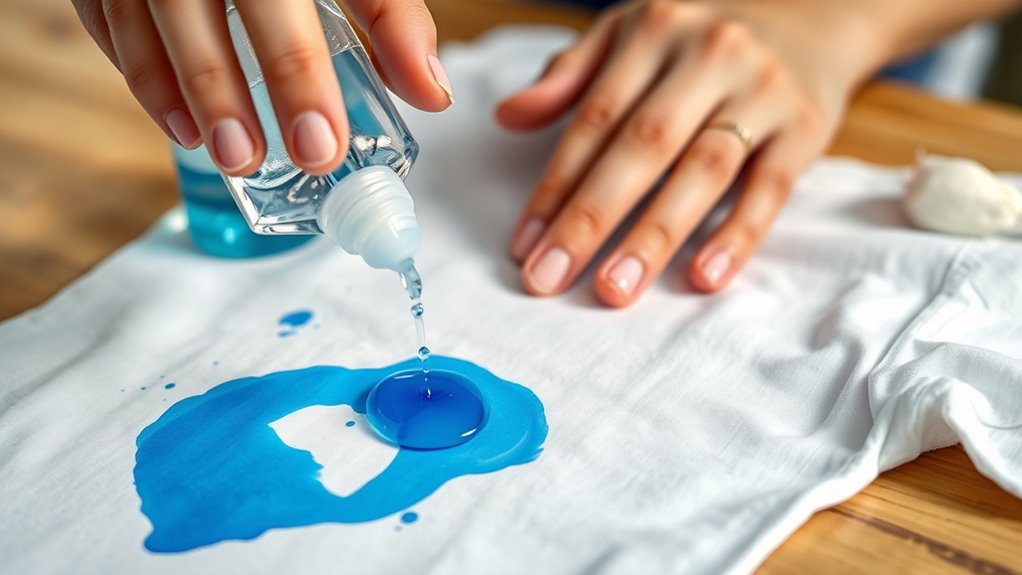
If you want to tackle gel ink stains effectively, start by applying an alcohol-based hand sanitizer directly onto the stain. The sanitizer helps break up the gel ink particles, making them easier to remove. Allow it to sit for a few minutes to loosen the ink.
Then, gently blot the area with a clean cloth or paper towel. Avoid rubbing to prevent spreading the stain. For better penetration, use a cotton ball soaked in hand sanitizer to dab the stain.
Finally, rinse the treated area with cold water before washing the garment.
| Step | Action | Purpose |
|---|---|---|
| 1. Apply sanitizer | Generously on gel ink stain | Breaks down ink particles |
| 2. Let sit | Wait a few minutes | Loosens gel ink |
| 3. Blot stain | Use cloth/paper towel | Lifts excess ink & sanitizer |
| 4. Dab with cotton ball | Soaked in hand sanitizer | Ensures deeper penetration |
| 5. Rinse with cold water | Before washing | Prepares fabric for cleaning |
Pre-treating with hand sanitizer is a simple, effective first step.
Use Clorox 2™ and Specialized Removers for Tough Gel Ink
You’ll want to apply Clorox 2™ directly to the stain and let it sit for about 10 minutes without letting it dry. If you’re dealing with tougher gel ink spots, don’t worry—just repeat this process or try using specialized removers to up your chances of getting it out. After that, make sure to follow up with a hot wash that’s safe for your fabric. Then, air dry it so you can see if the stain is really gone.
Clorox 2™ Application Tips
Although gel ink stains can be stubborn, applying Clorox 2™ directly with the cap lets you target the affected area effectively. For best gel ink removal, follow these Clorox 2 stain pretreatment tips:
- Apply Clorox 2™ straight from the cap onto the stain for precise coverage.
- Gently rub the product into the fabric to boost penetration.
- Set a timer and let it sit for exactly 10 minutes.
- Prevent the solution from drying out to keep its stain-fighting action strong.
- If the stain remains, repeat the pretreatment for better results.
Choosing Specialized Removers
When Clorox 2™ alone doesn’t fully lift stubborn gel ink stains, combining it with specialized removers can boost your results. Products like Lift-Off: Pen, Ink, and Marker Graffiti Remover are designed specifically to break down tough gel ink stains better than general household items.
When using specialized removers, always follow product instructions carefully, paying close attention to application time and whether you need to rinse or soak the fabric before washing. Before treating your entire garment, test the remover on a small, hidden area to avoid any fabric damage.
Enhancing Ink Removal
If stubborn gel ink stains resist initial treatment, applying Clorox 2™ directly and letting it sit for 10 minutes can boost your chances of removal. This pretreatment allows the stain remover to penetrate deeply, breaking down tough gel ink.
To enhance ink removal, try these tips:
- Gently rub Clorox 2™ into the stain for better absorption
- Repeat the pretreatment if the stain persists
- Wash the fabric in the hottest water safe for it, adding Clorox 2™
- Use specialized stain removers designed specifically for ink
- Combine Clorox 2™ with these removers for a stronger effect
Assess and Repeat Treatment Before Washing
After your first treatment, take a close look at the stain to see if the gel ink is starting to lift. If you can still see the mark, don’t worry—just apply your chosen solution again. Keep repeating this process until the stain fades quite a bit before you wash it. This way, you’ll avoid setting the stain permanently.
Evaluate Stain Progress
Although you may feel tempted to wash the garment immediately, you should carefully evaluate the stain’s progress after each treatment. This step assures you don’t set the gel ink permanently by washing too soon.
To effectively evaluate the stain, consider these points: use good lighting or a magnifying glass to closely inspect the stain. Check if any ink remains visible or has darkened after treatment.
Avoid air drying until the stain is completely gone to prevent setting. Assess after each cleaning cycle to determine if further action is needed. Understand that stubborn gel ink stains may require multiple treatments before washing.
Repeat If Necessary
When the gel ink stain doesn’t disappear completely, you’ll want to apply your chosen stain remover again and gently dab the spot before washing. Assess the stain after each treatment, and if any ink remains, reapply the stain remover and let it sit for several minutes.
Repeat this process as needed, especially for stubborn or older stains. Always check the stain before drying, since heat can set the ink permanently. Multiple treatments might be necessary, but patience will pay off.
| Step | Action |
|---|---|
| 1 | Apply stain remover |
| 2 | Let it sit for a few minutes |
| 3 | Gently dab the stain |
| 4 | Assess stain progress |
| 5 | Repeat if ink remains visible |
Machine Wash Clothes After Pretreatment
How should you machine wash clothes to effectively remove gel ink stains after pretreatment? Once you’ve treated the gel ink stain with a suitable pretreatment, it’s time to use your washing machine wisely to boost ink removal. Follow these steps to get the best results during the wash cycle:
Use the hottest water temperature safe for the fabric, as indicated on the care label. Add extra laundry detergent or a stain-fighting product like Clorox 2™ for Colors to enhance cleaning power.
Run a full wash cycle to thoroughly rinse away ink residues and cleaning agents. Check the garment immediately after washing to see if the gel ink stain has faded or disappeared.
Avoid machine drying at this stage. Air dry the clothes to prevent setting any leftover ink permanently.
If the stain remains, repeat pretreatment and washing before drying. This approach guarantees you don’t lock in the stain with heat, giving you a greater chance of complete gel ink removal.
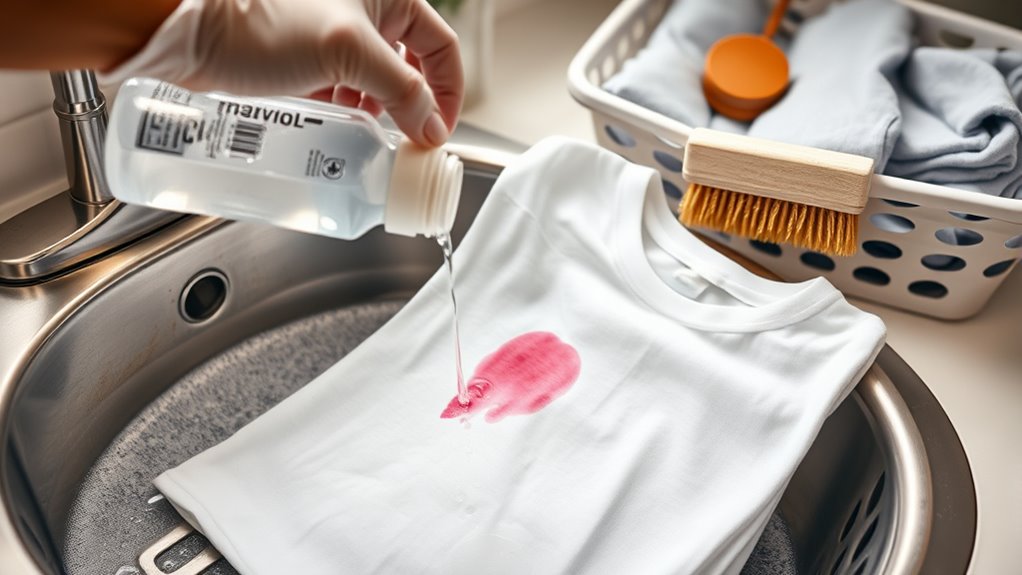
Safely Use Bleach on White Clothes and Dry Properly
Since gel ink stains can be stubborn, safely using bleach on white, bleach-safe clothes can make a big difference. Start by pre-treating the stain with an alcohol-based hand sanitizer to help loosen the ink. Then, soak the garment fully submerged in a solution of ¼ cup bleach per gallon of water for 5 minutes.
After soaking, pour off the bleach solution to avoid over-bleaching or damaging the fabric. Next, wash the clothes in the hottest water allowed by the care label. Add 1/3 cup of bleach to the dispenser for effective stain removal.
Once washed, air dry the clothes instead of using heat. Heat can set any remaining ink stain, making it harder to remove. After drying, inspect the garment carefully. If the stain remains, repeat the bleach soak and wash process before drying again.
This method guarantees you safely remove gel ink while protecting your white clothes.
Frequently Asked Questions
Can Gel Ink Stains Be Removed From Delicate Fabrics Like Silk?
Yes, you can remove gel ink stains from delicate fabrics like silk, but you need to approach silk stain removal with care due to fabric sensitivity. Use a gentle, alcohol-based solution for delicate cleaning, testing it on a hidden spot first. Avoid harsh chemicals that damage silk.
Dab the stain gently without rubbing, and air dry afterward. Multiple mild treatments might be necessary to fully lift the gel ink without harming your fabric.
Is It Safe to Use Rubbing Alcohol on All Clothing Types?
You shouldn’t assume alcohol safety applies to all clothing types. It works best on sturdy fabrics like cotton or polyester but can damage delicate ones like silk or wool.
Always check fabric compatibility before using rubbing alcohol, especially if the stain severity is low. Do a patch test first to avoid discoloration or weakening fibers.
If in doubt, follow care labels or try gentler methods to protect your clothes.
How Long Should I Soak Clothes With Gel Ink Stains?
You should soak clothes with gel ink stains for about 10 to 15 minutes, depending on the stain duration and how deep the ink has penetrated. If the ink has just set, a shorter soaking time works well. But deeper stains might need up to 30 minutes.
Avoid soaking longer because it can damage the fabric or fade colors. Always check the care label first. Then, rinse thoroughly after soaking to remove loosened ink and cleaning agents.
Will Gel Ink Removal Methods Damage Printed Designs?
Think of your printed design as a delicate painting, vulnerable to the wrong brushstrokes. Yes, gel ink removal methods can risk damage if ink penetration has gone deep or if the fabric isn’t colorfast.
You’ll want to act cautiously, using gentle solvents and testing small areas first. Also, consider storage precautions. Keeping stained clothes away from heat before treatment helps preserve both the stain and your design’s vibrancy.
Can Gel Ink Stains Be Removed After Multiple Washes?
Yes, you can remove gel ink stains after multiple washes, but it’s trickier. You’ll need to use chemical solvents or strong DIY remedies like alcohol-based sanitizer to break down the ink. Don’t rely on washing alone. Pre-treat stains promptly to boost removal chances.
To avoid this hassle, focus on stain prevention by treating ink spots immediately. If the stain’s stubborn, specialized products or professional cleaning might be your best bet.
Conclusion
Removing gel ink stains doesn’t have to be a hassle, especially when you act fast. Did you know that treating stains within the first 10 minutes can increase removal success by up to 90%?
By following these simple steps, starting with hand sanitizer and ending with a proper wash, you’ll keep your clothes looking fresh and ink-free. Remember, quick action and the right products make all the difference in saving your favorite outfits.
Leave a Reply