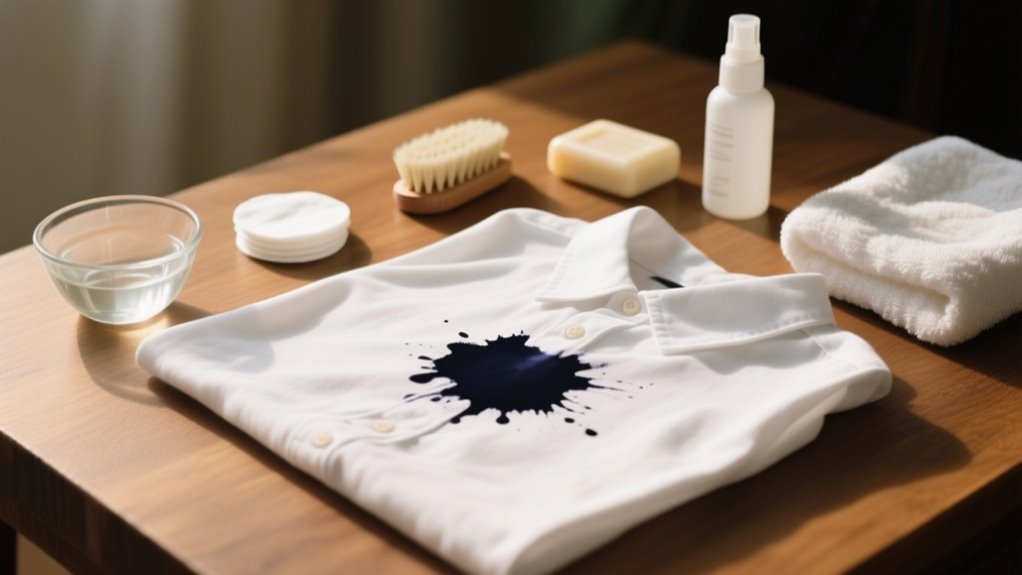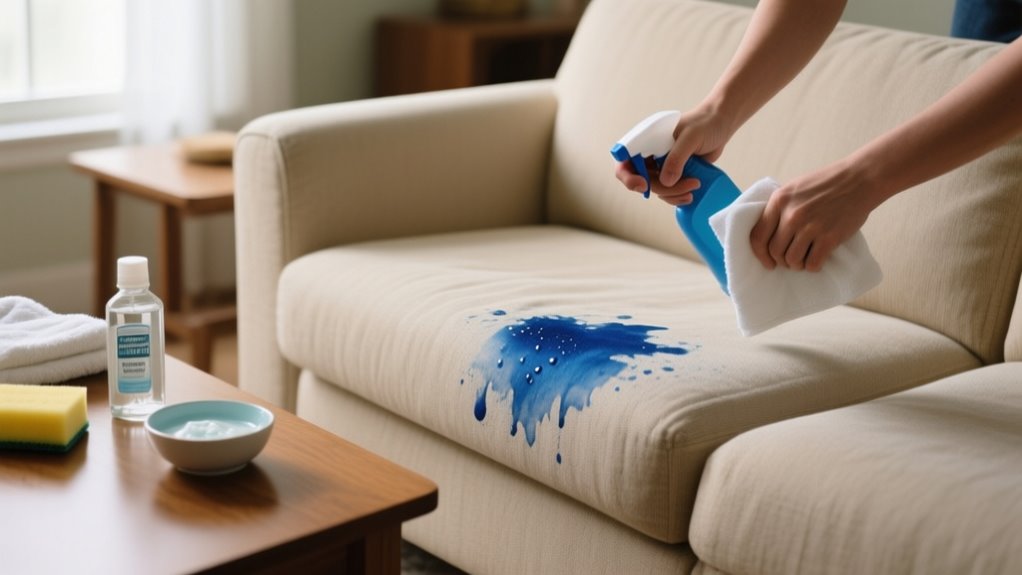
Act fast to blot excess ink gently without spreading it. Then test rubbing alcohol on a hidden spot.
Apply alcohol or alcohol-based sanitizer to the stain, dabbing from outside in, and let it sit briefly.
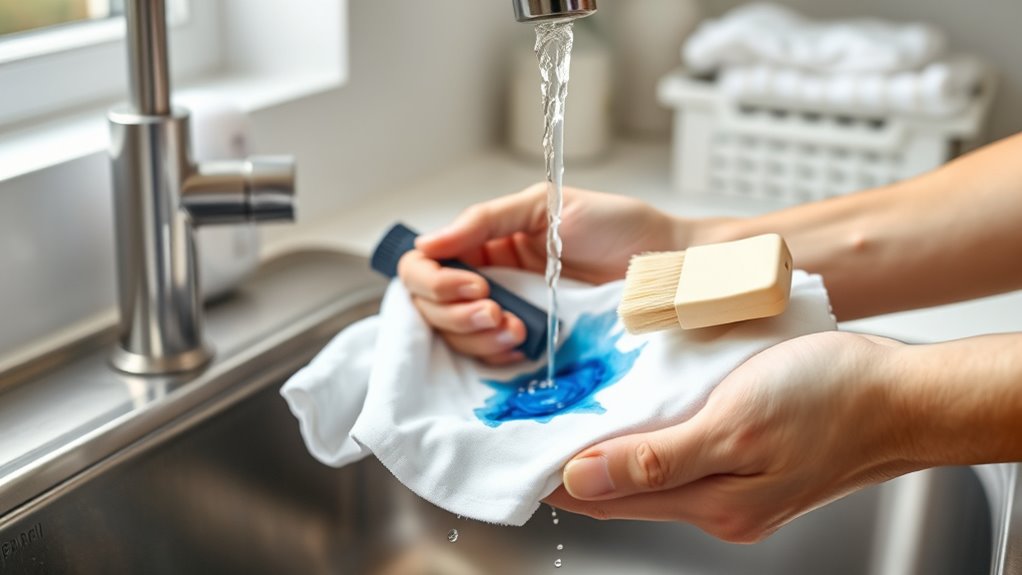
Rinse with cold water and wash using the hottest safe temperature and a stain-fighting detergent.
Air dry to avoid setting the stain. Different fabrics need tailored care, and if stains persist, professional help can save your clothes.
Discover easy ways to handle these steps effectively.
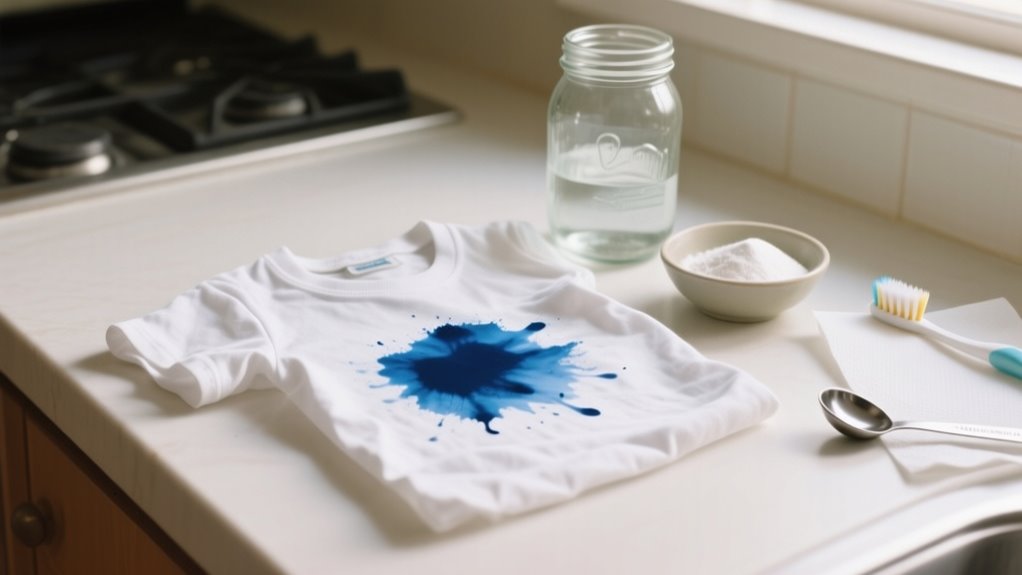
Act Fast: How Quick Treatment Saves Ink-Stained Clothes
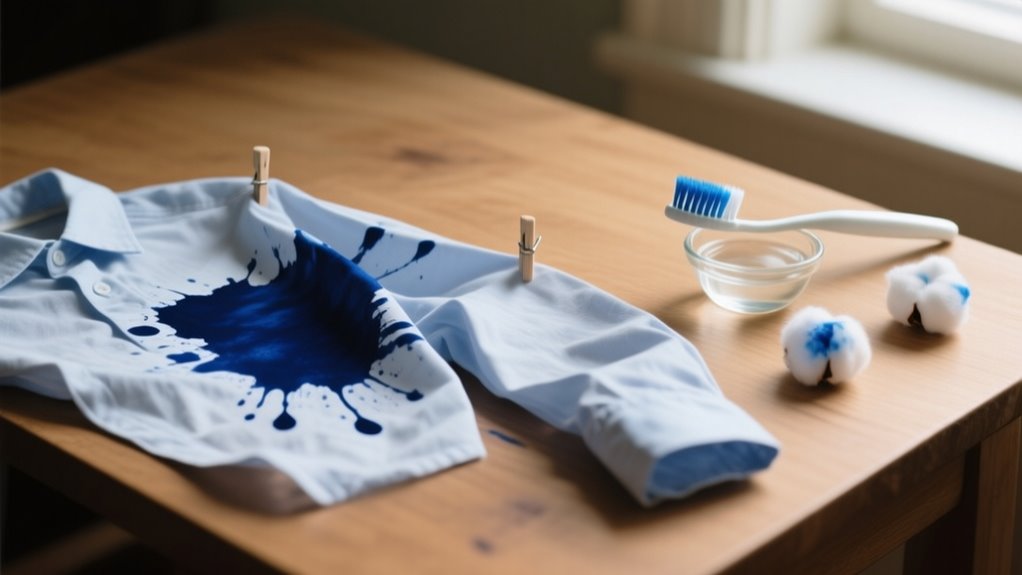
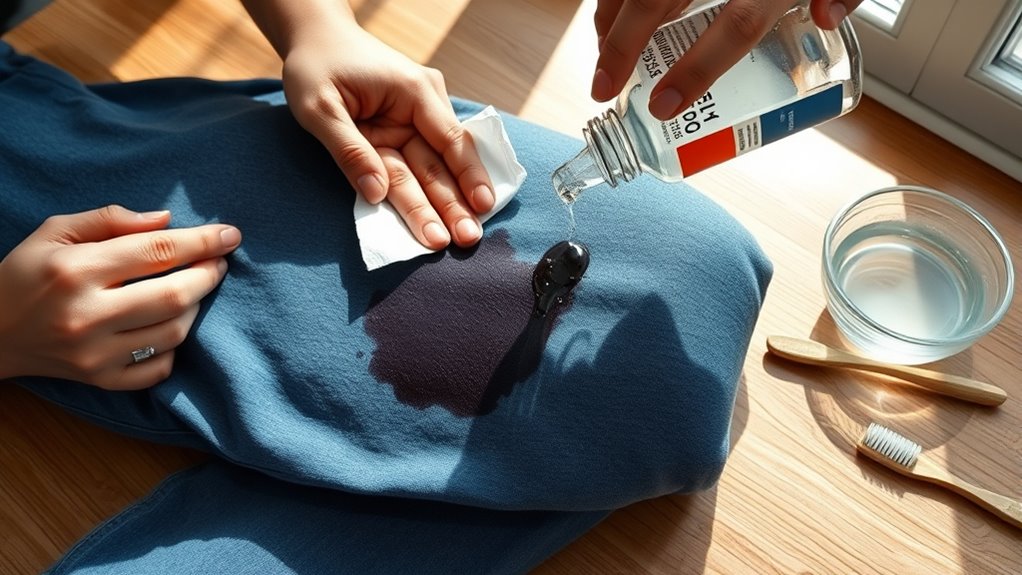
When you catch an ink stain early, you dramatically increase your chances of removing it completely. The key is to act fast. Immediate treatment prevents the stain from setting and penetrating deeper into the fabric.
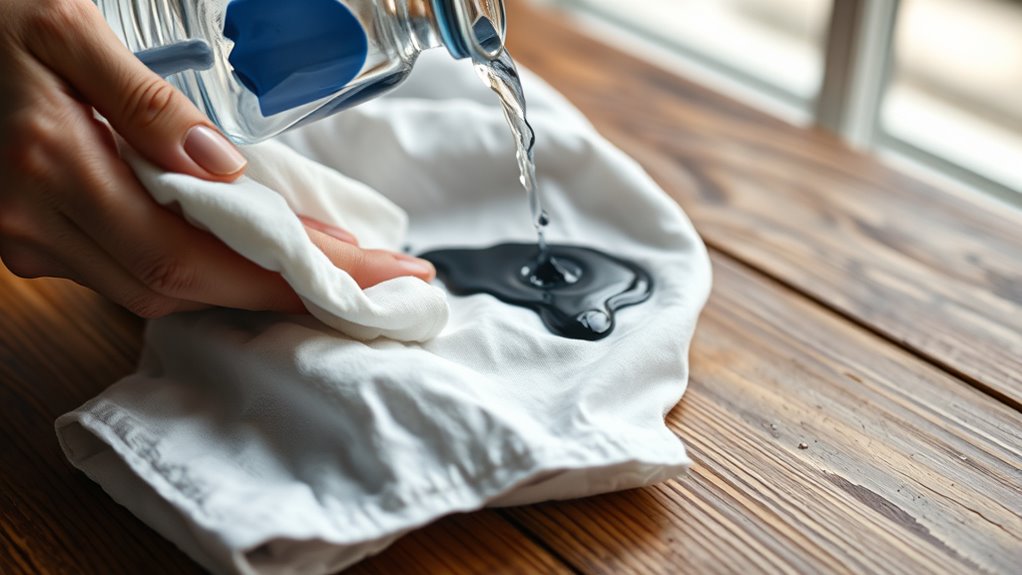
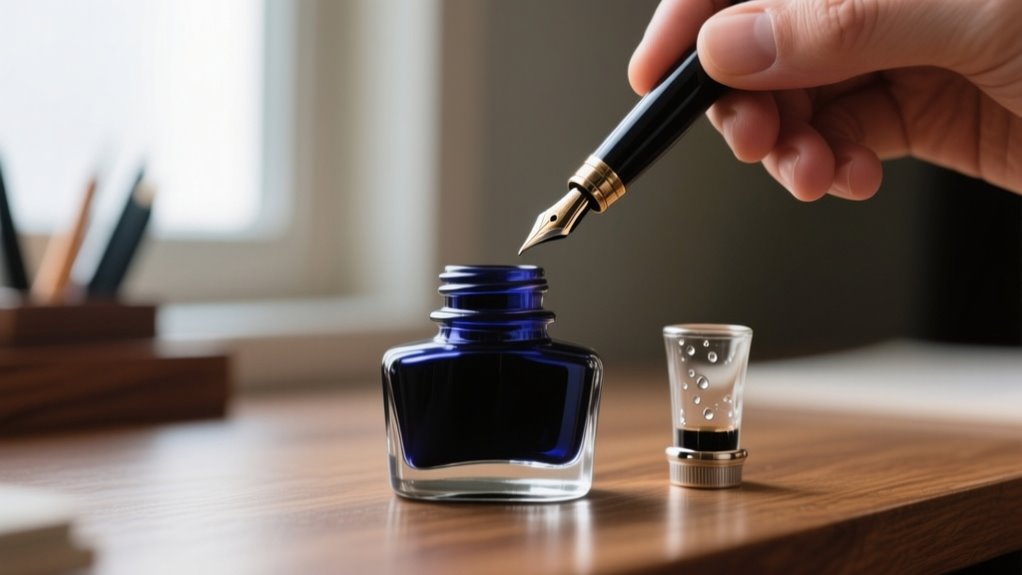
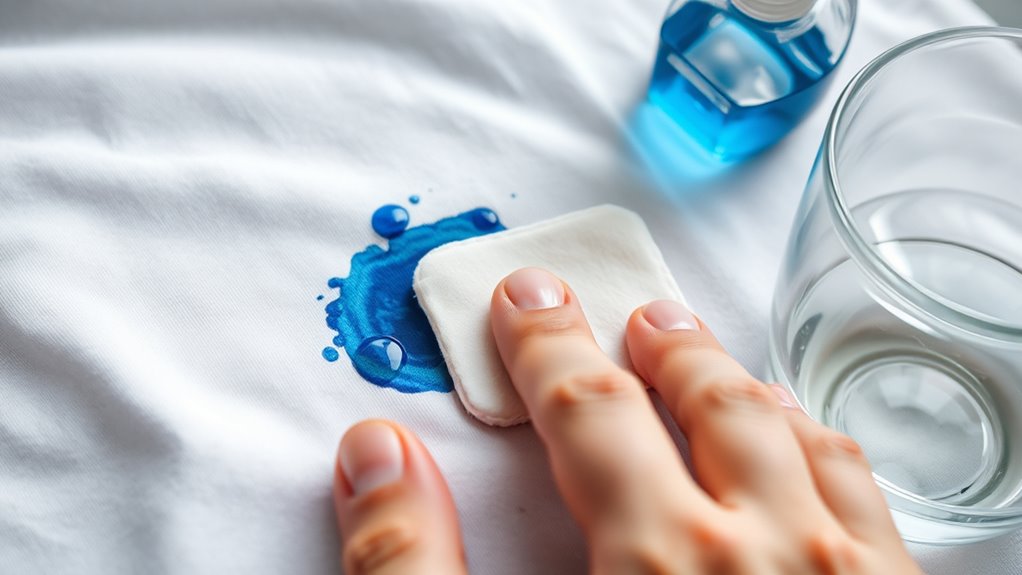
As soon as you notice the ink, gently blot with cloth to soak up excess without spreading it. Next, apply solvent like rubbing alcohol as a pre-treatment; this breaks down ink molecules quickly.
Prompt action reduces the need for repeated cleaning, which can damage delicate fabrics. The longer you wait, the more the stain penetrates fibers, making ink stain removal tougher and less effective.
By acting quickly, you minimize permanent damage and improve the odds of completely erasing the blot. Remember, timely pre-treatment with blotting and solvent application is your best defense against stubborn ink marks.
How to Test and Choose the Right Solvent for Ink Stains
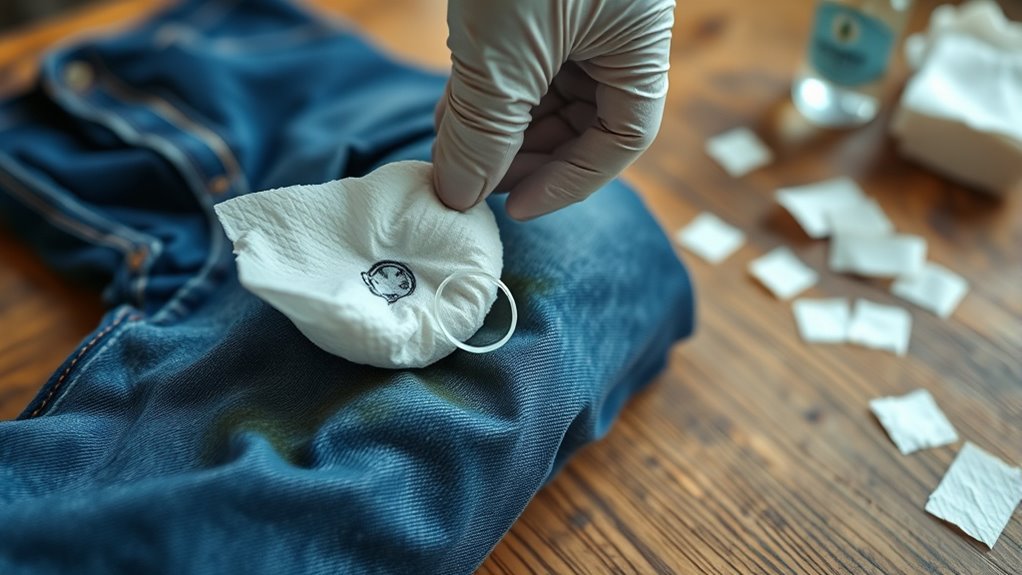
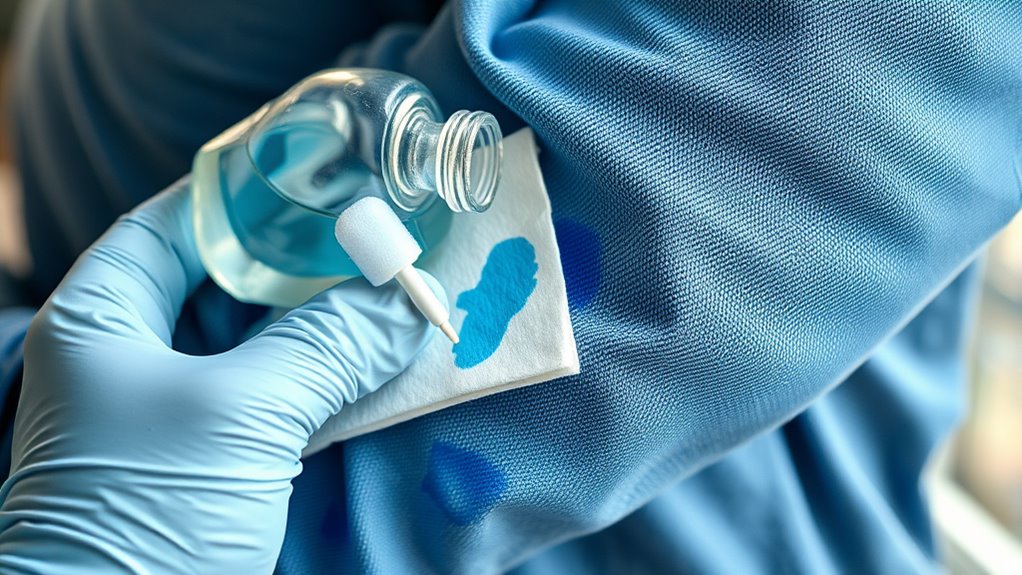
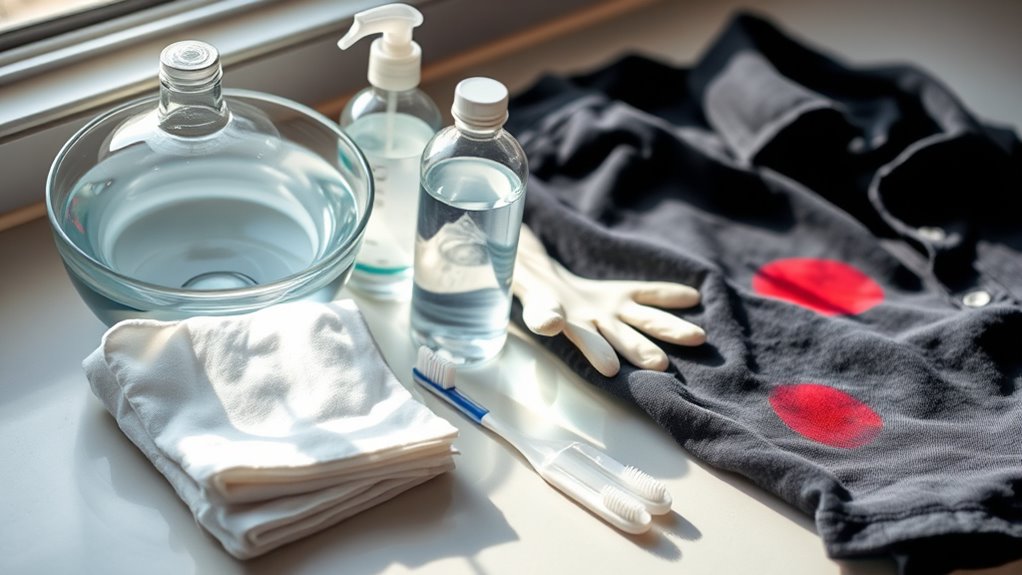
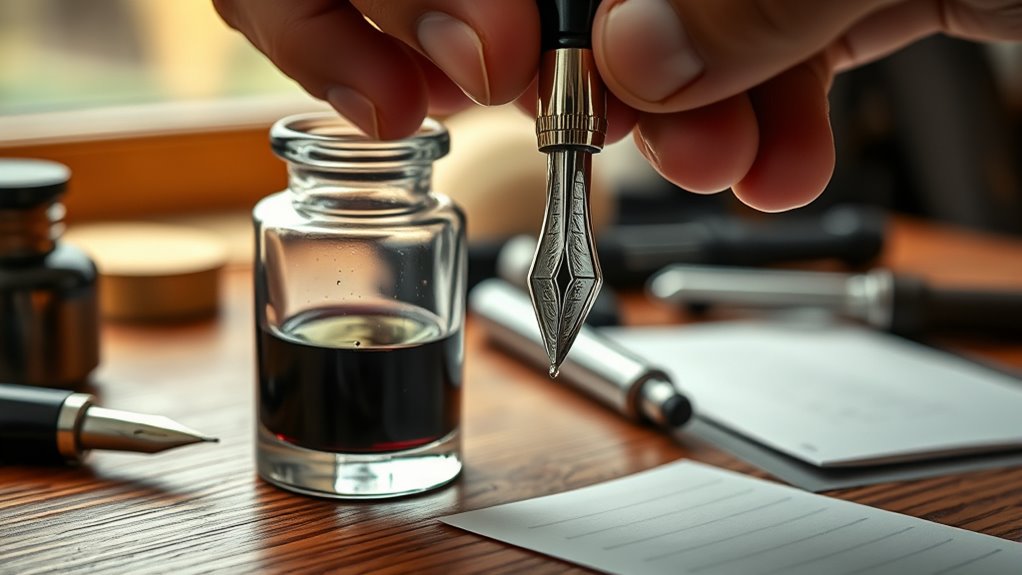
Before you apply any solvent to an ink stain, it’s a good idea to test it on a hidden part of the fabric first. Grab a white cloth or cotton swab, apply a small amount of the solvent, and then wait a few minutes. This way, you can see if there’s any damage or discoloration before going all in.
Also, don’t forget to check the fabric care label. It’ll tell you if the solvent is safe to use on your clothing. Taking these simple steps can save your favorite clothes from getting ruined!
Solvent Safety Testing
Although tackling ink stains can be urgent, you should always test any solvent on a hidden fabric area first to verify it won’t cause color fading or damage. Begin solvent testing by applying a small amount to an inconspicuous area or hidden spot of the fabric.
Wait about five minutes during this testing process to check for discoloration, fabric damage, or color transfer onto a white cloth or cotton swab. This test for colorfastness guarantees fabric safety before you treat the stain directly.
Avoid using undiluted solvents on delicate fabrics, as the risk of damage increases. If you notice any adverse reactions during the test, choose a gentler method or seek professional help to protect your clothing.
Fabric Colorfastness Check
Since not all fabrics react the same way to solvents, you need to perform a fabric colorfastness check before treating ink stains. Start by doing a spot test with a small amount of solvent on an inconspicuous area using a clean white cloth or cotton swab.
Wait five minutes to observe any discoloration, fading, or damage. For delicate fabrics, use milder solvents or a professional testing kit to verify solvent safety. Record your fabric response to decide if the solvent is suitable for stain removal or if you need an alternative.
| Step | Action |
|---|---|
| Fabric Test | Apply solvent on hidden spot |
| Damage Assessment | Wait 5 minutes, check for damage |
| Colorfastness Check | Note discoloration or fading |
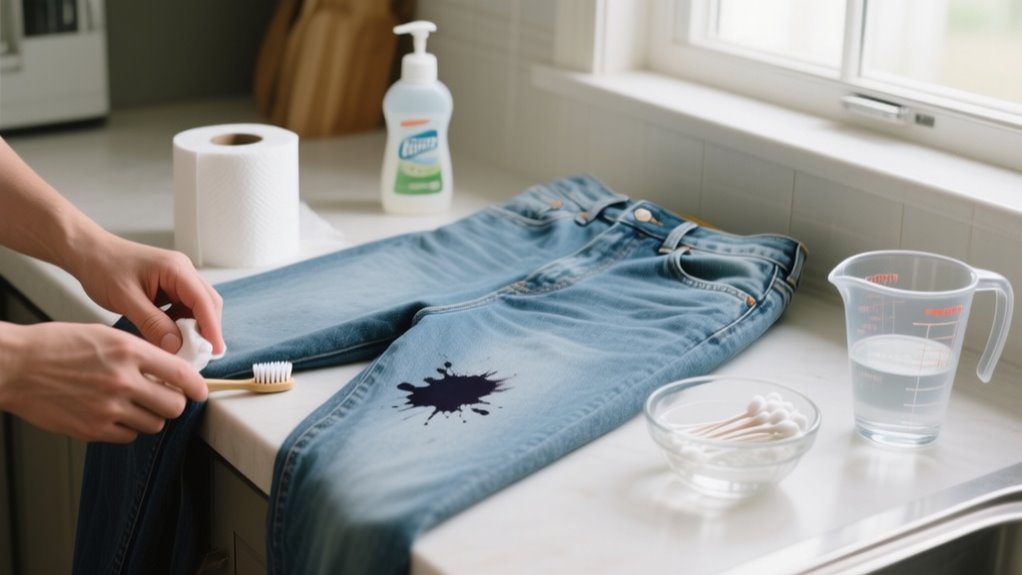
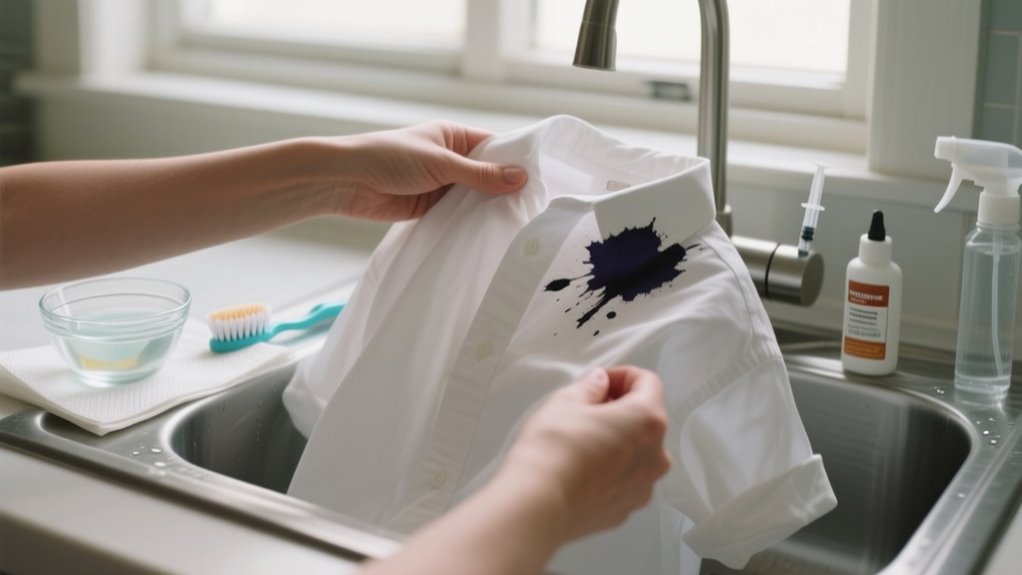
Step-by-Step Guide to Pre-Treating Ink Stains at Home
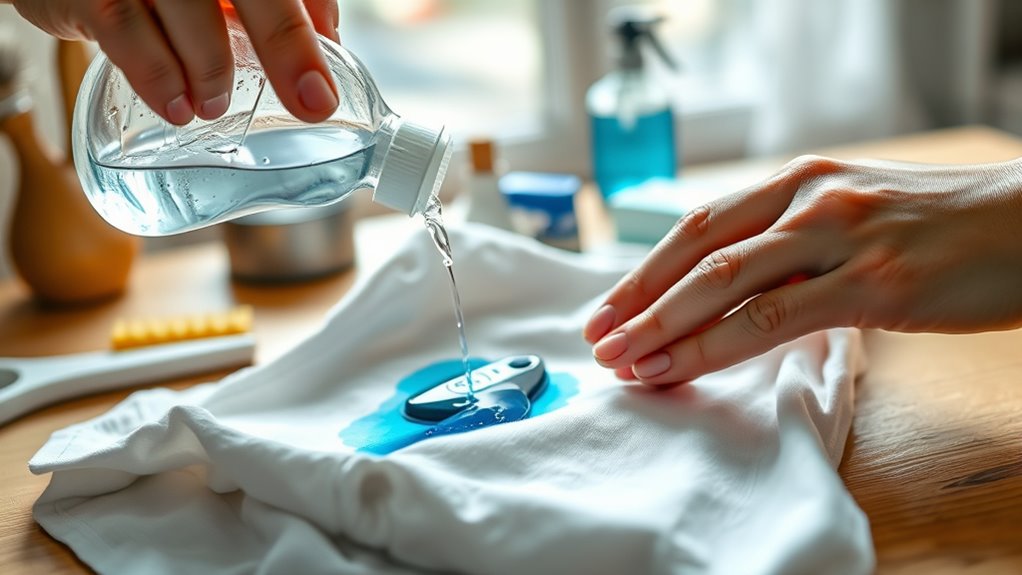
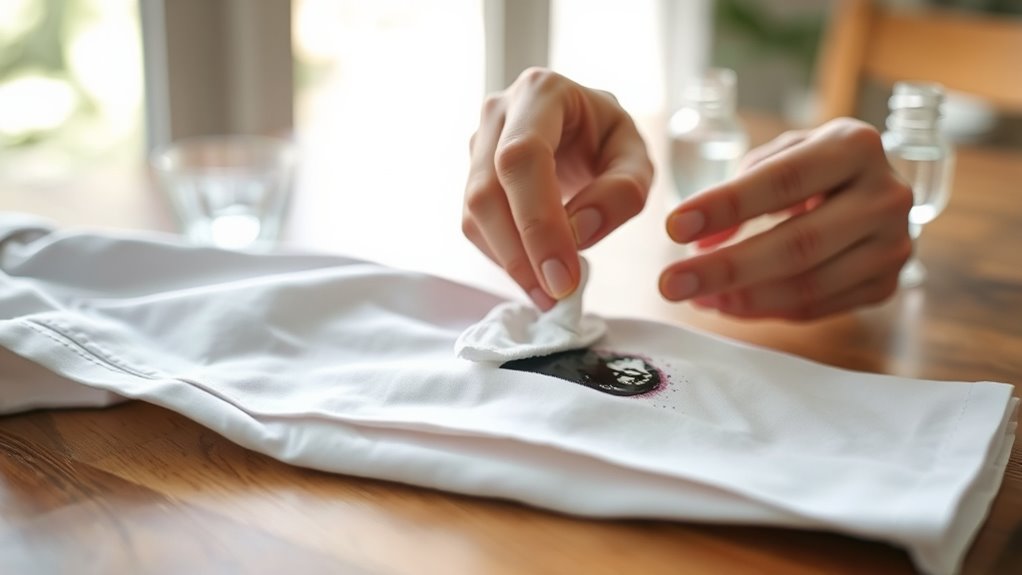
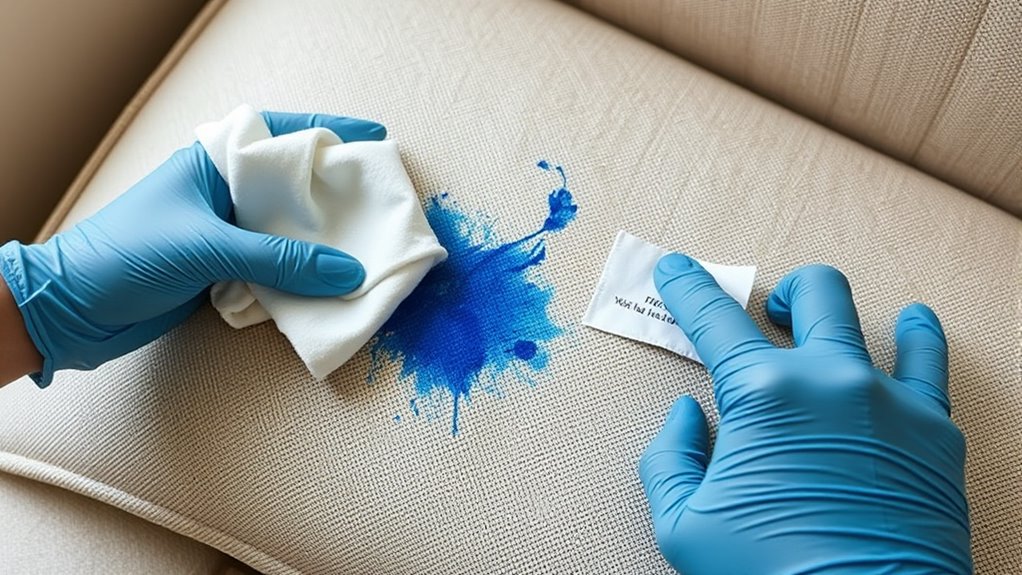
When you notice an ink stain on your clothing, start by gently blotting the excess ink with a clean paper towel to keep it from spreading further. For effective pre-treating, saturate the stain with alcohol-based hand sanitizer, covering the entire ink area. Let it sit a few minutes to break down the ink.
Before applying any solution, always test it on a hidden area of the garment to avoid damage or discoloration. Next, use a cotton swab dipped in rubbing alcohol to carefully dab the stain, working from the outside toward the center to prevent spreading.
After treating the ink stains, rinse the area thoroughly with cold water to flush out loosened ink and sanitizer. Finally, apply your regular laundry detergent to the treated spot, following garment care instructions for washing. This step-by-step process guarantees targeted stain removal while protecting your clothing’s fabric and color.
Best Washing Practices to Remove Ink Stains Safely
To safely remove ink stains, always wash your clothing in the hottest water recommended for the fabric after pre-treating. This helps dissolve and lift the ink effectively. Use a laundry detergent with stain-fighting enzymes during the wash cycle to boost stain removal.
Products like Tide Ultra Stain Release are great for breaking down ink residues. For white or bleach-safe fabrics, add a small amount of bleach to the wash cycle to enhance cleaning power.
After washing, air dry your garment instead of using a dryer, since heat can set any remaining ink stains permanently. If the stain persists, don’t hesitate to repeat the washing process. Multiple cycles may be essential to fully eliminate stubborn ink stains.
How to Remove Ink Stains From Different Fabric Types

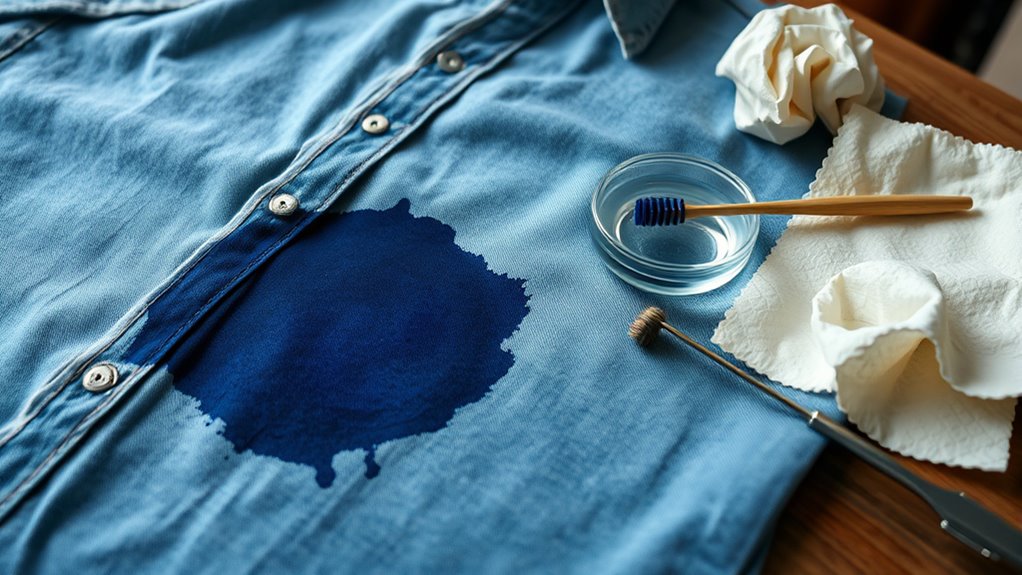
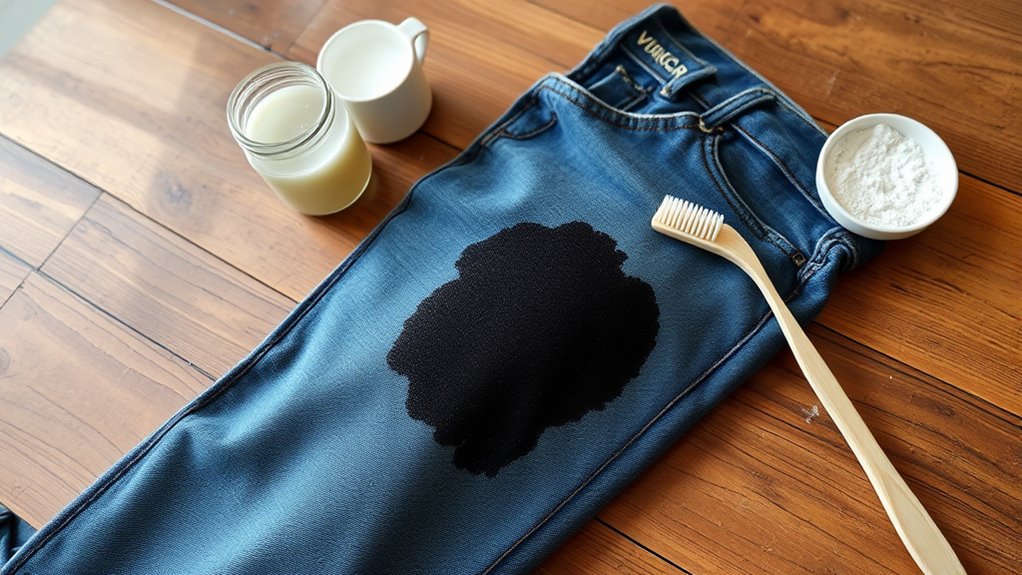
When you’re dealing with ink stains, it’s good to remember that different fabrics need different care. For tough materials like denim, you can go ahead and use rubbing alcohol or a stain remover. They really help get the job done.
But when it comes to delicate fabrics like silk, you want to be much gentler. Soaking the fabric gently and blotting the stain works best without causing any damage.
Basically, knowing how to treat each type of fabric makes all the difference. It helps you remove those stubborn ink stains effectively while keeping your clothes looking great.
Durable Fabrics Treatment
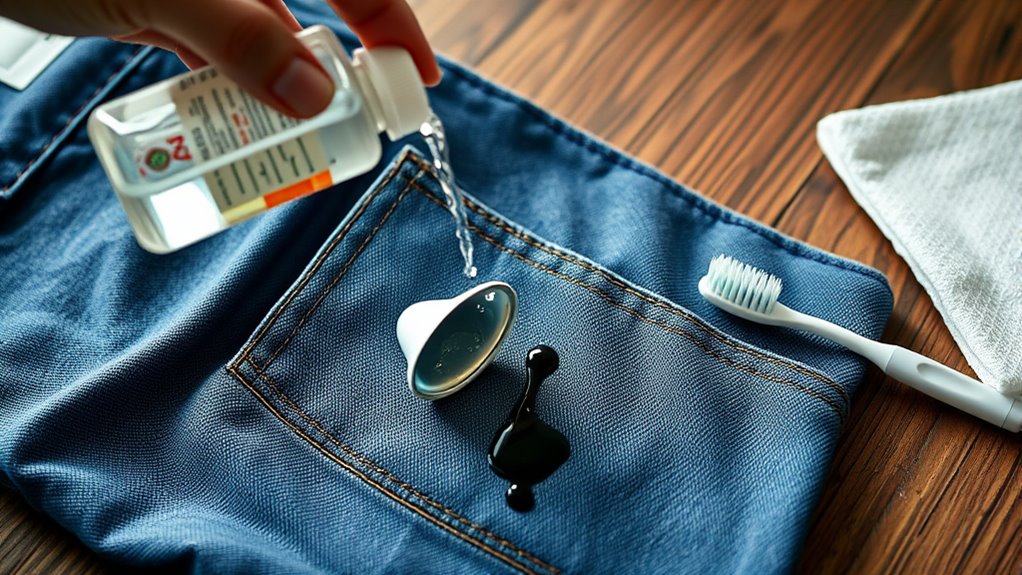
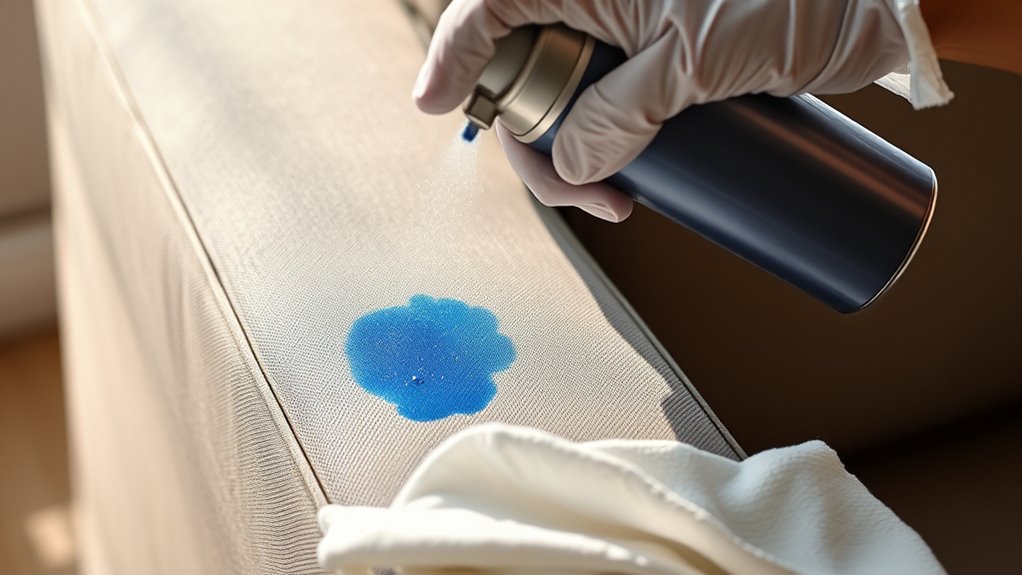
Although ink stains can be stubborn, you can effectively treat them on durable fabrics like shirts, jeans, and pants by applying rubbing alcohol or Tide Ultra Stain Release directly to the stain. Let it sit for about five minutes before washing.
To treat fabrics such as canvas or spandex, stretch the fabric taut and drip rubbing alcohol onto the ink stain to help lift it. Always remember to test a small area first to confirm the solvent won’t damage your garment.
Avoid aggressive rubbing to protect fabric care. After applying the solvent, rinse with cold water to flush out loosened ink. If the stain persists, repeat the process carefully.
Using rubbing alcohol for stain removal on durable fabrics is a reliable method to restore your clothes efficiently.
Delicate Fabrics Care
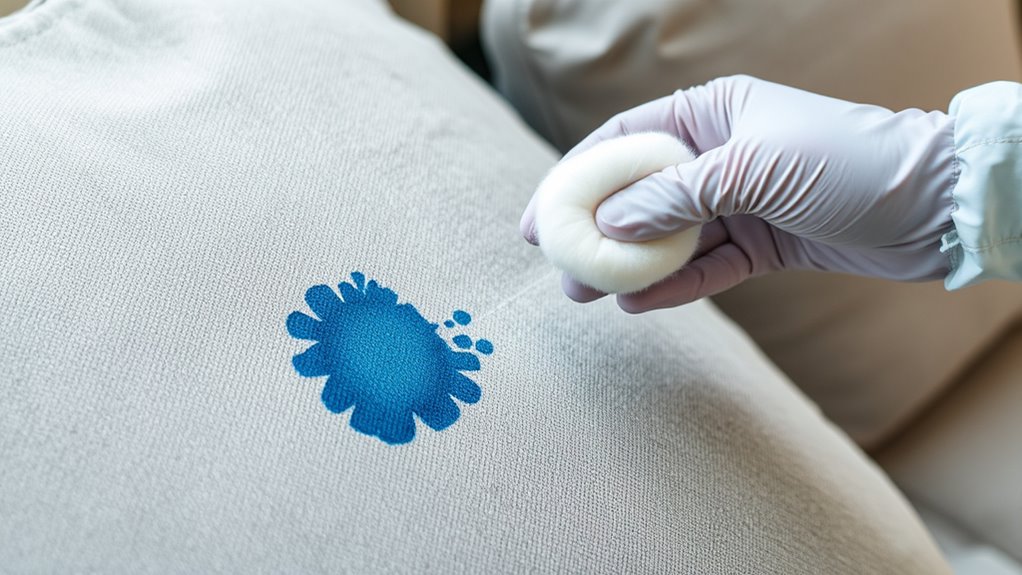
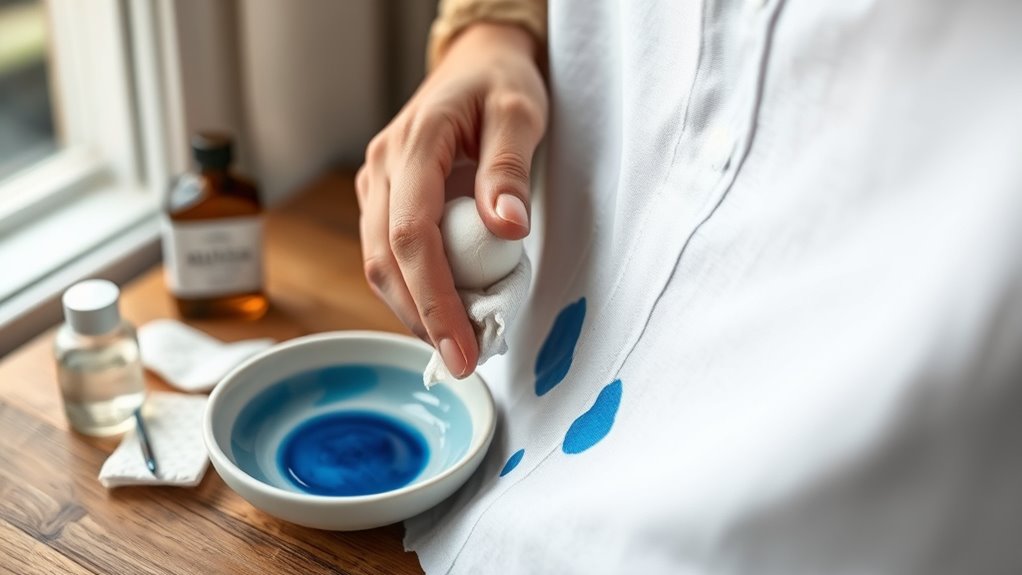
Durable fabrics can handle stronger treatments like rubbing alcohol, but delicate fabrics need a gentler touch to avoid damage. When dealing with delicate fabrics such as silk and wool, always blot the stain gently using cold water rather than rubbing. Rubbing can harm fibers.
For silk, dampen a white cloth with cold water and carefully blot the ink stain. Wool responds well to a vinegar and water solution, applied with gentle blotting to lift the stain without damaging texture.
Before applying any stain removal method, test it on an inconspicuous area to prevent color fading or deterioration. After treating, air dry your garment away from heat sources to avoid setting the stain.
If the stain persists, consider professional cleaning for the best fabric care.
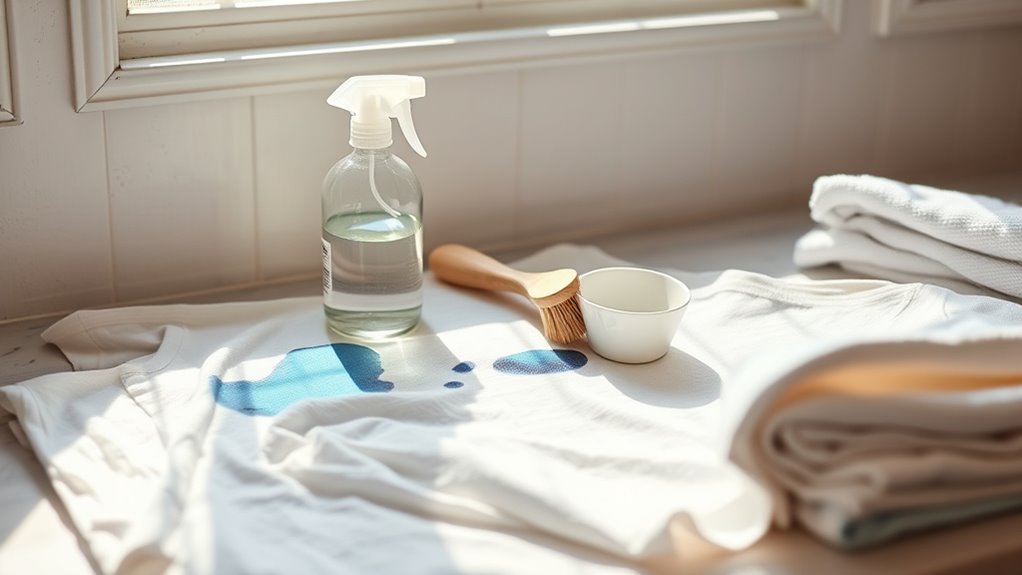
Using Bleach Safely to Remove Ink Stains From Colorfast Clothing
Since bleach can damage fabrics, you’ll want to test it on a hidden spot of your clothing first to check for colorfastness. Once confirmed, dilute the bleach. Use about ¼ cup of Clorox™ Bleach per gallon of water to safely treat the ink stain on your colorfast clothing.
Soak the stained area for no more than five minutes, fully submerging the garment to guarantee even stain removal. After soaking, rinse thoroughly with cold water to remove any bleach residue.
Next, wash the clothing in the hottest water recommended on the care label, adding extra bleach if the label allows. Avoid using heat or a dryer until you monitor the stain’s disappearance by air drying the garment.
Following these steps guarantees the safe use of bleach while effectively tackling ink stains on colorfast fabrics without causing damage to your clothing.
What to Do If Ink Stains Persist and When to Call a Pro
If ink stains don’t come out after several home treatments, it’s best to contemplate professional cleaning. Persistent ink stains can be tough to remove, and continuing DIY stain treatment might cause fabric damage, especially on delicate garments.
Professional cleaning offers specialized solvents and equipment designed for stubborn stains that home remedies can’t tackle. If the stain remains visible after air drying, avoid applying heat, as this can set the ink permanently, making professional intervention even more necessary.
When dealing with valuable or delicate garments, calling in a pro ensures proper handling and garment preservation. Experts know how to balance effective stain removal without harming the fabric’s integrity.
Ultimately, if your persistent ink stain refuses to budge, professional cleaning is your safest bet to restore your clothing’s appearance without risking damage. Don’t hesitate to seek help; it’s the best way to protect and preserve your favorite pieces.
Frequently Asked Questions
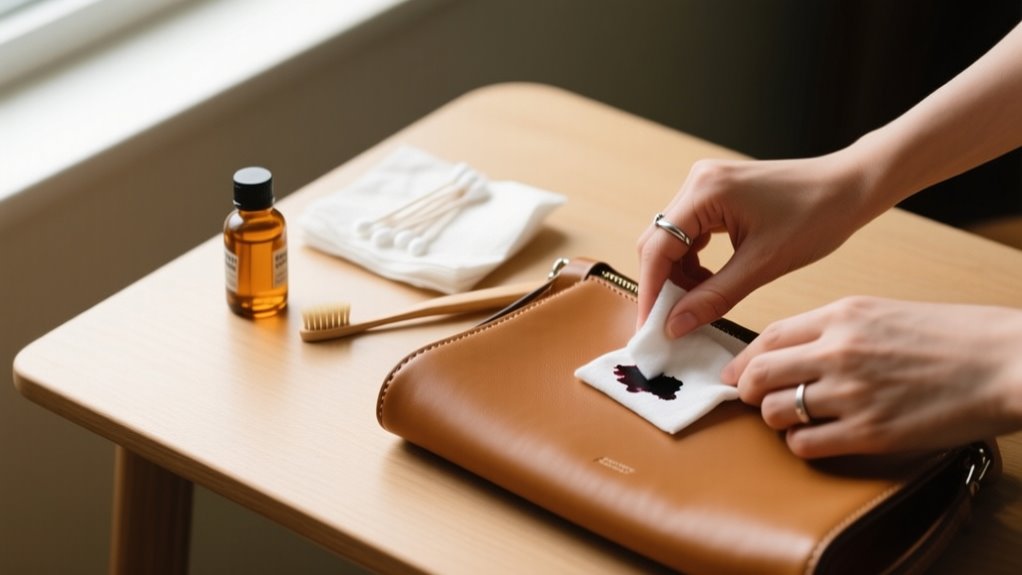
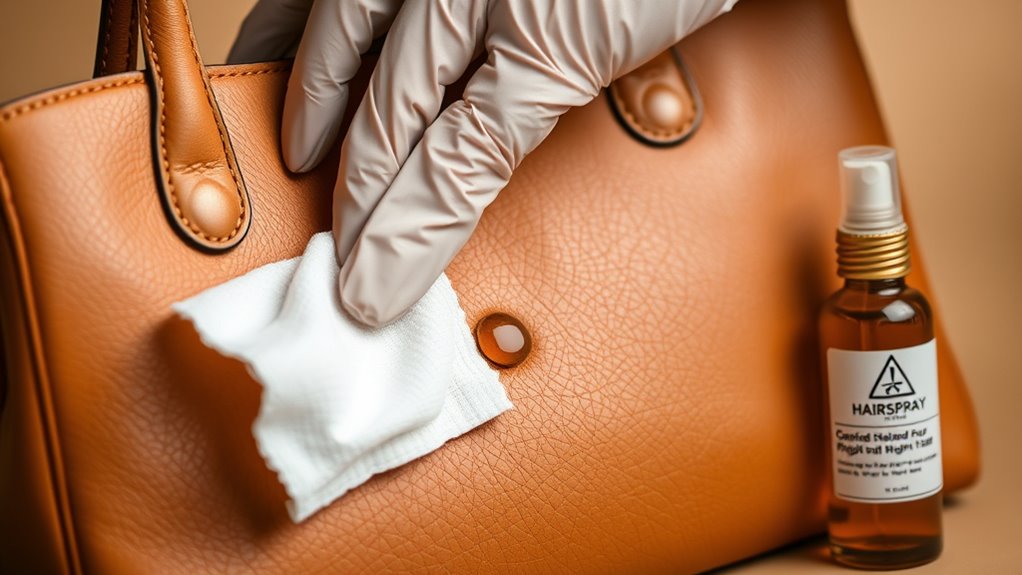
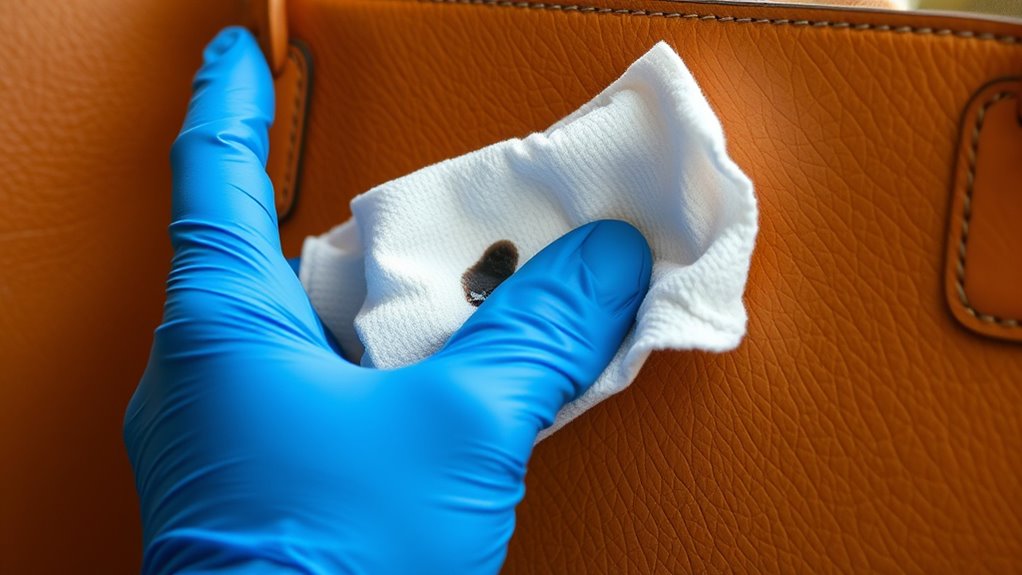
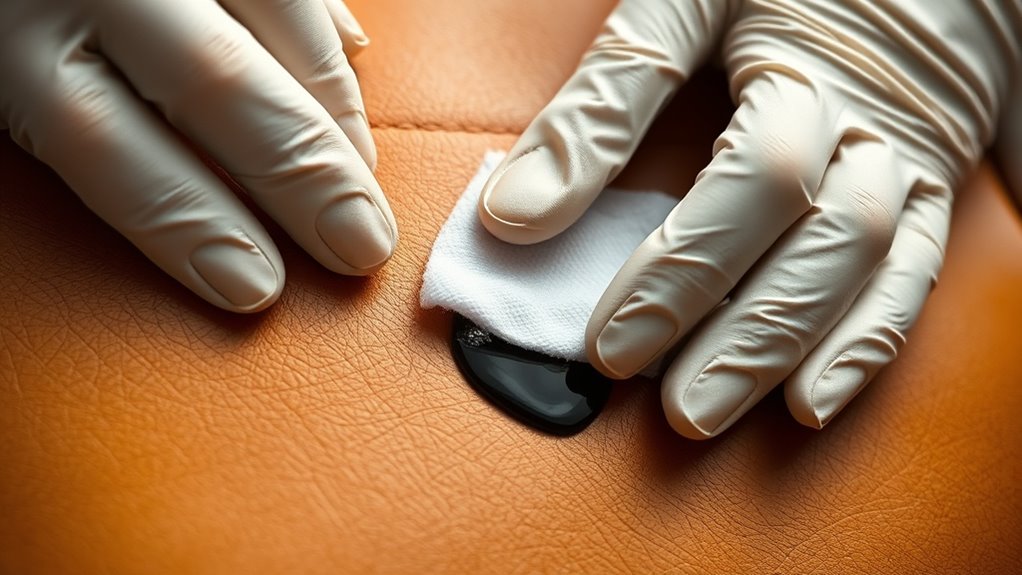
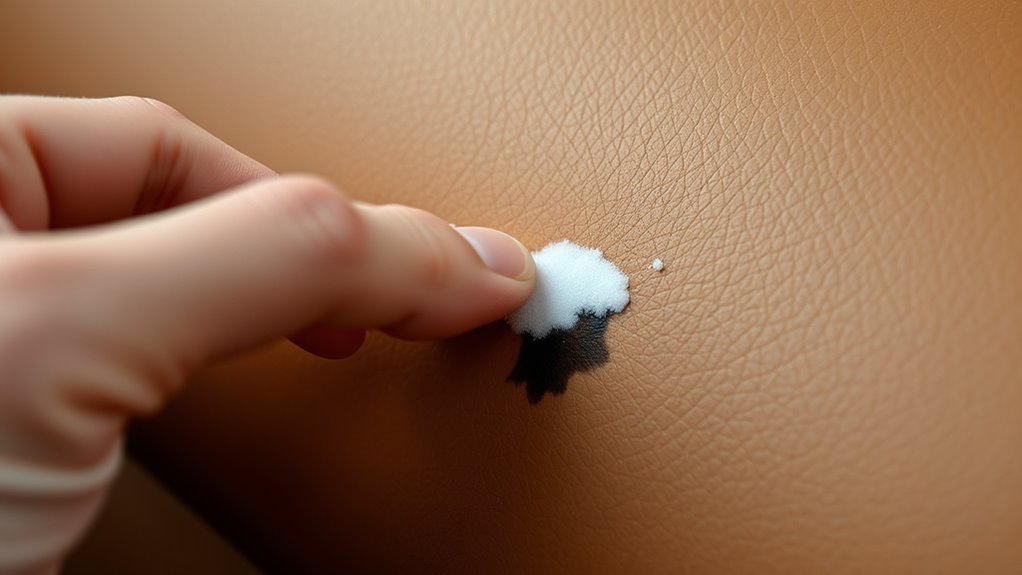
Can Ink Stains Be Removed From Leather or Suede?
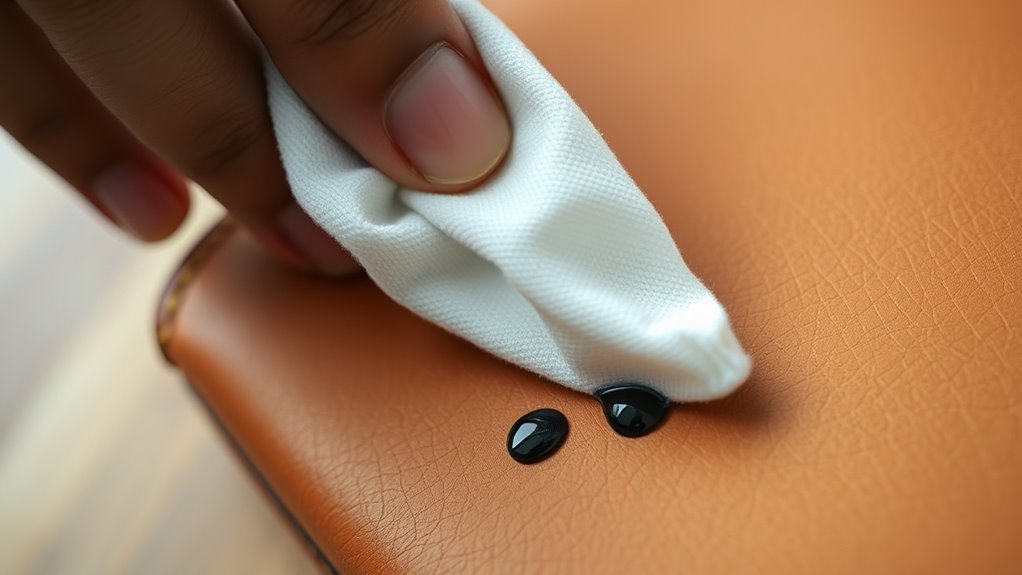
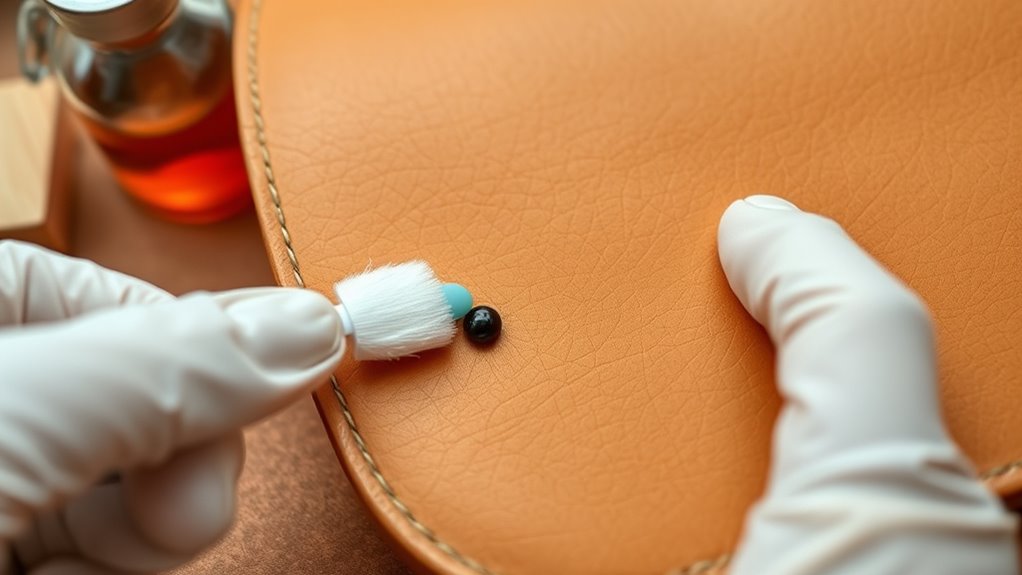
Yes, you can remove ink stains from leather or suede with careful leather cleaning and suede treatment. Start by applying a small amount of rubbing alcohol or dry cleaning solvent to a cotton swab for precise ink removal.
Gently blot the leather stains or ink blot on suede without rubbing to avoid ink transfer or damage. Afterward, use a leather conditioner or suede restoration product to maintain the material’s softness and prevent future damage.
For tough stains, consider professional leather repair.
Are Natural or Homemade Remedies Effective for Ink Stain Removal?
You know what they say: Rome wasn’t built in a day, and neither are ink stain removals with DIY solutions. Natural remedies and homemade tricks like plant-based solutions or organic treatments can help lighten fresh stains, but they rarely erase stubborn ink completely.
Eco-friendly methods and herbal techniques offer simple remedies for delicate fabrics. Yet traditional approaches or homemade formulas often need patience and repeated use to see real results.
How Can I Prevent Ink Stains From Setting When Traveling?
You can prevent ink stains from setting when traveling by using smart travel tips like packing stain removal kits and quick-response items such as hand sanitizers or alcohol wipes. Choose stain-resistant clothing and use fabric protection like plastic covers or stain barriers.
Incorporate travel accessories designed for ink care and adopt packing strategies that keep pens separate from your clothes. Acting fast with these stain prevention methods keeps your fabrics safe on the go.
What Causes Ink Stains to Become Permanent Over Time?
Ink stains become permanent over time because ink penetration deepens as the drying process progresses, especially with certain fabric types and tight fabric weaves. The ink composition, including pigment and dye, interacts with the fabric molecules, while stain age allows stronger bonding.
Heat exposure sets the stain further, and solvent interaction can either help or worsen it. Stain pressure during drying and ink color intensity also affect permanence, making early treatment essential.
Can Ink Stains Be Removed From Delicate Fabrics Like Silk?
Yes, you can remove ink pen stains from delicate fabrics like silk, but quick action is crucial to prevent stain penetration and fabric damage. First, identify the stain carefully and consider fabric sensitivity.
Use gentle cleaning tips like blotting with diluted isopropyl alcohol or mild detergent to avoid color fading or stain transfer. Avoid vigorous rubbing, and always test on a hidden area.
For stubborn stains, professional help guarantees safe and effective stain removal.
Conclusion
Now that you’ve tackled those stubborn ink stains with these steps, imagine slipping on your favorite shirt, spotless and fresh. But what if one stubborn mark refuses to budge? Don’t panic. Sometimes the real test is just ahead.
With patience and the right moves, you can save your clothes from permanent damage. Ready to take control and restore your wardrobe? Your ink-free victory is closer than you think.