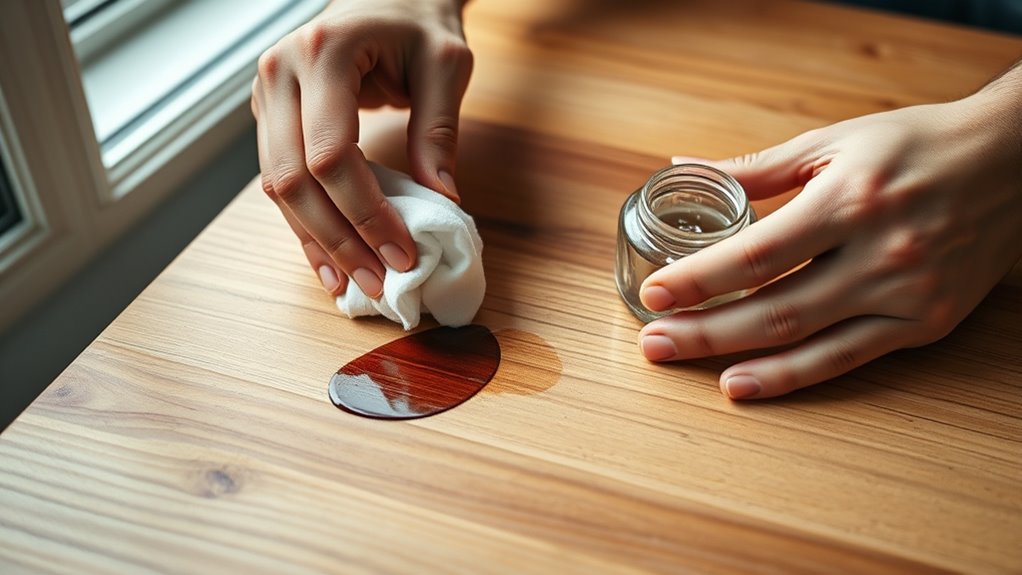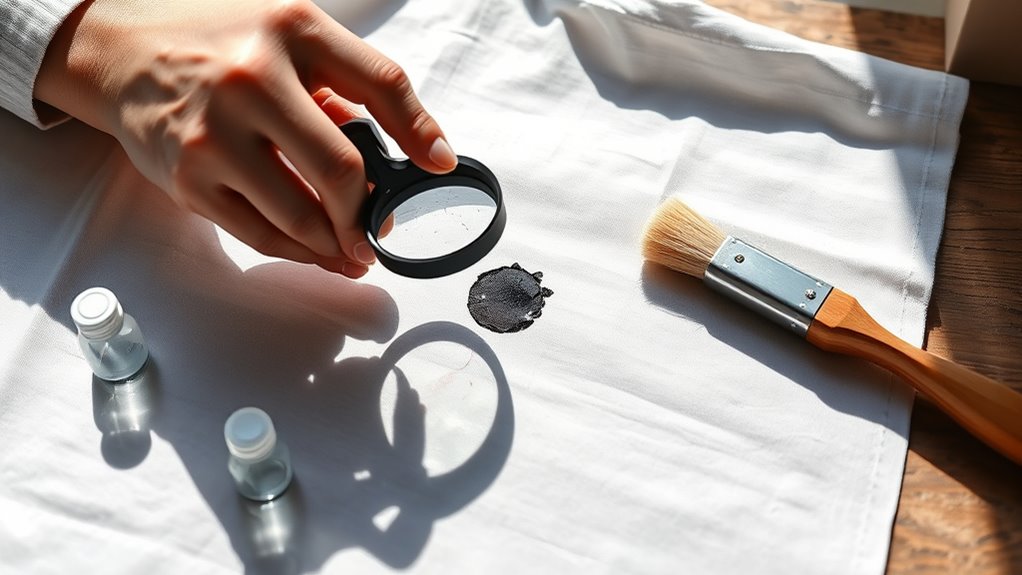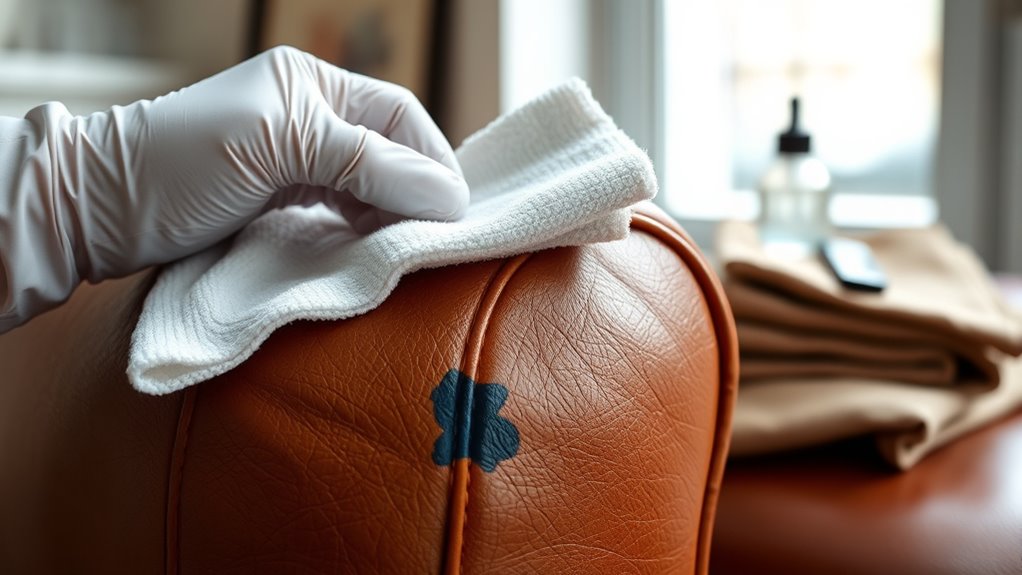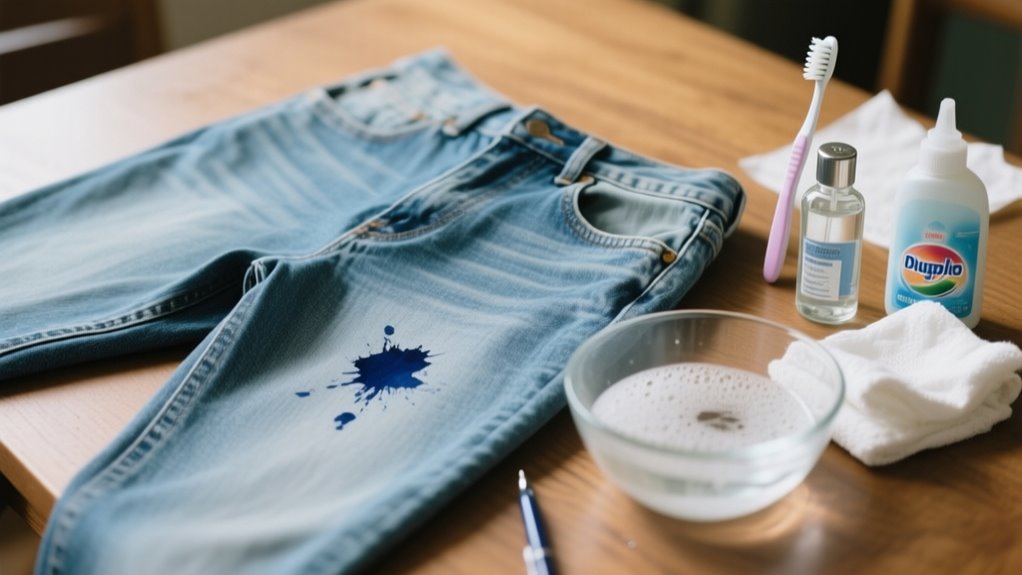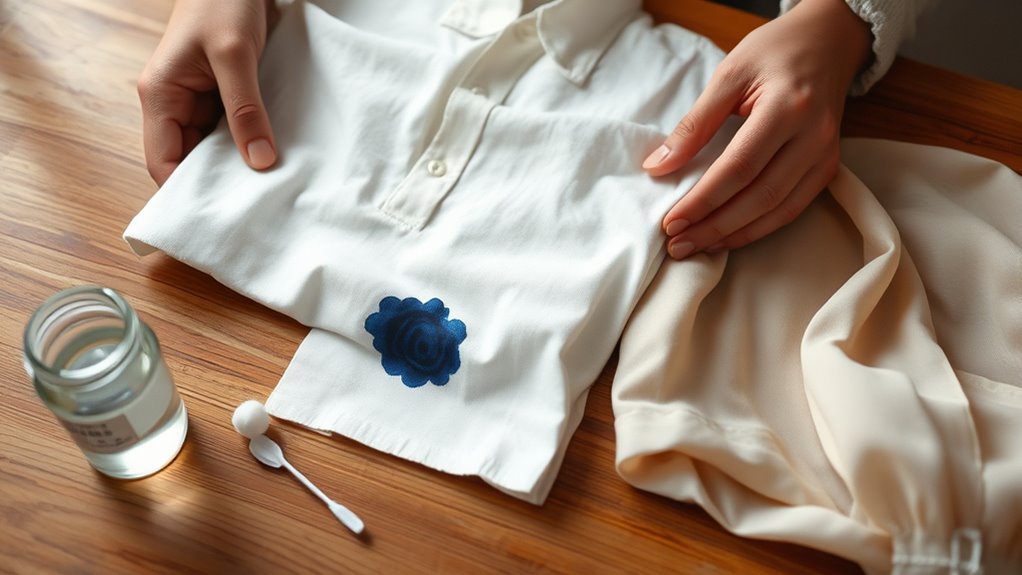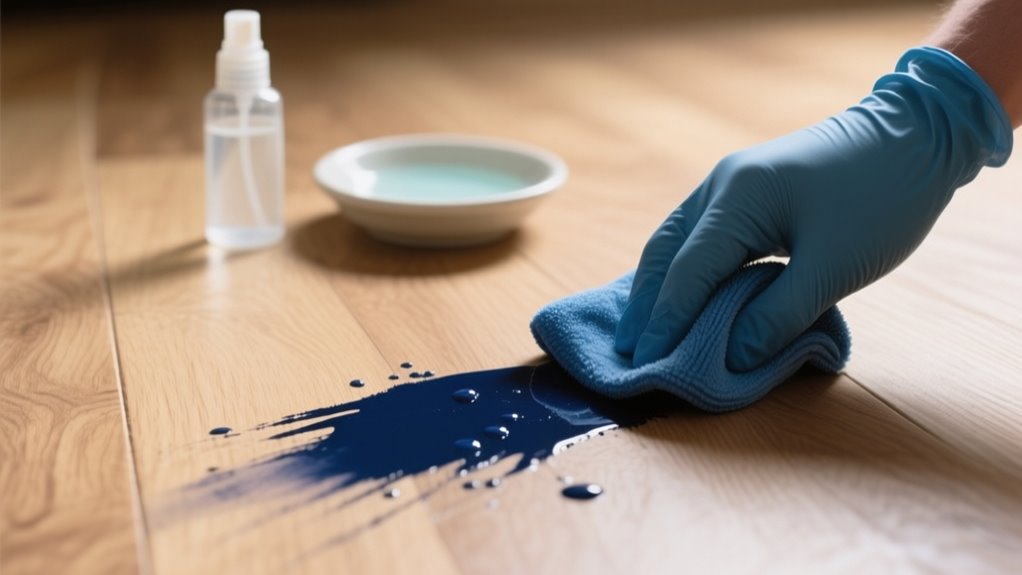
To quickly get ink out of wood floors, start by blotting the fresh stain gently with a dry cloth to avoid spreading it.
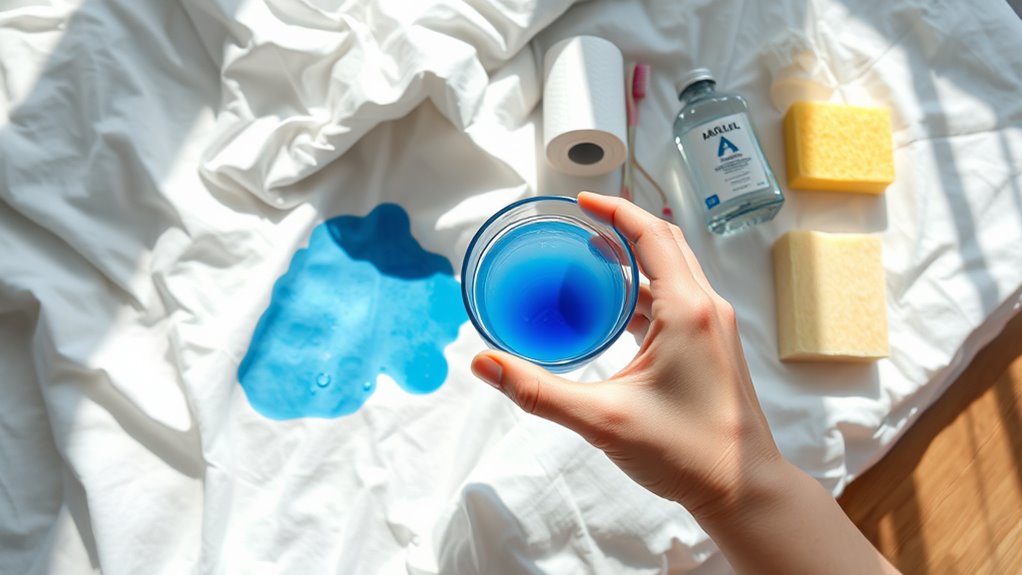
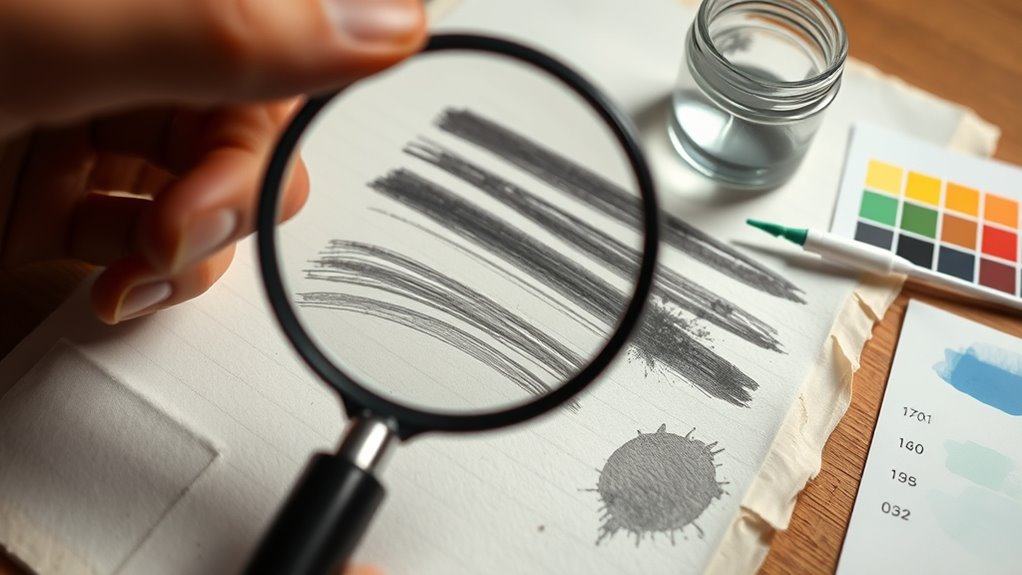
Test your floor finish by observing water beading, which helps choose safe cleaning methods.
Use a baking soda paste or dab rubbing alcohol on stubborn spots, working carefully to protect the wood.
Afterward, recondition the area with wood polish.
If the stain lingers or the finish feels off, there are additional tips to help restore your floor effectively.
How to Identify Your Wood Floor Finish
How can you tell if your wood floor is sealed or unsealed? The easiest way is to perform a simple water test. Place a few drops of water on a small, hidden area of your floor. If the water beads up and stays on the surface, your floor is sealed.
A simple water test reveals if your wood floor is sealed—water beading means it’s protected.
This means it has a protective coating, like polyurethane, that resists water and chemicals. On the other hand, if the water soaks into the wood quickly, your floor is unsealed or raw. Unsealed wood absorbs moisture and stains more easily, so it requires gentler cleaning methods.
Knowing whether your floor is sealed or unsealed is crucial before tackling ink stains. It helps you choose the right cleaning approach without causing damage. Sealed floors allow for more aggressive stain removal techniques, while unsealed floors need extra care to avoid permanent marks.
This quick water beading test sets you up for success in protecting your wood floors.
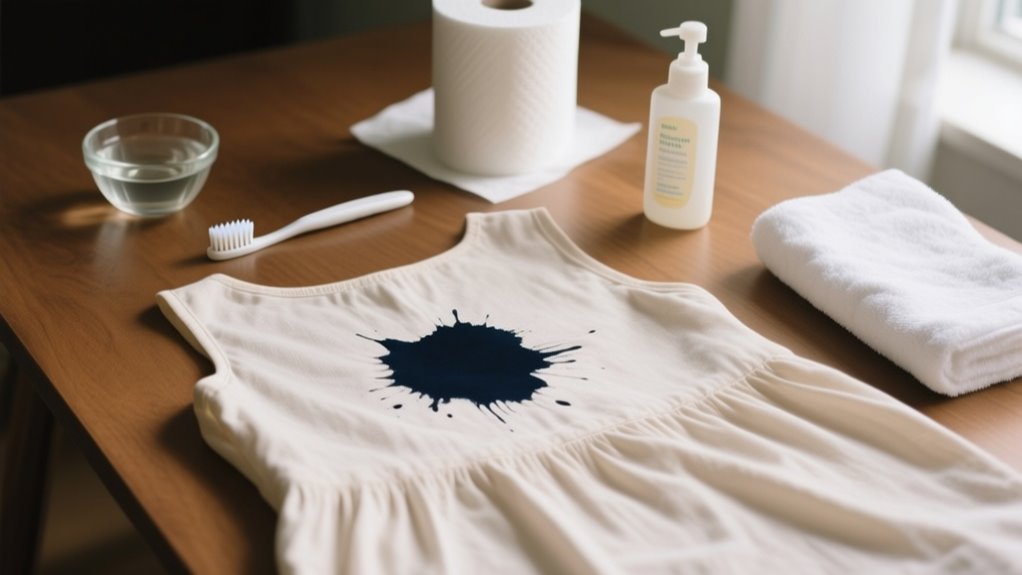
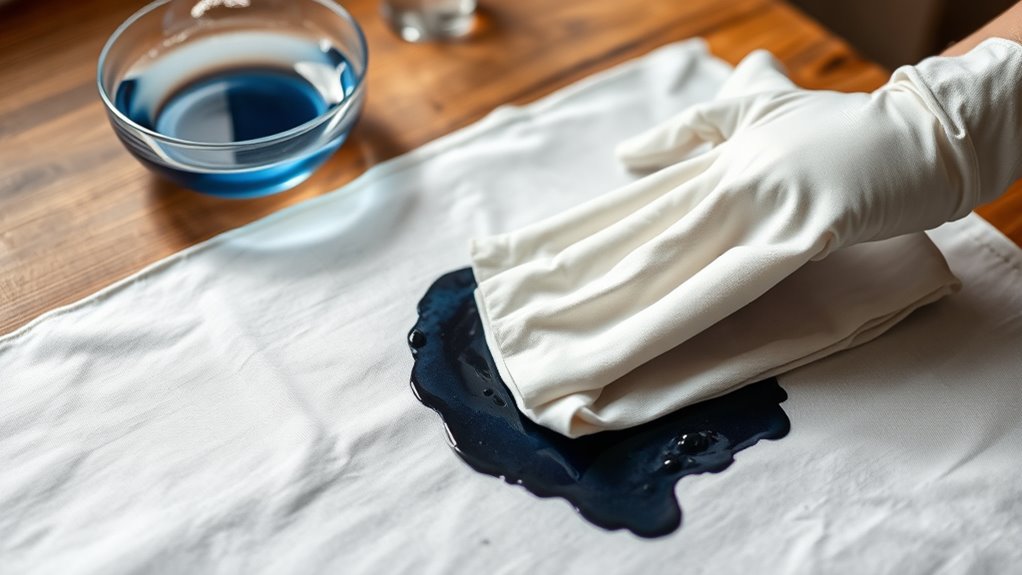
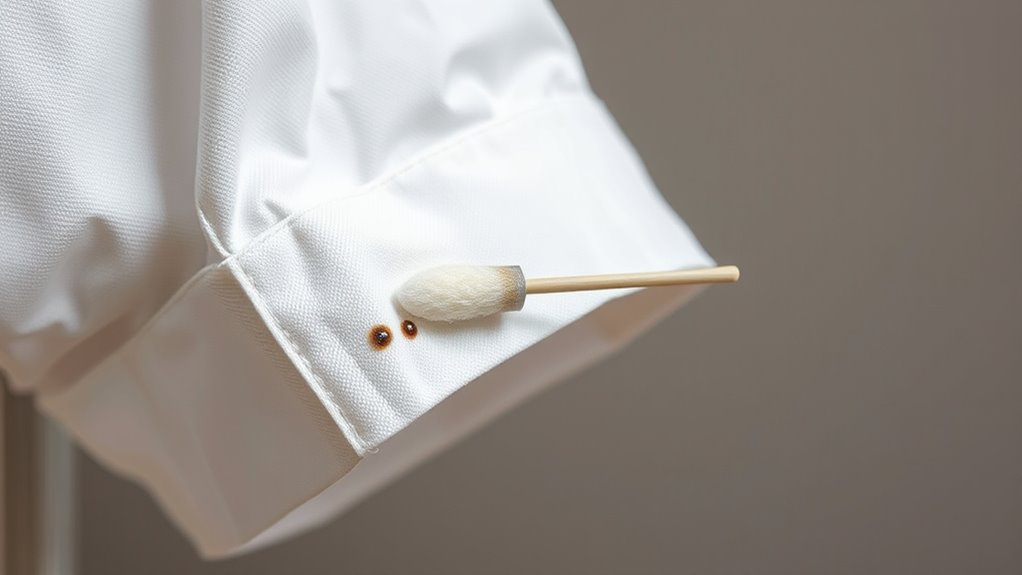
Blot Fresh Ink Stains on Wood Floors Without Spreading
When you notice a fresh ink stain on your wood floor, gently blotting it immediately can prevent the ink from spreading and seeping deeper into the wood grain. Use a clean, dry paper towel or cloth to carefully blot the ink stain, absorbing as much excess ink as possible.
Remember to use light, dabbing motions rather than wiping, which can push the ink further into the wood floors. Start blotting from the outside edges of the stain and work inward to contain the ink effectively.
Applying too much pressure can damage your wood floor’s surface, so keep your touch gentle. As the paper towel or cloth becomes saturated, replace it immediately with a fresh one to maintain blotting efficiency.
This method helps you manage fresh ink stains quickly without worsening the problem, preserving the beauty of your wood floors while preparing for further cleaning steps.
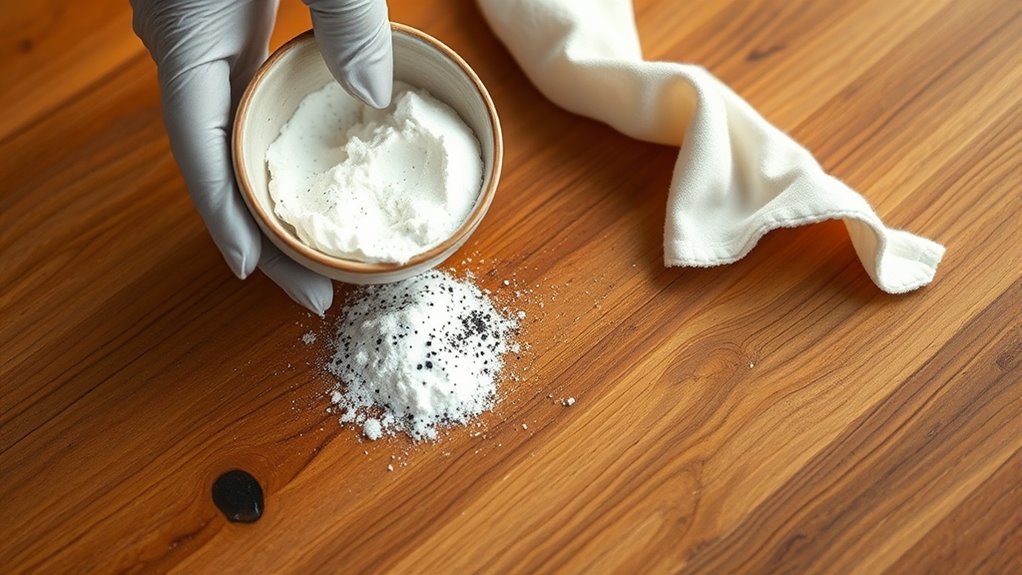
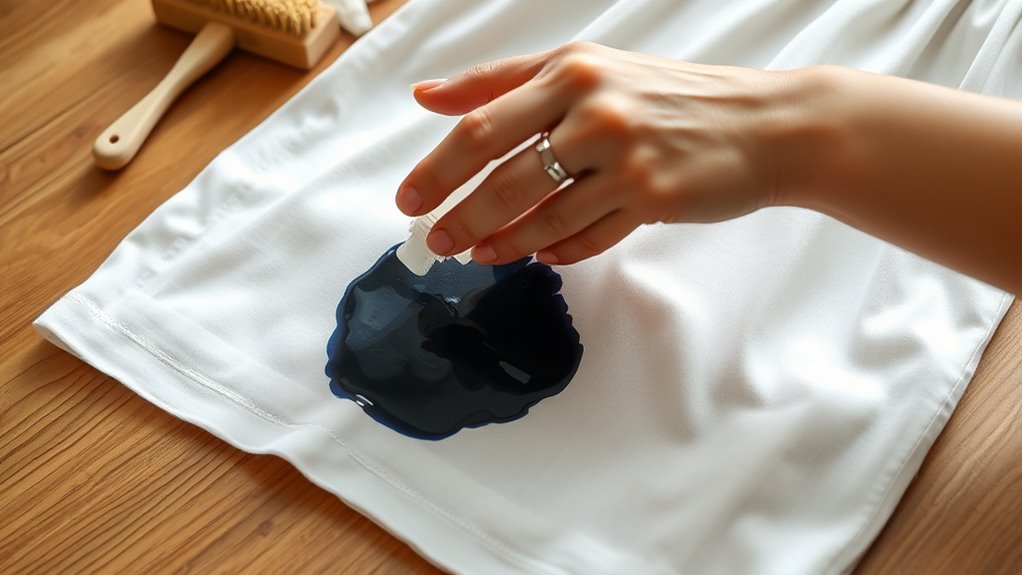
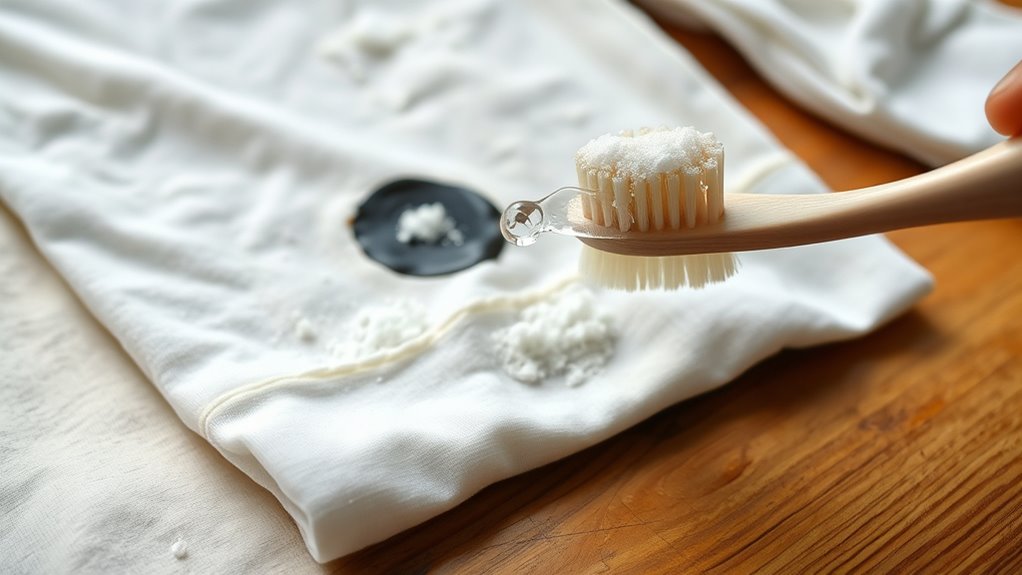
Use Baking Soda Paste to Remove Ink Stains

You’ll want to mix baking soda with just enough water to make a thick paste—just the right consistency for spot cleaning. Then, gently apply it to the ink stain using a cloth or a toothbrush. Let it sit for a few minutes to work its magic. After that, carefully wipe the paste away with a damp cloth. Finally, be sure to dry the area thoroughly to protect your wood floor.
Making Baking Soda Paste
Although ink stains can be stubborn, making a baking soda paste is a simple and effective way to tackle them on wood floors. To create the paste, mix equal parts baking soda and water until you get a thick, spreadable consistency.
Use a spoon or spatula to blend thoroughly, making sure there are no lumps. If the paste feels too runny, add a bit more baking soda; if it’s too thick, add a little more water. For extra stain removal power, consider adding a few drops of hydrogen peroxide to the mixture.
Any leftover baking soda paste can be stored in an airtight container, so you’re ready for future ink stain removal tasks without having to start from scratch.
Applying Paste To Stains
After preparing your baking soda paste, the next step is to apply it directly onto the ink stain. Make sure to cover the entire stain with a thick layer of the baking soda paste for the best absorption.
Let the paste sit on the stain for about 5 to 10 minutes to allow it to lift the ink from the wood surface. Then, gently scrub the area with a soft cloth or toothbrush using small circular motions to work the paste into the stain. This helps break down the ink without damaging the wood.
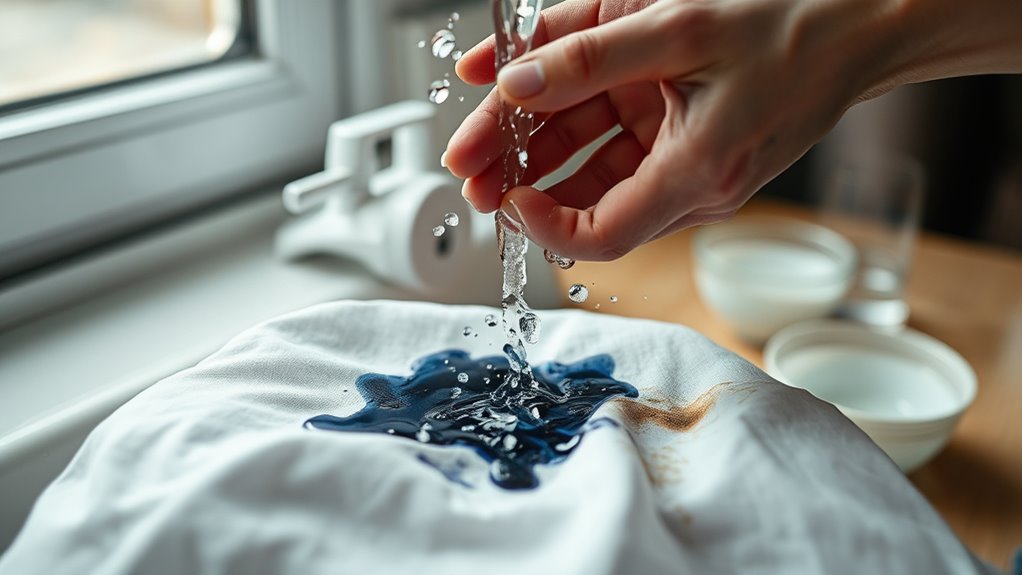
Finally, wipe away the paste with a damp cloth, rinsing it frequently to remove residue and avoid spreading the stain further. This method uses the natural cleaning power of baking soda paste effectively.
Removing Paste Safely
While the baking soda paste works to lift the ink stain, you need to remove it carefully to protect your wood floor’s finish. After letting the baking soda paste sit for 5 to 10 minutes, gently buff the area using a soft cloth or sponge, moving with the grain of the wood. This prevents any damage to the surface while loosening the dried paste.
Next, take a damp cloth and wipe away the baking soda residue thoroughly. Make sure the cloth is clean and only slightly damp to avoid soaking the wood. Finally, dry the area completely to maintain the wood’s natural shine.
Using this gentle cleaning solution method guarantees your wood floor stays intact and free from both ink and paste residues.
Apply Lemon Juice and Salt for Natural Ink Removal
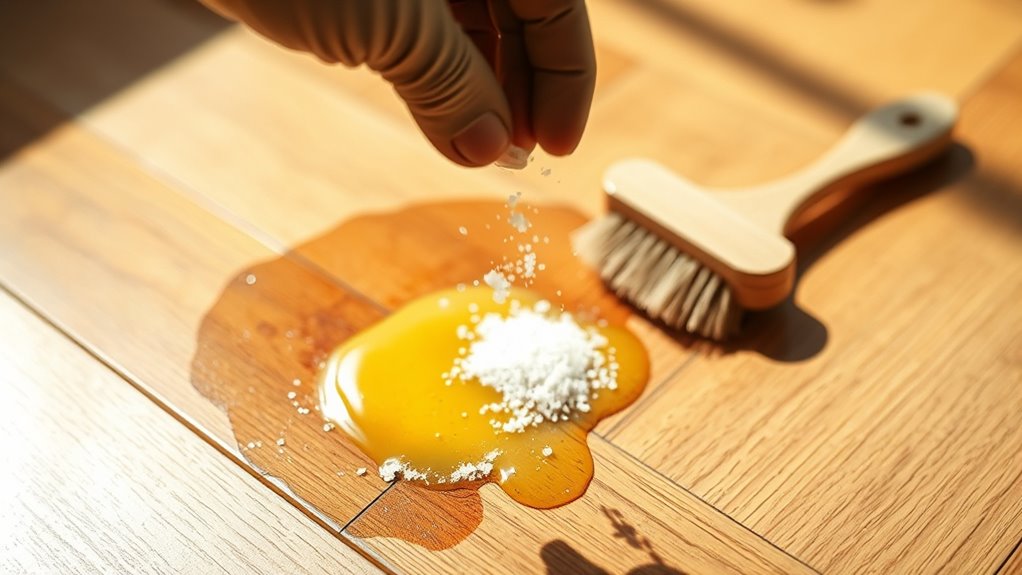
You can go ahead and apply lemon juice directly onto the ink stain. It naturally breaks down the pigments. After that, just sprinkle some salt over the juice. The salt acts as a gentle abrasive, helping to lift the ink right off. This simple combo works together to remove stains without any harsh chemicals.
Lemon Juice Benefits
Because lemon juice contains natural acids, it can break down ink stains on wood floors without harming the surface. When you apply lemon juice directly onto an ink stain, it loosens the ink particles, making stain removal much easier.
This natural cleaning method is gentle yet effective, especially for delicate or unfinished wood floors where harsh chemicals might cause damage. The acidity in lemon juice also helps lighten the stain, reducing its visibility over time.
Using lemon juice for stain removal means you’re choosing a chemical-free approach that’s safe and environmentally friendly. By incorporating lemon juice into your cleaning routine, you can tackle ink stains naturally while preserving your wood floors’ finish and integrity.
Salt’s Abrasive Action
How exactly does salt enhance the stain-removal power of lemon juice on wood floors? Salt acts as a gentle abrasive that helps physically lift the ink stain without harming the wood surface. When combined with lemon juice, it creates an effective natural cleaning paste.
Here’s how to use salt’s abrasive action for ink removal:
- Apply lemon juice to the ink stain to break down its chemical bonds
- Sprinkle salt over the lemon juice to add an abrasive scrubbing effect
- Gently work the mixture into the stain using a cloth or toothbrush
- Let it sit for about 10 minutes to loosen ink particles
- Wipe the area with a damp cloth to remove residue and restore the floor
This method leverages salt’s abrasive quality to enhance stain removal naturally and safely.
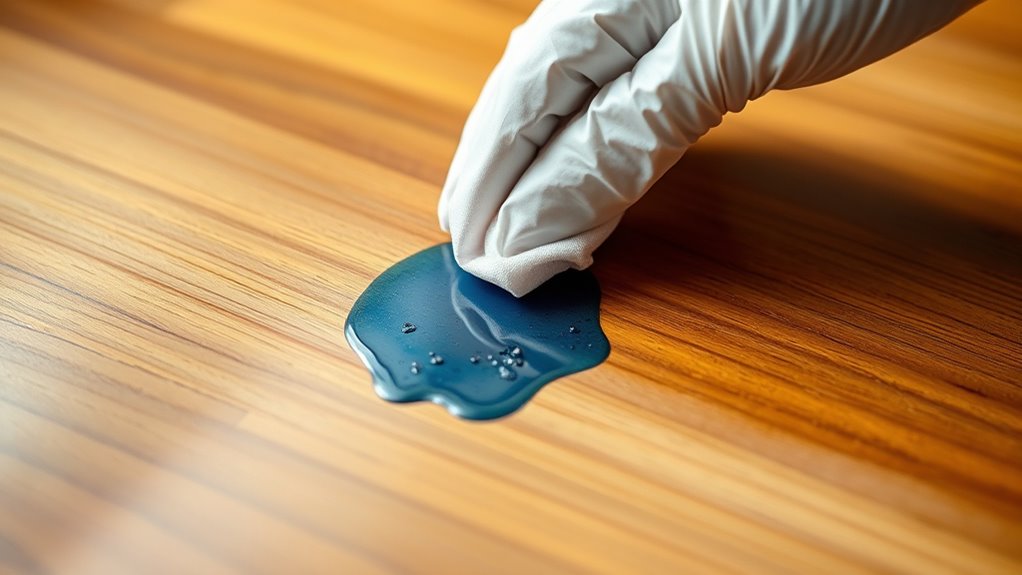
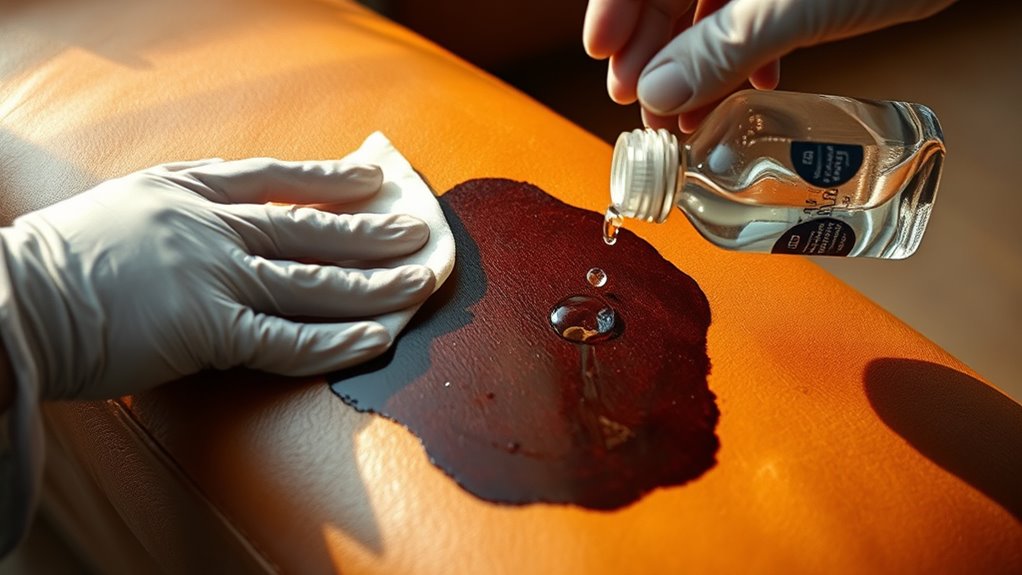
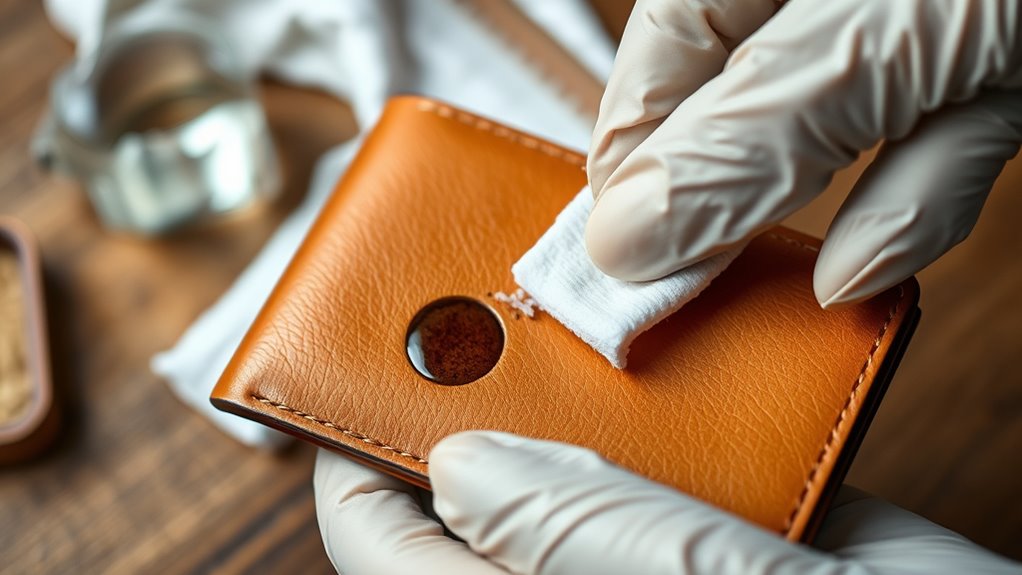
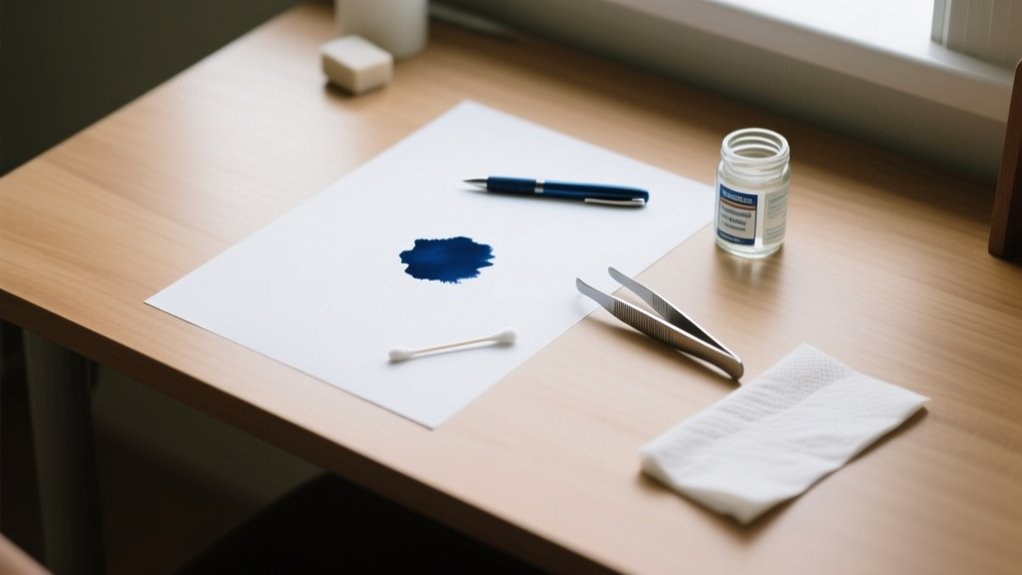
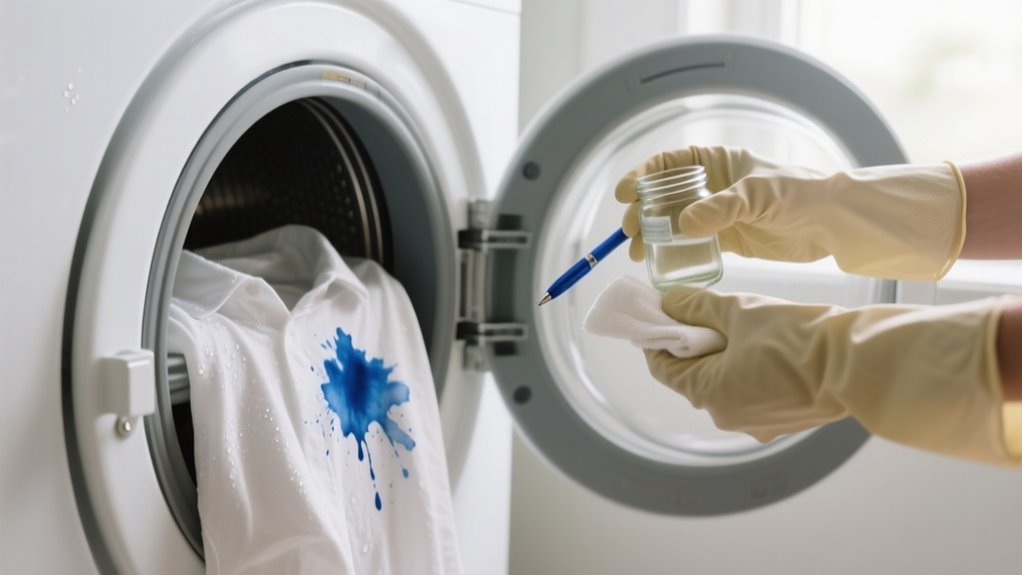
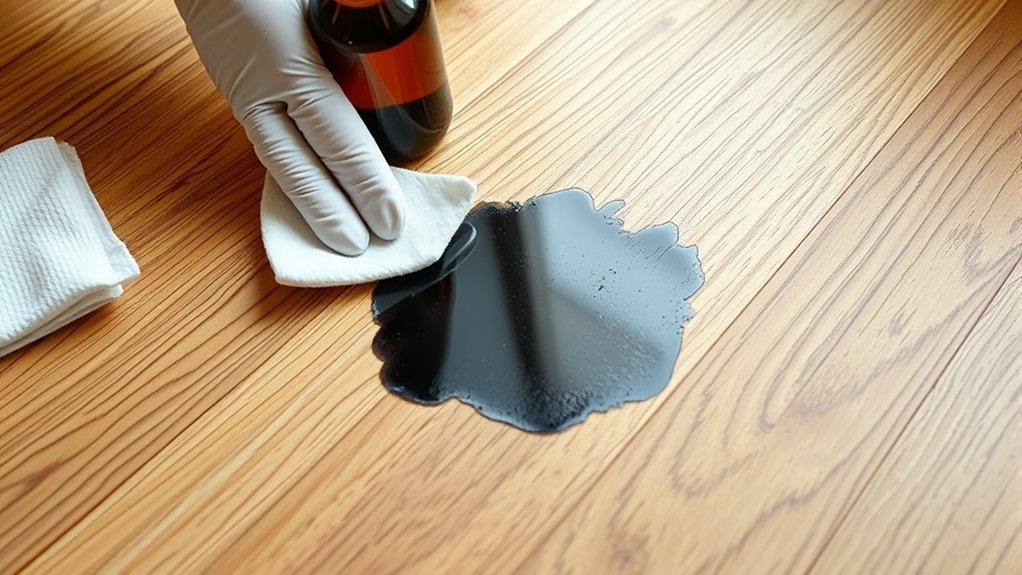
Remove Dried Ink Stains With Rubbing Alcohol
When dried ink stains set into wood floors, rubbing alcohol can effectively break down the ink molecules without damaging the finish, provided you test it on a hidden spot first. Start by soaking a cotton ball or soft cloth in rubbing alcohol and dab it directly onto the ink stain. Avoid rubbing to prevent spreading the ink further.
Let the alcohol sit on the stain for about 10 minutes to loosen the ink. Afterward, gently blot the area with a clean, damp cloth to lift away the ink and any residue. Once the stain is removed, rinse the spot with plain water and dry it thoroughly to protect the wood finish.
Apply Commercial Stain Removers Without Damaging Wood
Although commercial stain removvers can be highly effective at eliminating ink from wood floors, you’ll need to use them carefully to avoid damaging the finish. Before applying any stain remover, perform testing on a small, hidden area to make sure it won’t discolor or harm your wood finish.
When you’re ready, follow these key steps:
Always follow the manufacturer’s instructions for safe use. Use a cotton swab or soft cloth to apply the stain remover directly on the ink stain.
Avoid abrasive tools or vigorous scrubbing to protect the wood finish. Rinse the area thoroughly with a damp cloth once the stain fades to remove residue.
Work gently and patiently to prevent stripping or scratching the surface.
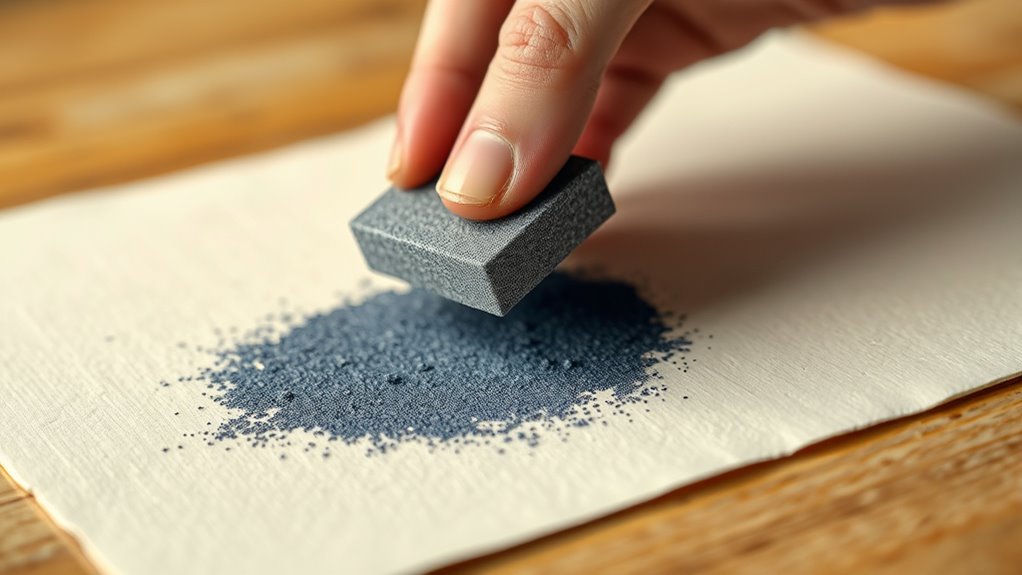
Use Fine Steel Wool for Tough Ink Stains
If stubborn ink stains resist commercial removvers, you can turn to fine steel wool (#0000) for a gentle yet effective solution. This steel wool grade is perfect for tackling ink stains on wood floors without damaging the wood finish.
Before you start, dip the steel wool in a small amount of liquid wax. This helps protect the wood as you work. Use light, circular motions with the steel wool, focusing only on the top layer of the finish to lift the ink without scratching or wearing through the protective coating.
Dip steel wool in liquid wax and gently use circular motions to lift ink without damaging the wood finish
Avoid pressing hard or scrubbing aggressively, as this could penetrate the wood and cause damage. Once you’ve removed the ink stains, finish by applying wood polish or Murphy® Oil Soap to restore the shine and blend any minor scratches left by the steel wool.
This method keeps your wood floor looking clean and well-maintained while effectively removing tough ink marks.
Recondition Wood Floors After Ink Removal
Since removing ink can strip moisture and dull the finish, you’ll want to rejuvenate your wood floors promptly. Restoring your floor’s natural beauty means replenishing moisture and protecting the surface to prevent further damage. Here’s how you can effectively recondition your wood floors after ink removal:
Apply a wood conditioner or mineral oil to the affected area to restore moisture and revive the wood’s natural shine. Then gently buff the conditioned spot with a soft cloth to blend it seamlessly with the rest of the floor.
Use a high-quality wood polish or wax to reinforce the protective coating and enhance durability. For deeper restoration, lightly sand the area with fine steel wool and reapply a matching finish.
Maintain the floor regularly with appropriate cleaning products to keep its appearance fresh and reduce stain risks. Following these steps guarantees your wood floors look great and stay protected after ink removal.
Prevent Future Ink Stains With Simple Floor Care
To keep your wood floors free from ink stains, you’ll want to adopt simple but effective care habits. Start by placing mats in high-traffic areas. These help catch dirt and ink before it reaches your wood floors.
Always store pens, markers, and other ink-containing items away from the floor or in closed drawers to reduce accidental spills. If a spill happens, clean spills immediately with a damp cloth to stop the ink from settling into the wood grain.
Applying a protective finish or sealant adds a barrier that resists ink penetration, making cleanup easier and preserving your floors. Along with these steps, keep your floors dust- and debris-free by cleaning them regularly with gentle solutions.
This prevents particles from attracting ink or causing stains. By combining these straightforward precautions, you’ll maintain your wood floors’ beauty and protect them from future ink mishaps effortlessly.
When to Call a Professional for Ink Removal
Even with careful floor care, some ink stains can become stubborn or deeply set, making them tough to remove on your own. That’s when you should consider professional cleaning to avoid damage and restore your wood floors properly.
You’ll want to call a specialist if you encounter ink stains on wood that have penetrated deeply or set for days, DIY methods failing after several attempts, large or stubborn stains covering significant areas, damage to the finish or uneven coloration from cleaning attempts, or uncertainty about the ink type or floor finish.
Professionals can assess whether sanding, chemical stripping, or spot refinishing is necessary. They have the tools and expertise to remove stains on wood without causing further damage. Don’t risk worsening the stain or ruining your floor’s finish. Getting expert help ensures a safe, effective ink removal process.
Frequently Asked Questions
Can Ink Stains on Wood Floors Cause Long-Term Damage?
Yes, ink stains on wood floors can cause long-term damage if you don’t act quickly. Using proper cleaning techniques and DIY remedies right away helps with stain prevention and protects your floor’s finish.
If you delay, ink can penetrate deep into the wood, weakening the surface and causing discoloration that’s hard to remove. To avoid costly refinishing, tackle ink stains promptly and use gentle, effective cleaning methods.
Are There Specific Ink Types Harder to Remove From Wood Floors?
You might not know that oil-based inks can penetrate wood fibers up to 3 millimeters deep, making them tough to remove. Yes, specific ink types are harder to get out of wood floors.
Oil-based inks soak in deeply, while water-soluble inks sit more on the surface, so they’re easier to clean. Ink penetration varies, so tackling oil-based stains quickly is essential before they set into the grain permanently.
How Often Should Wood Floors Be Sealed to Protect Against Ink?
You should follow a sealing schedule of every 1 to 3 years to keep your wood floors protected against ink. If you have high-traffic areas or kids, increase your maintenance frequency to every 1 to 2 years.
Applying protective coatings regularly prevents ink from soaking into the wood grain, making stains easier to clean. After deep cleaning or refinishing, reseal promptly to maintain this barrier and keep your floors looking great.
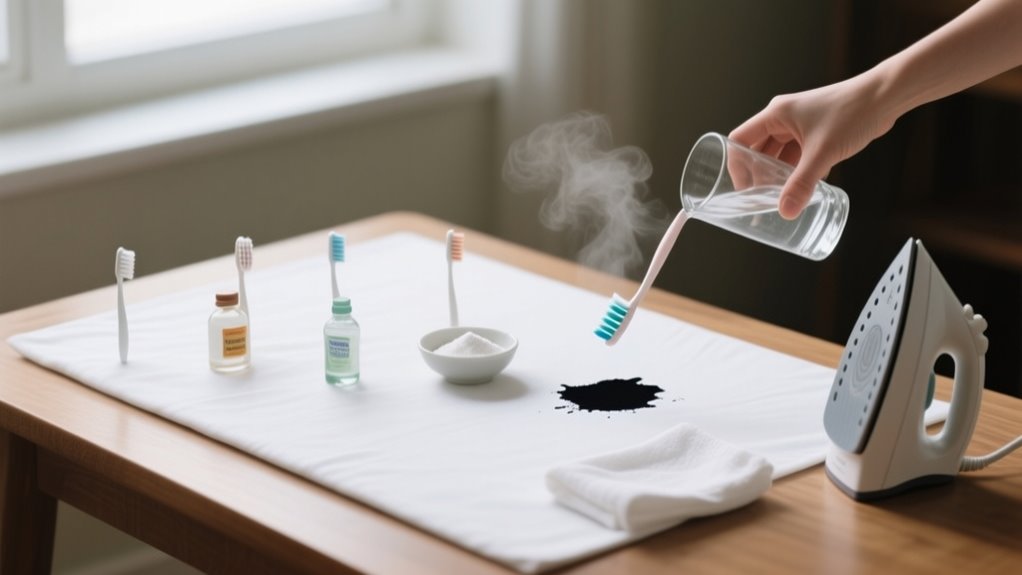
Can Household Items Like Toothpaste Remove Ink From Wood Floors?
You might think toothpaste is a miracle worker when it comes to cleaning methods, and you’re not far off! Toothpaste, especially non-gel white kinds, works as a handy DIY solution to remove ink stains from sealed wood floors.
Just apply a small amount, scrub gently, and rinse. This simple trick helps with stain prevention by lifting ink without harsh chemicals. Always test first to protect your floor’s finish!
Is It Safe to Use Heat to Dry Ink Stains on Wood Floors?
It’s not safe to use heat directly on ink stains on wood floors because heat safety is essential to avoid damaging the finish. Applying heat too close or too long increases flame risk and can cause the wood to crack or warp.
Instead, use gentle drying techniques like air drying or blotting with a soft cloth. If you must use warm air, keep the distance safe and test a hidden spot first to prevent harm.
Conclusion
So, next time your kid channels their inner Picasso on your wood floors, don’t panic. You’ve got this. Just blot, scrub, and maybe call in your new best friend, baking soda.
If all else fails, grab some lemon juice and salt, or summon the mighty rubbing alcohol. And hey, if your floor ends up looking like a war zone, maybe it’s time to phone a pro instead of turning your home into a chemistry lab. Good luck!